Waxing a floor often proves to be a challenging project, and it is one that scares many Americans away from it. The truth is that if you have the proper tools, some patience, and a knack for following directions well, then it will actually be very simple. Although you could do this job on your own, to do it properly, you ought to recruit three other people minimally. This article details the step by step directions for properly stripping and waxing a floor.
Materials and Items Necessary for the Project:
– Floor Stripper
– Wax
– Water
– Mop Buckets
– Mops
– Scrapers
– Shoes that do not slip
– Wax Mops
– Buffers
– Dust Mop
Scraping the Floor
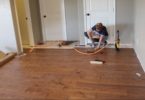
Before you begin waxing the floor, you will need to get it down to the bare material. The first step in this time consuming process involves scraping up any paper or excess gum from the floor. Be careful not to scratch up the floor in the process. Once you have completed this initial task, you will be ready to mop the floor utilizing a dust mop.
Stripping the Floor
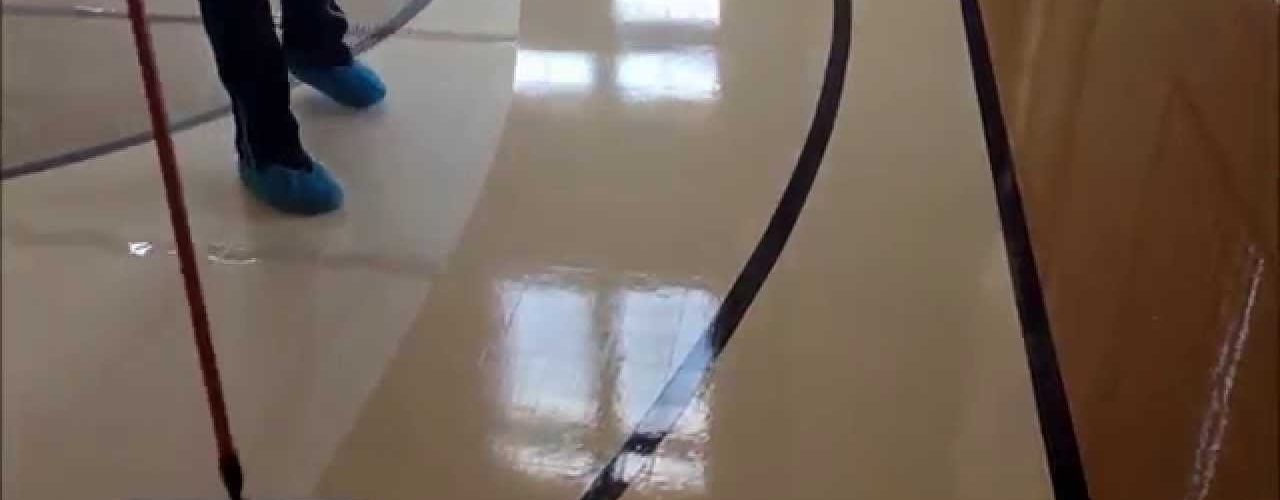
It is time to put down stripper on your floor. Make certain that you obey the directions on the stripper bottle label. The water and stripper have to be properly mixed together. If it looks to you like the stripper is not taking off the wax correctly, then simply pour an additional amount of stripper into the water, but only a little bit at once.
You should leave this stripper and water mixture on the floor itself for a full three to five minutes. Once that has been accomplished, it is time to work with your scraper. Go along the edges of the walls. Begin scraping up any excess wax. Then you will utilize the buffer to begin stripping the floor. You should not do this in a hurry. Take your time in order to make sure that you get off all of the old wax off of the floor.
Following this, it is time to take off the stripper from the floor. To do this, you will employ either a mop or a wet vac to get it up. Following the mopping up of the stripper, make certain to get a bucket of clean water and mop up along behind yourself. This will have to be done ideally twice or more to ensure that the floor behind you is sufficiently clean. The last step before you finally begin to wax the floor is to take out the dust mop. Mop the floor thoroughly with the dust mop.
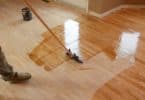
Putting Down the Wax On the Floor
Begin putting down the wax against the walls of the room to start. Once this has been done, you will move over to the center of the floor, where you will put down your wax. This should be done in a small section at a time. To attain a nice shine on the new wax job, you will have to put down minimally three full coats of the wax. Different kinds of wax might require more or fewer coats.
Suggestions and Cautions
With this project, it is important to keep a few helpful suggestions and cautions in mind. There is no prize for he or she who finishes waxing the floor the fastest. This is to say, take your time and do a thorough job. The kinds of stripper and wax which you buy will determine the quality of the finish that you have, either for good or bad. Always read the directions on the bottles before you apply anything to your floor. And remember, the most important consideration in this, as with any project that you do, is that safety always comes first.