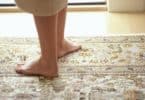
Step 1. Choose your hardwood flooring. There are many great choices when installing a hardwood flooring within your home. From simple pine boards that are unfinished allowing you to stain in your desired color to exquisite oaks, pines and cherry wood varieties just too name a few. You will need to measure the room you want to install the hardwood floor in to get the exact measurements for the amount of flooring you will need to purchase.
Step 2. Measuring Your Room. Using a measuring tape measure the width and length of the room where the hardwood flooring will be installed. Multiply this number to determine the square footage that is in the room. Add an additional ten to fifteen percent when purchasing your hardwood flooring to allow for any mistakes when cutting or for irregular areas.
Step 3. Check the sub floor for noise and squeaks. Inspect the entire floor where you want to install the hardwood flooring. This can be done by marking the areas where you notice noise when walking over the sub floor. Mark the area with a marker so that it is easy to locate the area again when you need to screw the sub flooring down. When you have finished inspecting the floor you will need to screw these areas down using a long drywall screw type and making sure that you go through the sub floor and into the floor joists to secure the area completely. You will need to remove any shoe molding that is along the floor in the area you want to install hardwood flooring. Make sure the sub floor is clean and swept thoroughly before beginning your installation project.
Step 4. Rolling Out Vapor Barrier Paper. Roll strips of vapor barrier paper over your sub floor. Make sure the strips overlap each other by 4” and staple the vapor barrier paper to the sub floor. A good selection for this paper is a fifteen pound tar paper or felt material. Use a pencil to mark the location of the floor joists along the baseboards of your room.
Step 5. Beginning the Hardwood Flooring Installation. Use the longest unobstructed wall in the room where you want to place the hardwood flooring and begin your installation. Place a mark 3/8” from the wall in the corner where you will be starting your installation. Move to the opposite corner and make another mark 3/8” from the wall. Place your chalk line so that you are connecting the marks and snap a line. The 3/8” gap will help to allow for various weather conditions and climate change results that will affect the flooring.
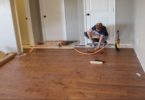
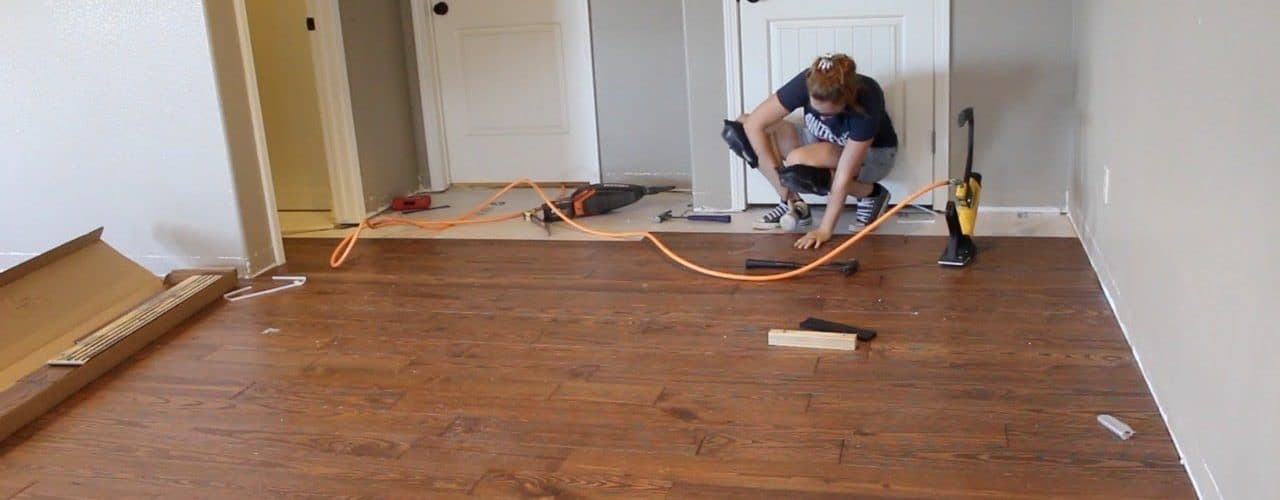
Step 6: Positioning the hardwood flooring in place. Select a long board to start your first row. Make sure the board is straight. Line up the board with your chalk line marking and drill various pilot holes down through the board and into your sub floor and joist. You will need to face nail each of the boards at the location where you marked for every floor joist and set the naim with a nail set. You need to face nail each board that is included in your first row. Make sure that you use boards of different length throughout the installation process. The first row of boards needs to lay perpendicular to your floor joists underneath of the hardwood flooring.
Step 7. Hand nail the hardwood flooring rolls. After you have finished installing the first couple of rows of flooring you will need to use a handheld drill to drill pilot holes down into the tongue of each of the boards. You will also need to hand nail each of the rolls until you notice that there is enough of an allowance for your pneumatic nail gun to be used.
Step 8. Stapling the flooring boards. A pneumatic nail gun can be used to staple the flooring boards when you are ready for this step. To do this you will need to place the gun lip over the boards edge and strike it firmly with the mallet which will drive the staple into the hardwood plank tongue.
Step 9. Cutting Your Baseboard. Select a piece of flooring that will fit into the cut along your baseboard. You will need to fit the flooring into this cut while leaving ten to twelve inches more and cutting it off. Use the other piece of flooring at the start of the next installed row.
Step 10. Fill in the flooring gaps. The flooring has a tongue and groove design which helps to fit the wooden boards together. Make sure that you do not cut off the grooved area that fits into the tongue. This can cause a large gap in your flooring. Make sure that you place a nail in the boards every ten or twelve inches.
Step 11. Troubleshooting for Clearance Issues. As you come to a finish with your installation project you will notice that there is going to be a problem fitting the pneumatic nail gun into the last few rows of boards. When this happens you will need to use the drill and hammer as you did on the first few rows. You can use a pry bar and some of your scrap flooring to make sure the hardwood flooring is firmly in place and securing it.
Step 12. Placing the last row for completed installation. When placing the final row of hardwood flooring boards down you may need to cut the board length wise to allow for narrower spaces. Remember to allow for the 3/8” gap between the wall and your hardwood flooring boards.
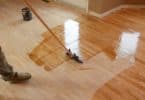
Step 13: Fill In any holes in your hardwood flooring boards. Make sure that you purchase a wood putty selection that matches your flooring to help get the best results. Fill in any nail or screw holes located in the flooring boards and make sure that you remove any excess wood put from the surface.
<>