If you want to install engineered hardwood floors, follow these steps.
1. Get the subfloor ready.
First, you will need to take off the existing baseboard. You need to gently loosen them with a pry bar. Remember, any damage you do to these will have to be touched up when you put them back on the wall. So slow is better in this case. Take up any heat vent covers or anything else obscuring the floor.
You can lay your engineered hardwood flooring on any flat surface. That is the key thing many people overlook is that the floor needs to be flat. Any carpet glue still stuck to the floor needs to come up. You need to also walk the floor and make sure that the floor is quite level. If your floor is decidedly off, you may need to rent a concrete planer, which will certainly create a lot of dust. Or, you may need to patch and fill other areas.
2. Trim bottom of doors if need be and cut down the casings.
The existing casings and trim for your doorways are not set for the height of the new floor. You will need to lay down a piece of the flooring to check the height. Using a handsaw, saw through the existing casing on either side of the door. Thoroughly remove all dust and debris from floor.
3. Put down builder’s felt.
You will need to lay down builder’s felt, which you can pick up at any home improvement store. Be sure to put the felt in the same direction you plan to put your flooring. Staple down edges at a rate of about every four feet. If the staples do not go in properly, take a hammer and tap them down. That way, they are not sticking up, as this will cause your floor to be raised, in that spot.
4. Prepare your flooring.
Typically within the box, your planks will be homogeneous, but once you open up a new box you could have a entirely different tone. To prevent a remarkably obvious shift, open several boxes. Then lay the planks out, to make a pleasing arrangement.
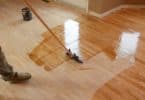
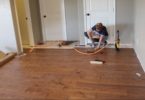
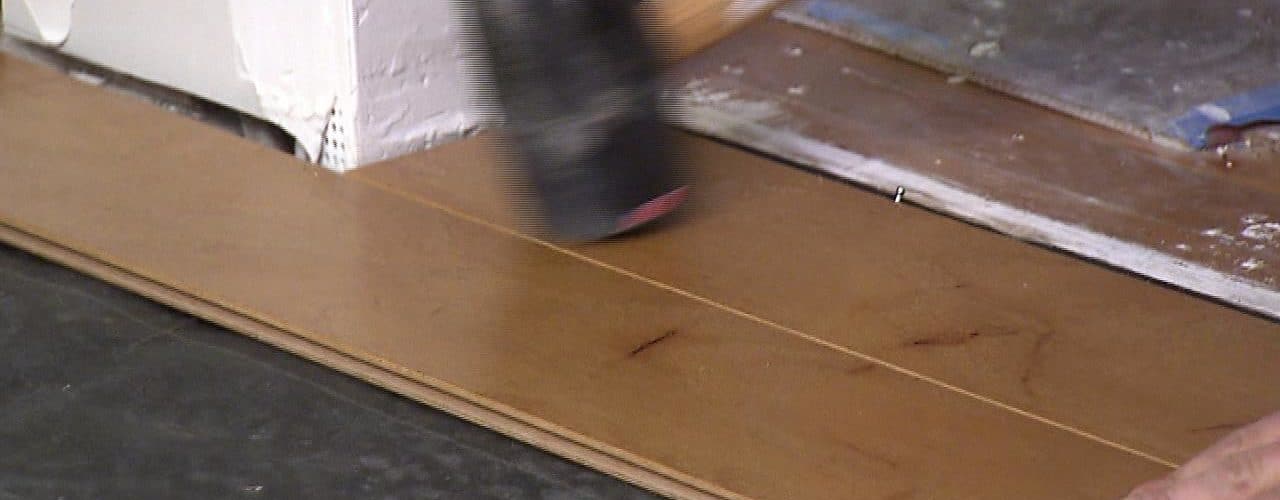
5. Begin laying the floor.
Select the longest wall in the room and begin laying in the corner of the room. Line up the planks with the groove side facing away from the wall. Take your next plank and fit the tongue and grooves together. A rubber mallet will help you guide stubborn planks together. Continue this pattern until you have laid planks across the entire width of the room. Using a pneumatic flooring stapler, place a staple roughly every 7 inches or so.
6. Cut planks to fit.
You may need to cut the final plank so it will fit against the wall. Measure your plank twice. (Maybe even three times.) The adage “measure twice, cut once” is vital to remember. Wear eye protection and use a circular saw to cut the plank. You want to cut the plank so it fits into the spot closely, but so there is a little give when someone walks across the floor.
7. Continue with the subsequent row of planks.
Start the next row with a plank up against the wall, securing the tongue and groove fit with the existing planks. Use different lengths to create a pleasing pattern and look to your floor.
8. Replace baseboards to finish a room.
You will need to re-hang the baseboards to cover the space between the floor and the walls. You will likely need to give the baseboards a fresh coat of paint.
Youtube link:
References:
Word Floors
Build Direct: Engineered Hardwood Flooring
My Money Blog: Installation of Engineered Hardwood Flooring
DIY Network: How To Install An Engineered Hardwood Floor