Hardwood floors are a great looking type of floor in virtually any house. They shine and glisten when polished, it’s easy to mop up spills from them, and they give a house a classic and classy look. Installing them is not very difficult. In fact it is well within the abilities of anyone who is moderately handy. Let’s take a look at how to lay a wood floor the right way.
Contents
- 1 Determine Joist Direction on the sub floor
- 2 Put down underlayment material on sub floor
- 3 Snap lines ½ inch from wall
- 4 “Face Nail” your first course of boards
- 5 Add two more face nailed courses
- 6 Install the rest of the courses with the blind nailer
- 7 Face nail the last few courses
- 8 Add baseboards, moldings, and thresholds
Determine Joist Direction on the sub floor
In the vast majority of cases, your floor will have what is known as a sub floor. This is usually a plywood layer that sits on top of the joists, which are the structural framing elements of your floor. The joists are long pieces of 2×10 or 2×12 dimensional lumber arranged at regular intervals that your floor sits on. The first thing to do is to determine which direction these joists are running. Notice lines of nails in the plywood sub floor – these are where the joists are. You want to put your hardwood floor at right angles to the joists – perpendicular.
Put down underlayment material on sub floor
The next thing to do is put down underlayment – either felt paper or some material specially designed to go under floors – on top of the plywood. This prevents the plywood from slipping and creates a moisture barrier. Usually the best way is to staple it down with a staple gun.
Snap lines ½ inch from wall
In all probability, your hard wood flooring sections will be tongue and groove boards of either 3 ½ or 5 ½ inch widths. These boards are not supposed to go all the way to the wall and come up tight against it. The manufacturer usually recommends a ½ inch space to allow them to expand and contract. So you need to mark a line that is ½ inch from the wall that runs in the direction you’re putting the hardwood floor down in. Making some pencil marks on the sub floor and snapping a chalk line is a good means for doing this.
“Face Nail” your first course of boards
Align the first tongue and groove board with the line you snapped, groove side toward the wall. You will need to face nail this board into the plywood, or nail directly into the board where you will see it. Use a nail punch to countersink the nail (drive the nail deep in) and then fill the nail hole with wood putty that matches the color of the board. Use finish nails and nail them about every six inches on the board, and about 1 inch from the groove edge.
Add two more face nailed courses
Continue face nailing the boards, making sure the joints – the places where the boards end – don’t line up. The reason you need to keep face nailing is because the closeness of the wall prevents you from being able to use a blind nailer. A blind nailer is a device that allows you to drive accurate finish nails into the tongue of the board, so it is covered up and invisible when the next board is put on. You will also probably need to use a dead blow hammer (rubber or plastic hammer for hitting things you don’t want to scuff) for banging the tongue and groove boards together tight.
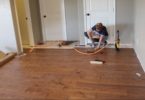
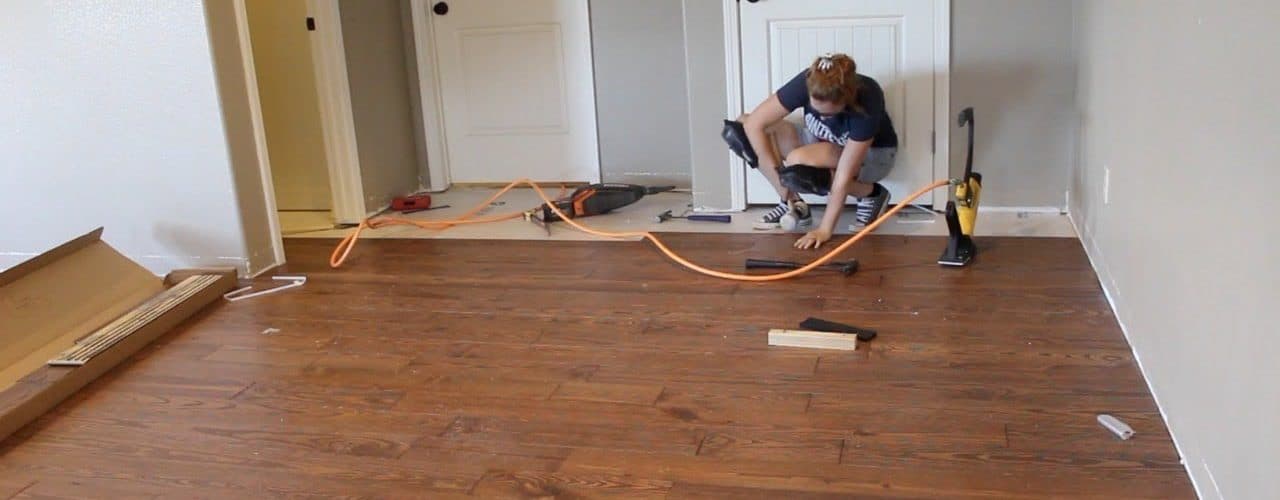
Install the rest of the courses with the blind nailer
As soon as you have room you can begin using the blind nailer. This large device is one that you strike with a hammer and will accurately drive nails right into the tongue and make your boards free of nail holes on the face, so use one if at all possible. Just continue installing the boards with staggered joints until you get close to the opposite wall. If you encounter obstructions, cut the tongue and groove boards to fit with a circular saw, miter saw, or jig saw.
Face nail the last few courses
As with the first few courses, you won’t have room to use the face nailer on the last few courses, so face nail them, countersink the nails, and add putty. Make sure the last board comes no closer than half an inch to the wall. If necessary rip it (cut it length wise with a table or circular saw) so it’s the right width.
Add baseboards, moldings, and thresholds
The floor is down now with its half inch gap to the walls. This will be covered by the baseboard and the moldings. Try to nail these into the wall rather than into the floor. They are installed with finish nails similar to the ones you used on the floor boards.
That’s it, you’ve installed your hardwood floor! Enjoy!
<>