Building a handrail or porch railing is a fairly easy task, and in most cases a simple design can be completed in 1 day, (Unfinished/Unpainted). Materials cost are not very expensive and are easy to come by.
In some cases you may already have the porch posts and only need to add handrails, rails and balustrades. Limited use of electric saws may be needed along with power screw guns.
As in most projects you will need to be familiar with basic tools as mentioned above, and be able to read a tape measure.
The following are basic step by step instructions on how to complete this project. ALWAYS be safe and use the proper protection before doing any project involving power tools and sharp objects.
1. Measure the area that you wish to install the handrails and or posts
2. After you have the total lineal feet desired (Write this number down as LF)
3. Now decide how many post you would like to have (These will be the post that go from the deck or porch surface to the bottom of the ceiling/roof) You will need at least 3 since you will need one to start the handrail, one at the corner and one at the wall you are connecting to, If any length between the post would be more than 8’ft apart you will need to add another one between them.
4. Take you total LF and divide that number by 4’ft (16’ / 4’ = 4) So you will need 4 post
5. Start laying out the design on the porch with chalk to get a basic idea of size ad position
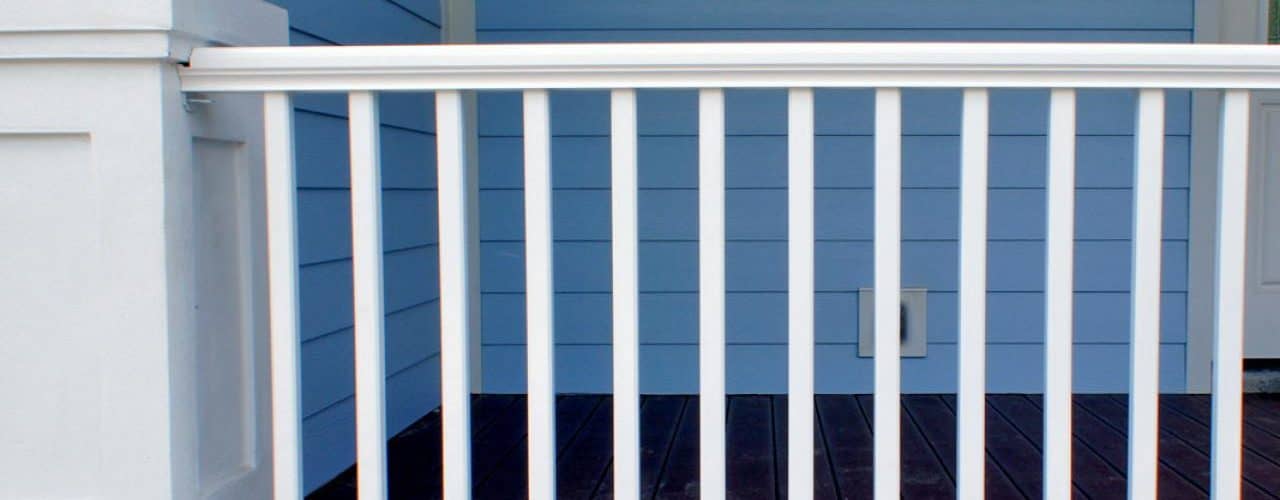
6. You will then determine how close you want your small balustrades apart? In most states they are required to have no more than a 3” gap between them to prevent small children from injury by entrapment.
7. You can purchase ready-made Balustrades at Home Depot, Lowes etc… And are already cut to shape and length. And come in several styles and cost about $1.50 – $3.50 each keep track of how many you will want by dividing the LF of handrail by 6” which would be 32 balustrades.
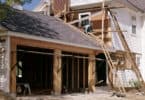
8. You can also buy “SIMPSON” strong tie connectors and post bases which hold your post securely in place. You will need one for the bottom of each post
9. Post bases are also available to purchase that are already cut to shape with different profiles and designs, (Made for 4” and 6” post) 4” is the most common and easiest to use
10. The handrails or TOP/BOTTOM rails are just typically made of a 2” x 4” board with routed or smooth top corners and are cut to length needed between posts (You will need about 32’ LF of these boards) 16’ for top rail and 16’ for bottom rail. These will be the boards that hold the balustrades in place and secure
11. The only remaining wood parts will be the handrail braces which are cut from a 2” x 4” board to a 6” length. You will need 2 per post and 4 for corner post
12. These braces will be the support for the TOP and bottom rails
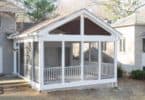
13. I have provided a few drawings to show the basic layouts of all parts.
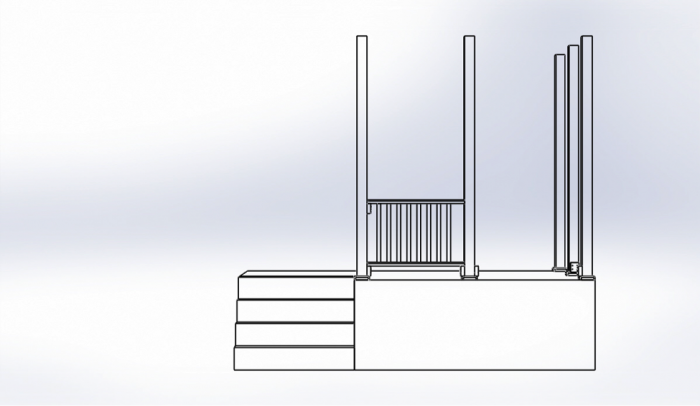
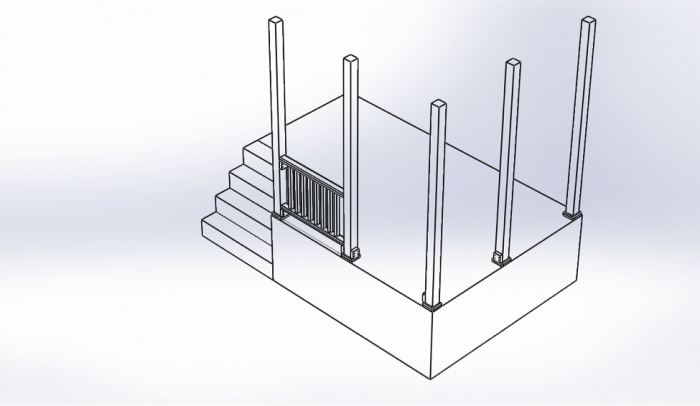
The drawing above shows an angle view of the corner style handrail system with 5 posts and they are installed on a 4’ft center and the balustrades on a 4-1/2” center (3” gap between) Notice the small 2” x 4” x 6” wood blocks at the bottom of the post.
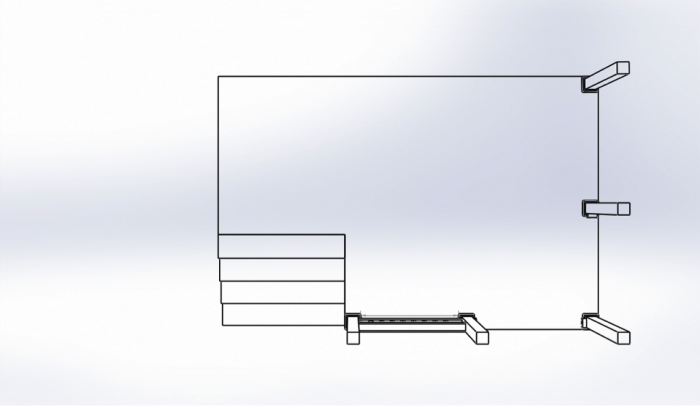
The drawing above shows a 5 post system that is 16’ LF.
<>