
Contents
Bringing Your Floors Back To Life
Stylish and beautiful hardwood floors add greatly to the desirability and value of any home. They can be a huge selling point for anyone interested in purchasing a home or dumping it on the open market. They’re easy to clean and last a long time. All those benefits come at the price of higher overall maintenance costs both in time and money. Over the years, flooring can get damaged, discolored and maligned to the point where they’re hardly recognizable. However, absent any major structural damage, any wood floor can be restored to its former glory with a little work.
Refinishing The Surface
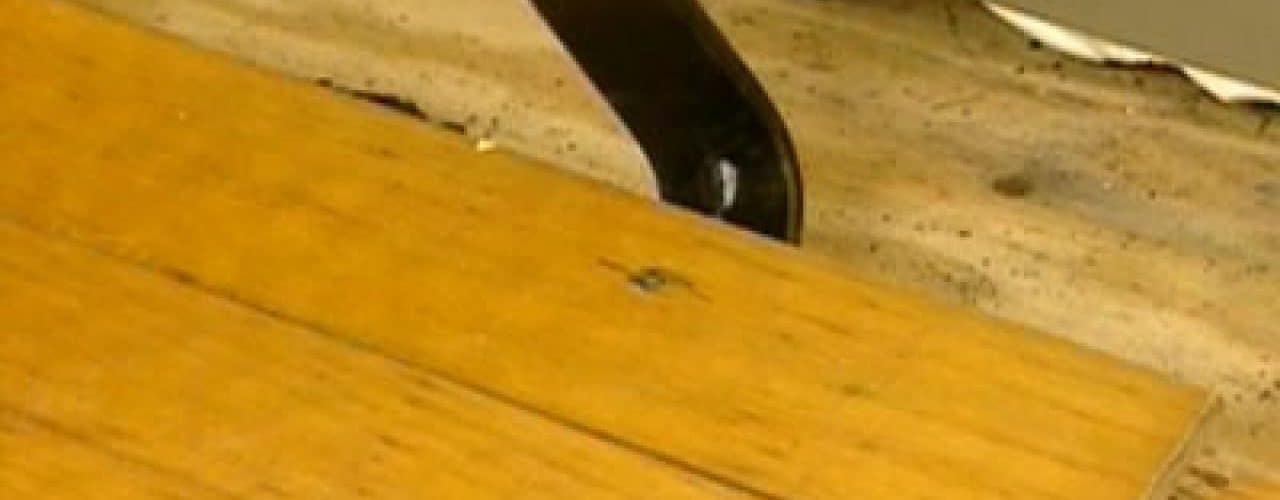
Stripping away the accumulated dirt, grime and other built-up filth off the floorboards is best accomplished with an industrial-strength drum sander. These are often available for rental from your local hardware store. Use 20 or 40 grit sandpaper and take your time to avoid going too deep into the wood. Once the surface of your floors are completely naked and free from stains, varnish and wax residues as well as smooth and level, you can proceed to damage repair. For reference while you’re completing the project, a quick summation of the necessary steps can be viewed at: How Stuff Works: How To Repair Floors.
Filling In The Cracks
After an initial stripping and sanding, you’ll want to fill in any conspicuous cracks, dings or gouges in the wood so as to make them blend in as well as possible. What to use when filling in pockmarks is a subject of some debate. Many find that an all-purpose wood putty or Latex-based wood floor filler looks great and blends in well with the natural grain. Simply apply to any gouges or cracks and let it dry, sanding as you go. Bring a sample of your flooring with you when you select your wood putty to find the best match in terms of color and consistency.
Fresh Coating
Once you’ve filled in the cracks, sand over these areas to match the rest of the floor and apply the stain or varnish of your choice. Before you do this, you’ll need to apply a base primer dependent on your type of wood. There are primers available for almost every major type, from oak to pine. If you’re unsure, bring a sample into a home supply store and they’ll be able to tell you what you’re working with. After the primer is dry, you can move on to staining the floor with a brush and varnish. The best choice for the floor depends on the type of wood as well as your own personal preference.Two coats will be fine in most cases.
Preventative Maintenance
After you’ve stained or varnished the floor, buff it with a dry mop or power-buffer, and you’re good to go. In addition to varnishing and buffing, you may be interested in applying a layer of wax to protect the finish and give it a nice sheen. A good all-purpose floor wax for wood flooring will be fine for most scenarios. The local lumber or home improvement store is your best source of advice as they work with these types of jobs on a daily basis. The Wood Floor Doctor has plenty of informative and accurate articles that can help you out in all areas of hard wood floor maintenance and care.
Final Thoughts
The great thing about wood floors is that they can last an incredibly long time and put up with a lot of abuse, providing quite a bit of value over the long haul. Of course, that only holds true if you started out with quality material, and the job was done right in the first place. Even then, it’s possible that you’ll need to replace some or all of your flooring in the future either due to aesthetic reasons or because of damage like warping or rot. Giving your floors a cosmetic face-lift is the best way to assess damages and plan for this possibility in the future.
Related Youtube Videos:
References:
How Stuff Works: How To Repair Floors
Wood Floor Doctor: How To Repair A Hardwood Floor
Home Tips: Hard Wood Floors
<>
<>

