
A finished basement can add much needed space and storage to your home, as well as increase its overall resale value. A finished basement can act as a game room, home office, workshop, bedroom, or even add rental income if you plan on leasing out the space. Even doing part of the job yourself will save money, so even if you choose to hire a contractor for essentials like wiring and plumbing, the overall cost will be much lower than outsourcing the entire project. While a contractor may be necessary for more complex jobs, many basement finishing projects can be completed by homeowners with some extra time and knowledge of do it yourself basics.
Contents
1) Plan the Design
Deciding how you’ll want to use your finished basement will have a big impact on how you’ll choose to construct it. A downstairs apartment, for example, might require the addition of walls, plumbing for a bathroom and kitchen, as well as compliance with local building codes. A simple workroom or game room can be substantially less work. Figure out the design and measurements of the room you’d like to achieve for your basement finishing project.
In the design drawing, include measurements as well as the locations of windows, doors, outlets, plumbing fixtures, and ceiling height. Note the insulation, if any, as well as any existing fixtures that could be re-purposed.
2) Clean the Existing Basement
Make sure the basement is free of clutter and debris before you begin working. Remove any potential obstructions that could get in the way of your project. Ensure there are no problems with dampness or moisture before you go further.
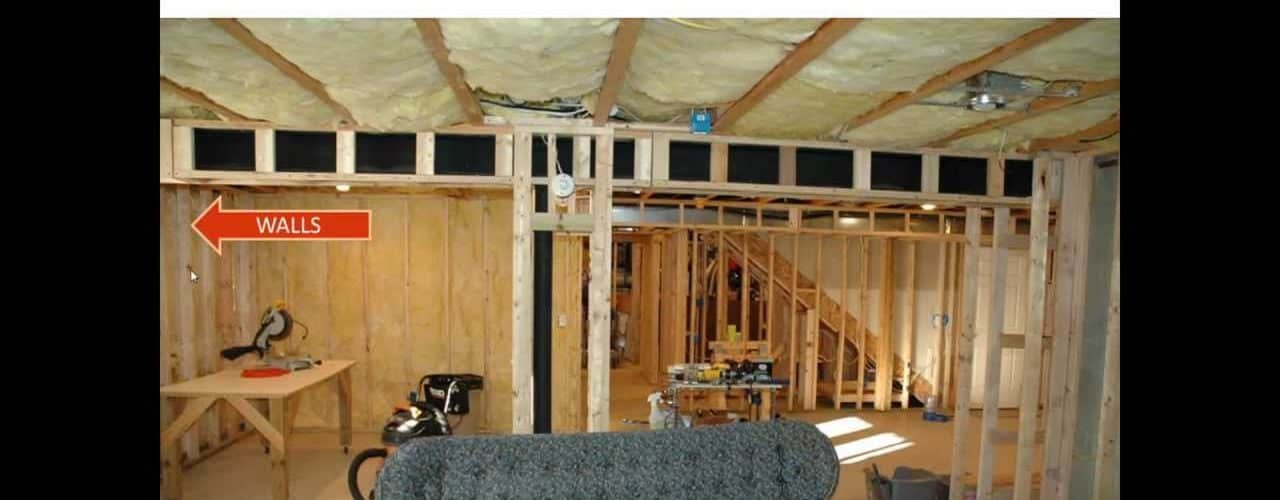
3) Add Insulation and Frame the Walls
Using high R-value insulation, use adhesive to adhere the slabs of insulation to the masonry walls. Cut around any potential obstructions, working carefully to ensure an even and tight fit. In some areas, adding fiberglass insulation may be recommended.Once the insulation is in place, add wall studs (if needed) , carefully measuring so that the drywall will eventually lie on the center of the studs. Take note of any ductwork and plumbing before you add the drywall.
4) Install the Drywall
After the walls are insulated and studs are in place, carefully lay the drywall and anchor to the studs and slab using long drywall screws. If possible, screw into place at each available wall stud. Cut around any outlets or plumbing fixtures you will need to access later. Nail a metal corner bead around any door frames, and ensure screws are driven in flush with the drywall surface.
5) Apply Drywall Compound
After the drywall is installed, apply a drywall compound to create a flawless canvas for paint. Seal any seams, joints, gaps, or holes with smooth compound in thin layers. After the compound is dry, sand the surface to ensure a flawless finish.
6) Paint the Floors/Install Flooring
Whether you’ll be staining the floor, painting the floor, or installing new flooring altogether, now is the time to do so. Clean the surface and install the floor of your choice.
7) Cover and Caulk Outlets and Windows
Locate outlet cutouts previously made in the drywall and apply outlet covers. Caulk around the surface carefully and let dry. Do the same for any phone jacks or windows that need caulking around the drywall to ensure the walls are seamless.
8) Paint the Walls
By now, the basement should be almost done. Choose a primer, a high quality paint, and paint the walls the color of your choice. Let dry.
Further Reading: Family Handyman – Basement Finishing

