
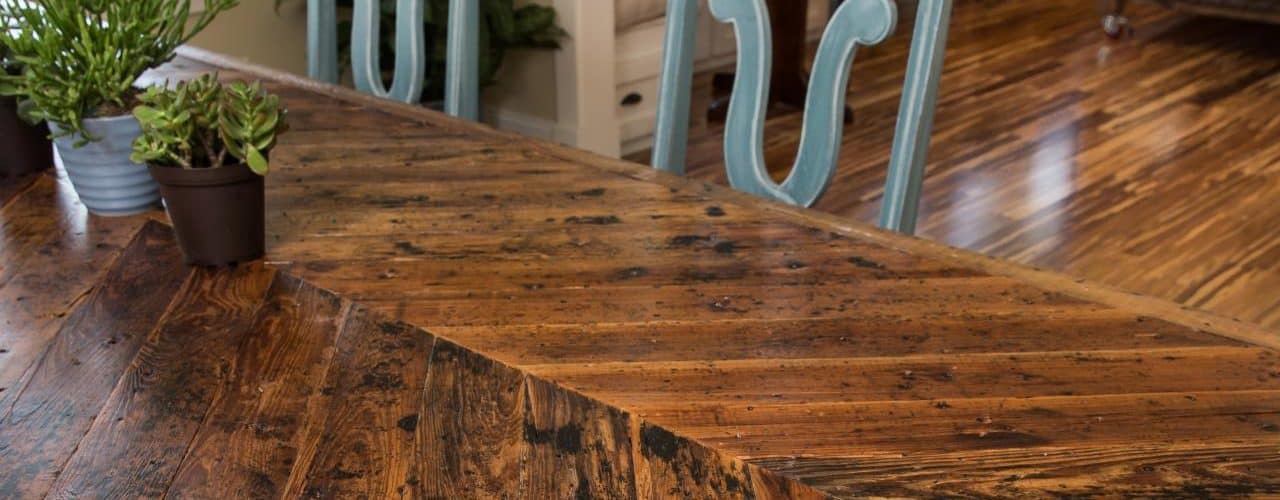
When you are ready for a new dining room table, you have probably gone to the store and shopped the choices. The prices may have made you sick to your stomach. You have probably asked yourself why you could not simply build a dining room table and save a thousand dollars. Perhaps you love wood working projects too, and feel that such a project would be a worthy challenge for your skills. While it is true that professionally designed and constructed tables may be of a little better quality, they certainly do not give the same satisfaction as building your own table does (not to mention the satisfaction of saving a small fortune). This article goes through the step by step directions for effectively building your own dining room table.
Contents
Materials and Items Necessary for the Project
– A piece of plywood which is 4 feet by 6 feet
– Six wooden planks for the top of the table, all grooved in advance to interlock (should be 8 feet by 6 feet by .5 inches in dimensions)
– Two pieces made of wood at 3 feet by 2 inches by 4 inches for the underskirt
– Two pieces made of wood at 5 feet by 2 inches by 4 inches for the underskirt
– Two pieces made of wood at 2.5 inches by 1 inch by 6 feet to be used for the tabletop outer skirt, rounded to a semi circle on a side
– Four pieces made of wood at 4 inches by 4 feet by 2.5 feet for the legs
– Same wood skirt designed as above at dimensions of 1 inch by 4 feet
– Carpentry tools
– Nails
– Sandpaper
– A glue gun
– Gloves and protection for the eyes
– A hammer
Making the Tabletop’s Base
This is a challenging project, and one which should not be lightly undertaken by individuals who are novices to wood working skills. To begin, you join the wood of the top together using glue in order to create the tabletop’s base. After you have accomplished this, you ought to hold a section which is four feet by six feet total measurement. On to this formed piece, you will glue the piece of plywood in order to form your tabletop. Next, attach the outer skirt’s wood to this table top along the outside edges. Once this task is completed, you will hold your finished simple tabletop.
Attaching the Table Legs
Now, gather the four posts for the legs. Stand them up. Next, collect the other underskirt wood. This must be attached on to the legs, with the legs located just inside the wood from the skirt. Attach the wood from the skirt together to the other skirt wood. You should now have a skirt wood frame held up by four legs.
Attaching the Bottom Frame to the Tabletop
It is time to attach the earlier built tabletop to the frame’s bottom. To do this, you will have to attach the bottom part to the top. Be sure to properly alight this bottom so that is is lying in the top’s center. After this has been accomplished, you will be ready to utilize the glue gun first. Next, hammer in the nails. It is important that the nails do not go up beyond the planks.
Finishing the Table
In order to attractively finish your new table, you will varnish it with the color of your preference. Before you accomplish this, though, sandpaper down the table very well. This is necessary so that it does not possess splinters or rough edges which might hurt your family and friends. After this has been done, the table is ready for the varnish. Paying special attention to the tabletop, varnish the entire table. The top will receive the most use and abuse, so it needs to be well varnished. After the table has been successfully varnished, and this varnish has properly dried, then it is completed and ready for use.
Related Videos:
How to build a Dining table, By Jon Peters
Additional Resources:
DIY: How to Make a Dining Room Table
Pro Woodworking Tips: Build A Dining Room Table
<>

