
Metal roofs can provide a solid, durable and attractive finish to any modern house. Metal roofs can also be erected over existing roofs by using furring strips, and this will provide an additional layer of insulation and protection for homes.
One of the main drawbacks of metal roofs is that the materials can be more expensive than conventional products, and you will be looking at paying around $600 per square (100 square feet section). However this material is highly durable and most companies provide a minimum 30 year guarantee, so this can actually be good value for money. Metal roofs are also less flammable than cedar singles and asphalt roofs and so are ideal for higher risk fire areas such as southern California.
Contents
Materials and Tools
If you have good DIY skills you can install metal roofing yourself and you will need the following tools and materials:
• Extension ladder and stepladder
• Chalk line
• Good quality power drill with selection of drill bits (including a regular bit, 5/16-inch screw head bit and a quarter inch screw head bit)
• Heavy duty hammer
• Metal snips
• Roofing shovel
• 5/16-inch lap metal screws, quarter inch wood screws and three-inch long head screws.
• 1 ¼ -inch sized roofing grade nails
• V-crimp metal roofing sheets (this is the easiest type to install)
• Roofing felt
V-Crimp Metal Roof Installation
To calculate how much metal you will need measure the roof’s height and length and then estimate the overhang required. You can find out more about how to do this at DIY-HQ.
Step 1 – Base
It is best to remove the old shingles before you install your metal roof, and these should come off cleanly with a roofing shovel. Create the base for the new roof by laying down roofing felt. If you are laying the material over an existing roof then you could also use slat boards for the base, and these can be fixed with 3-inch screws. Slat boards should be fitted lengthwise working from the bottom up to the top.
Step 2 – Edging
Once the base is ready you can begin installing the roof with the edging strips, which run round the perimeter. Use the 1 ¼-inch size roofing nails for this job.
Step 3 – Metal Sheeting
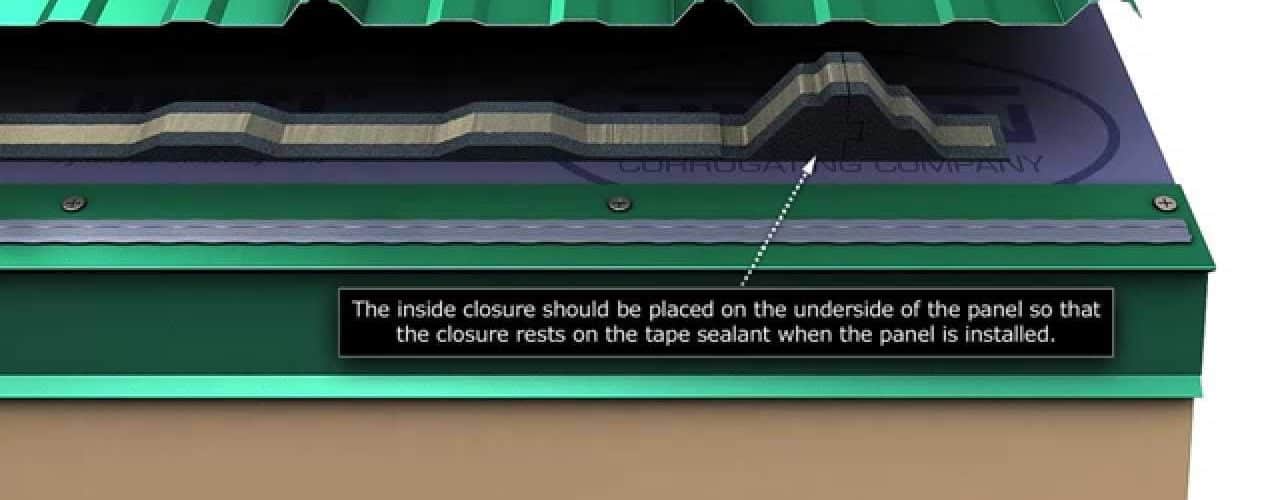
Working from the top to bottom takes the metal sheets and use the ¼-inch wood screws (intervals of two feet) to fix the roofing onto the roof slats. V-crimp sheets will need to be fitted with the crimp at the top of the sheet slightly overlapping the crimp at the bottom of the previous sheet. Repeat this until the roof is completely covered and then trim any excess with the snips. Now fix the sheets in place with the 5/16 lap screws and install the metal trim. This will go along the sides of the roof and the top ridge and should be fixed with the quarter inch wood screws. The metal ridge finish should be installed last, using the wood screws.
Carry out a final check and ensure all the sheets are firmly fixed in place, and all the edges neatly trimmed.

