
Creating a shelving unit for a garage will not only add value to your home, but will provide great organizational assistance for anyone to store away belongings. Shelving in a garage can be placed literally anywhere within the space. Overhead storage tends to be a popular choice as well as large wall units. To complete this task, you will need wood for shelving; the length of the shelving is up to the home owner as well as the space you have for the units. You will also need a chalk line, a measuring tape, screws, a screwdriver, shelving brackets, and a leveler.
First, consider what you are using the shelving for. Are you going to store a lot of large objects such as sporting equipment? Do you have a lot of tools that you need to store? Use the wall area that you are going to be working with to calculate approximately how many shelves you will need for the wall and where they will be located. Using a piece of graphing paper to draw where you would like the shelving to go will save you a lot of time completing this project.
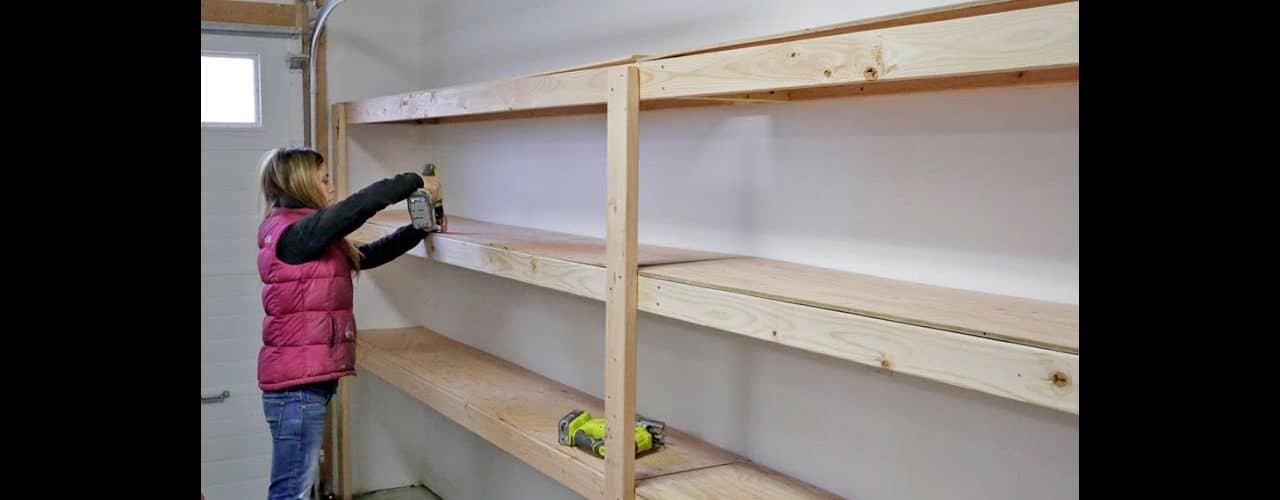
After you have figured out where you want each shelve to be placed, use a measuring tape and mark the level where you want the shelves. It is perfectly acceptable to use the entire wall for shelving. I would recommend, however, leaving enough space on the bottom to place containers under the shelving units. Install shelving by levels, beginning with the top layer and work down. This will guarantee that no shelving unit will be in the way of installing the next level.
After the area has been measured, use a chalk line to create a layout for the shelving. After the chalk line marks the wall, use a leveler to make sure each shelf is going to be placed level and evenly. When installing the brackets for the shelving, consider how much weight is going to be placed on the shelf. Each bracket has a weight limit, so use this limit as a guideline of how many brackets you will need per shelf.
Use the chalk line to line up the brackets. The top of each bracket should be lined with the line from the chalk. Begin screwing in the brackets for each shelf; spacing should take into consideration the number of brackets that you will be using. Space brackets evenly for each shelf to create a clean, consistent appearance. Once all of the brackets for a shelf are installed, lay the shelving on top of the brackets. It is recommended to use the level to ensure a flat surface before screwing the shelf into place. After checking the level of the shelf, simply begin to screw the brackets to the shelves. Begin with both right and left outside ends, and work your way towards the center. By starting with the outsides first, you will keep the shelf in place and eliminate shifting during the screwing process.
After the first shelf has been placed onto the wall, continue these steps for each additional shelf to be installed. Generally, the first shelf is the hardest to install because everything is new. The more shelves you install, the easier the process becomes.
Installing over head shelving requires much of the same process. Over head shelving tends to be a wire structure that hangs down, which allows you to place a wood within the wires to store away objects. Overhead shelving should be installed with large anchors and screws to prevent the unit from falling. It is best to purchase an over head storage unit for a garage. This will save you a lot of time because the unit is already set up to support heavy weight, as well as spaced accordingly so it will not interfere with automobile entrance.
A shelving unit in a garage can be installed in less than one day. This is a quick process that will transform your space in a positive way. If you have a lot of tools, however, you may want to consider installing hooks to hang the tools. This will allow you to place more tools in an organized manner, using less space than shelving.

