
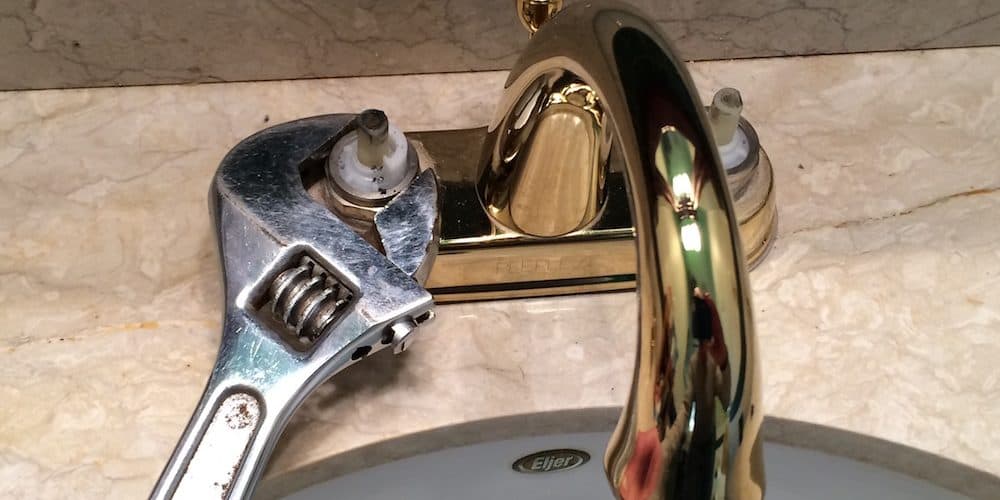
Drip.Drip.Drip.Drip. If I hear that noise one more time I am going to scream! Whether its from the tub or the sink, a leaky bathroom faucet can cause an annoying sound you’ll hate to hear. It is also allowing your money to go right down the drain. Plus, leaks cause unsightly stains on your tub or sink.
There are several reasons a faucet can begin to leak. Loose nuts can cause leaks around the base of the handle, while worn and old washers can cause slow leaks, dripping water, and water around the handles.
Once you have discovered a leak, it should be fixed as soon as possible. Repair costs can be steep for a faucet repair, but a do-it-yourself job can cost just a fraction of a repairman. All you need is a few tools and a little time and that leak can be gone in no time. Use this article to learn the steps of repairing leaky faucets.
1. Prepare
Be sure you have purchased a couple of washers from your local hardware store. These things almost always need to be replaced, so have them on hand so you don’t have to stop in the middle of what you are doing. Before performing any work you should ensure that the water has been turned off. The water can be easily turned off with the wheel underneath the sink. You should also block the drain so that nothing is lost going down the drain. Have a screwdriver or two with you to loosen things up. Also, place a towel or cloth to place all of your parts and tools on.
2.What Kind of Faucet Do You Have?
Basically your faucets have washers or they don’t. You’ll need to know if yours does or not to determine the appropriate method to stop the leak. Your faucet could also use a ball disc or a diaphragm-type faucet.
3. Repair Time
Washers are the major cause of leaks in systems that use washers. Over time washers experience wear and tear that eventually causes them to stop properly working. Remove the handle and faucet and check the bottom of the faucet body to see if the washers look old and worn. You should also clean the stem of any water build up that has occured. If the washers look worn, they probably need to be replaced. Once you have replaced them, turn the water back on and put the handle on. If there is no leak, problem solved!
Washerless faucets are a bit more complicated. When a leak occurs with a washerless system it is usually an indication that you need to replace a part. Kits can be found at home improvement stores containing all of the parts needed for repair.
For ball disc faucets, water is controlled by the discs. These discs can come unaligned, causing water to leak. Old and worn discs can also cause drips. You should remove the handles and discs and check for the problem.. Use a pair or pliers to align the discs. You should also check the O-ring, and if it is worn, replace it. This should end your leaks.
A diaphragm type faucet is similar to a washer type faucet. A rubber diaphragm creates a sealed close between the stem of the faucet and the handle. Remove the handle and disc and remove the diaphragm. You should replace the diaphragm around the disc. A new O-ring may also be needed to stop the leak.
4. Turn The Water Back On
After completing these tasks, put your faucet back together, then turn the water back on. Allow the water to run for a couple of minutes. Your faucet should be working as good as new.

