
We all have a lot of things and a limited number of space. Another place to store things would be great for most of us. One great way to accomplish this is to build a storage shed. In your back lawn, it could be the perfect place for lawn mowers, tools, everything that has been cluttering your garage. When building a storage shed, there are two options. The first is to use a storage shed kit, which cost about 1500 dollars for an average size. These kits can be cheaper and less work, but will leave you stuck with the choices of the manufacturers. If you want something more custom fit to your needs and taste, building from scratch is the option for you. The materials for an at home kit will cost around 2400 dollars for a somewhat basic 9×13 shed.
Contents
Step 1: The Foundation
For the foundation, most people just use four concrete blocks for each corner of the shed. So, first you should lay out the four corners of your shed. Once you’re sure of the corners, dig 6 inch deep holes in each of the corners and in the middle of the long walls. The holes should be big enough for the concerte blocks to fit in with a couple inches on each side. Fill the holes about 4 inches with crushed rock. Then, making sure the rock is level, put in the concrete blocks. If building on a slope, be sure to accomidate the amount of rock and depth of holes to make all the concrete blocks level. If you stack blocks for downhill support use construction adhesive. Finally, cover the area between the blocks with landscape fabric and 2 inches of crushed rock.
Step 2: The Floor
You need pressure-treated 2×6 sill lumber. Lie these pieces flush with the outer edges of the cinderblocks. Then get the band joist lumber and set it upright on the sill lumber. Stagger the the band joist and sill at the corners, then nail them into place. Lay out the floor frame by marking the joist locations. The first should be 15 and a quarter inch from the outside edge, the rest at 16″ intervals. Cut the 2×6 joists to fit inside the outside band joists at the locations marked, then nail them in place. Finally, install the plywood floor. Get the tongue-and-groove kind, and fit them together. nail to the foundation.
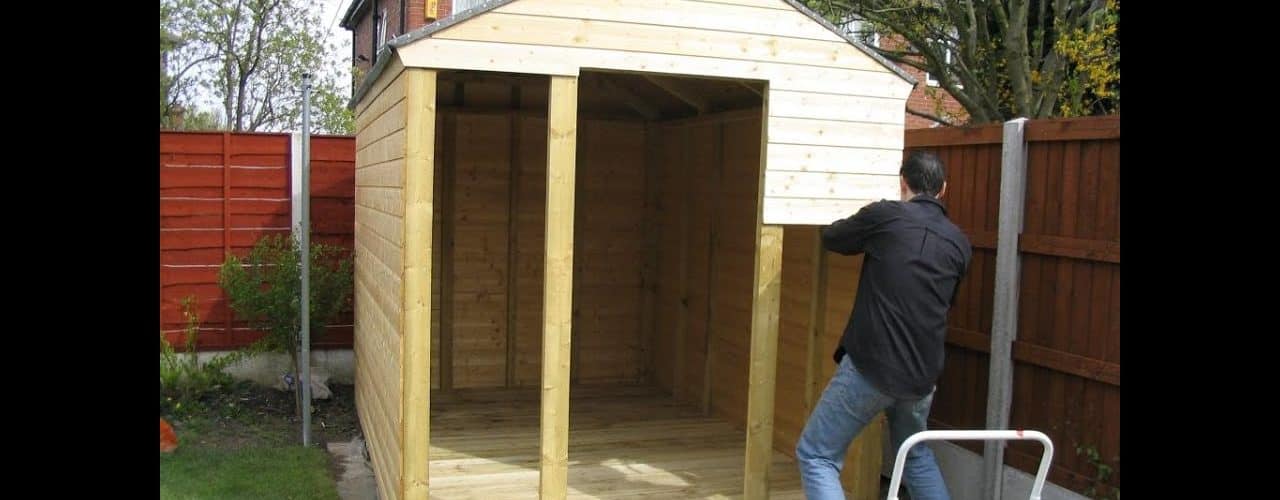
Step 3: The Walls
Build each wall frame seperately with 16 inches between the studs. Add three studs to each end. Be sure to cut out a door and any windows you want, and frame them with your 2×6 wood frame. Next get some verticle plywood siding to put on the walls. Make sure that the siding is flush, and nail it down as you go to the studs. Put in the window and door frames, and put up the walls. Nail them together at the corners, and nail to the flooring. put in the windows and doors.
Step 4: The Roof
Use 2×4’s for the roof and make sure to measure right when setting up the slope. Make a frame by using 2 2×4’s coming up at a slope to the center, a piece of wood coming down from the center, and a piece connecting the 2×4’s at the beginnings, furthest from the center. You’ll have a big triangle with a line down the center. Put these every 16 or so inches and nail to the walls. If you want an overhang on your roof, move in the bottom piece of wood on the triangle as many inches as your overhang will be. Use half inch plywood to side the roof, nailing it on the studs.
Step 5: Detailing
For detail, add shingles to the roof, aluminum siding to the walls, or paint them to your liking. This is the part where your originality can shine. Make it look like you want it to!
<>

