
Your driveway is perhaps the most abused of any of your home’s features. Not only does it withstand pounding rain, blazing sun, and frigid temperatures, but it also endures being walked on, driven on, and leaked on. Whether it’s oil from your vehicle or some other chemical from a home improvement project, these things can really do a number on your driveway. For all these reasons, sealing your driveway is a wise idea that can prolong its life as well as make it easier to clean.
Preparing your driveway for a sealant
Before you jump headfirst into applying materials, it is a good idea to start with a clean canvas. Take a hedge trimmer around the edges of your driveway to remove as much grass as possible. Go over your driveway with a fine tooth comb, searching for and removing any rocks that may have made their way onto it and weeds that could be popping up out of cracks. Next, take a blower and blow off any trash or debris. Sweeping is also a good idea.
Now it’s time to get out the scrub bucket and a good, stiff bristled scrub brush. Mix some detergent into your water and scrub away. Powdered detergents will work better because they are more abrasive. Be sure to wear rubber or latex gloves to protect your hands from harsh chemicals. When your driveway is as clean as it is going to get, rinse it well and allow it to dry for a couple of hours.
If your driveway has any cracks, use a concrete filler to repair them. Your driveway needs to be in as good condition as possible before you apply any sealant. Make sure you have selected a concrete sealer made specifically for this purpose before you begin. If you need help selecting a product, home improvement store experts will usually be happy to help you find exactly what you need.
Applying a sealant to your driveway
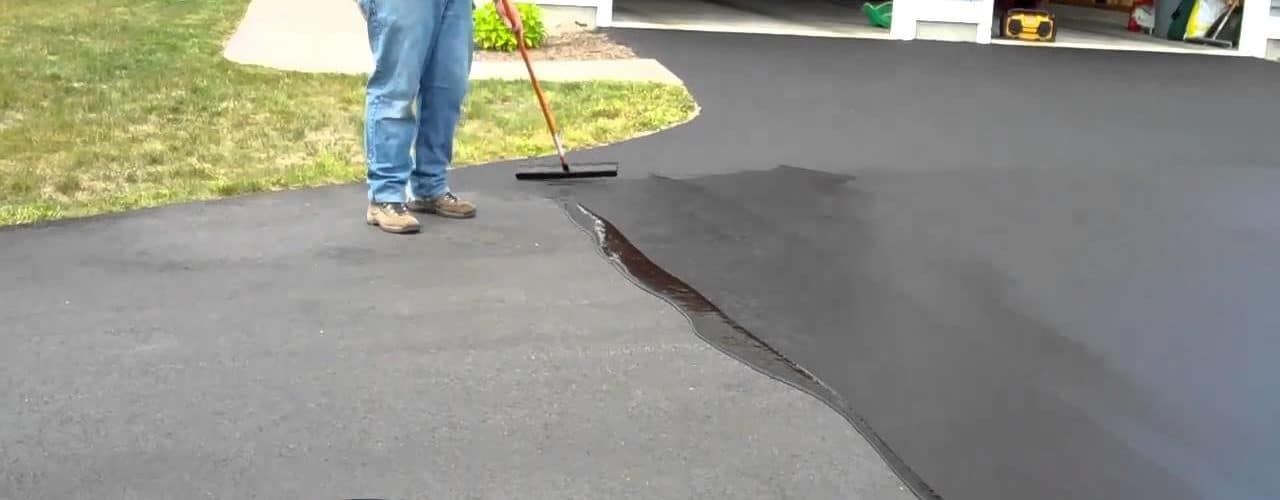
For the actual application of sealant, you will need a good concrete sealant and a way to spread it. You may use an old, but clean, broom, a paint roller, or even a squeegee for this purpose. There may even be other items around your home that can be used with success, but the main thing is to choose something that is clean, easy to handle, and will allow you to spread smoothly, thinly, and evenly.
Prepare the sealer according to the manufacturer’s directions. Some may require you to add water, some you may only need to stir well. Follow the instructions closely for optimal results. Pour a bit of the sealer onto your driveway and start spreading it with the tool of your choosing. Work in small sections at a time and try not to overlap. Your goal is to get the application as thin and even as possible.
When your entire driveway has received the first application, allow it to dry for 24 hours and do not allow anyone to walk or drive on it. After you’ve waited 24 hours, repeat with another application, allowing the same drying time and caution against disturbing the sealant. With the completion of the second coat and cure, your driveway will be completely sealed against all elements.
Enjoy your newly sealed driveway
Even with its new protection, you will still want to maintain your driveway. Sweep or blow it off regularly and keep an eye out for particularly tenacious weeds that may try to sneak up. When your driveway is sealed you will get many more years use out of it, so enjoy the benefits of your labor.

