
Planting garlic is a fairly simple process. As long as garlic has ample sunlight, it will usually grow effectively. There are several steps for planting garlic and maintaining it throughout its growth. Garlic takes several months to reach full growth. Bulbs should be planted in late fall or early winter, before the first snow in areas receiving snow. Usually the first signs of sprouting garlic will appear the following spring. By learning these simple steps, a person will easily be able to plant and cultivate their garlic cloves:
Contents
1. Pick A Location
Whether a portable garden box is used or a specific spot in a yard, it is important to be sure the area will receive direct sunlight for at least half of the day. Areas that only see a few hours of sunlight will likely yield unsatisfactory results. If using a planter it is important to be sure that at least 1 1/2 – 2 feet of soil is standing in the box.
2. Prepare The Area
If planting garlic directly in the ground, till the soil and remove any rocks or miscellaneous hard clumps and deal plants. For soil that is mostly fine dirt, add some heavily-fertilized soil and mix it in well with the dirt. Do not pack it down, just leave it somewhat loose.
3. Pick Out The Garlic Bulbs
Late in the year is the best time to find good garlic bulbs. Usually around October to December are the exact best months to seek bulbs and plant them. It is best to buy them from a trusted nursery and if possible, look them over before purchasing. Sometimes bulbs will have pieces that start to mold; this will be apparent by discolored spots on the bulbs. Avoiding moldy bulb pieces is good, as sometimes they simply do not thrive after being planted.
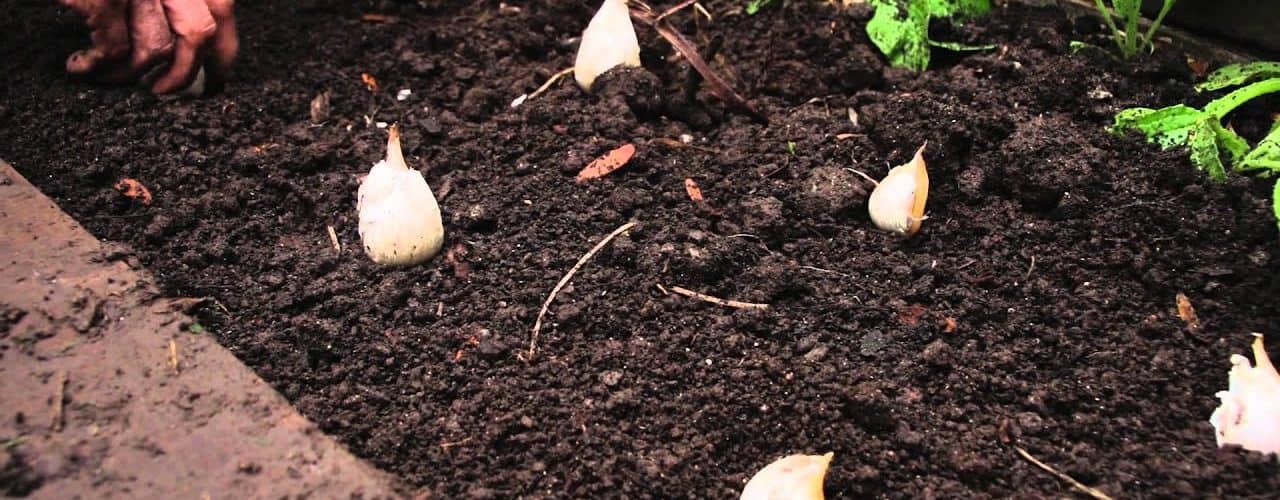
4. Plant The Garlic Bulbs
Create holes about 1 foot in depth in the garden area. Each hole for a bulb piece should be spaced about 3″ apart. Place one piece off of the bulb in each hole, then gently cover it with dirt. Do not pack the dirt down hard, simply fill it in.
5. Cover Area & Let Rest
Using a mold-resistant mulch, cover the garden area well and keep the garden moist until the cold winter months are in sight. Once the weather becomes cold enough to be close to freezing, add more mulch to keep the garlic protected from harsh elements. It isn’t necessary to cover it with plastic, though.
6. Uncover Area & Water
Once spring has arrived and the risk of regular frosts is gone, remove all the mulch pieces from the garden and leave it open to sunlight. Keep the soil moist daily, but do not over-water it. Misting or lightly watering the soil is the best way to gain this effect.
7. Monitor & Trim
Garlic wisps will first appear green when they sprout. After a short time, they will either droop or turn a yellowish-green color. When leaves become thick, it is not harmful to trim some of them off, but only trim a few. Once the plants have reached maturity, nearly all of their wisps or leaves will be yellow in color.
8. Harvesting & Storing
Once the garlic has matured, dig it up carefully from the ground and shake the dirt off. If there are too many garlic cloves to use within a timely manner, garlic may be crushed and then stored in jars in the refrigerator.
Related Youtube Videos:
Growing Garlic : How to Properly Plant Garlic
<>
Growing Garlic
<>
<>

