If you have ever seen and admired a well paved driveway, you may have wished you could have one in your own driveway, but may also have been put off by the prices offered by contractors and intimidated at the prospect of doing it yourself. However, it is not only possible to pave your own driveway on your own, it is also achievable with modest means and highly affordable. Besides the cost and pride benefits of paving your own driveway, there are also practical benefits in having a paved driveway for many homeowners in comparison to a sand, gravel, or dirt driveway. An asphalt-paved driveway will be more friendly to cars, as there will be less rubble and fewer rocks to fly into cars, and less mud or dirt to dirty them. Follow this guide to learn how to pave your own driveway and have that sense of accomplishment that comes with a project completed with your own two hands.
To complete this project, you will need gravel, an asphalt mixture, liquid cement, an asphalt spreader, a gravel spreader, a drum roller, and boundary markers. Some of this equipment may be substitutable, depending on your experience levels and what you have available.
First, obtain your boundary markers and mark the dimensions of your planned driveway. This will serve as a guide for the rest of the project. Next, obtain your gravel and spread it all over the driveway in a layer at least two or three inches thick. However, it should be any thicker than eight inches. You may contact a gravel distribution service, or you may spread the gravel yourself if you have it available. It will cost less to do it yourself, but it will most likely require a trailer or a pickup truck (or many wheelbarrows).
Next, you need an asphalt mixture source. If you don’t want to mix the asphalt on your own, you can call an asphalt service. If you want to mix it yourself, be sure you have the necessary equipment. Once the asphalt is mixed (or the mixture obtained from a service), mix your melted liquid cement and the asphalt mixture together. Be careful not to burn yourself or others with the liquid cement, as it will be hot!
Evenly distribute the asphalt across the area you have planned for your driveway. You can use an asphalt spreader to ensure the asphalt is laid smoothly on the driveway area. If you don’t have an asphalt spreader available, another flat, plane-like device may be useful.
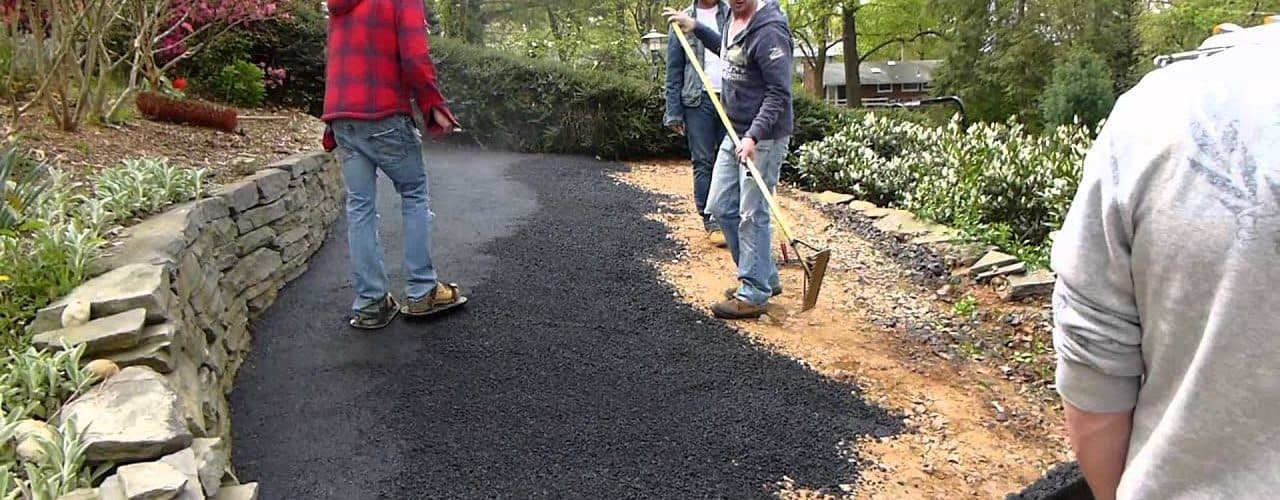
Once the asphalt is spread, grab your crushed gravel. It is crucial to do this quickly, as the mixture on the driveway will begin to solidify within minutes. Using your gravel spreader or an equivalent tool (your hands may work in a pinch), scatter the gravel on the warm asphalt before it cools. Next, grab your drum roller and roll the gravel layer into the asphalt. The purpose of this step is to produce a chip seal, which functions as a barrier for the driveway against rain, wind, and being rolled over constantly by vehicles.
The final step is the longest. Your task at this point is simply to let the asphalt dry, presuming you have layered it as directed in the previous steps. You will want to stay away from the paved surface for at least twenty four hours to enable the asphalt to cure and cool. Be sure not to drive on it, either, as that may warp the asphalt. Congratulations! You’ve paved your driveway!
Additional Resources:
Associated Content: How To Pave Asphalt