
When installing a hardwood floor, the homeowner may need to level the existing subfloor. This will help prevent future complications such as bucking, cracking, squeaking, creaking, and other problems associated with unevenness in the flooring. Now understand that we are herein talking level as in a flat plane rather than level as it is related to the lack of slope. Therefore, it is critical that the installer know the correct method for checking the flatness of the subfloor.
Check the Flatness of the Subfloor
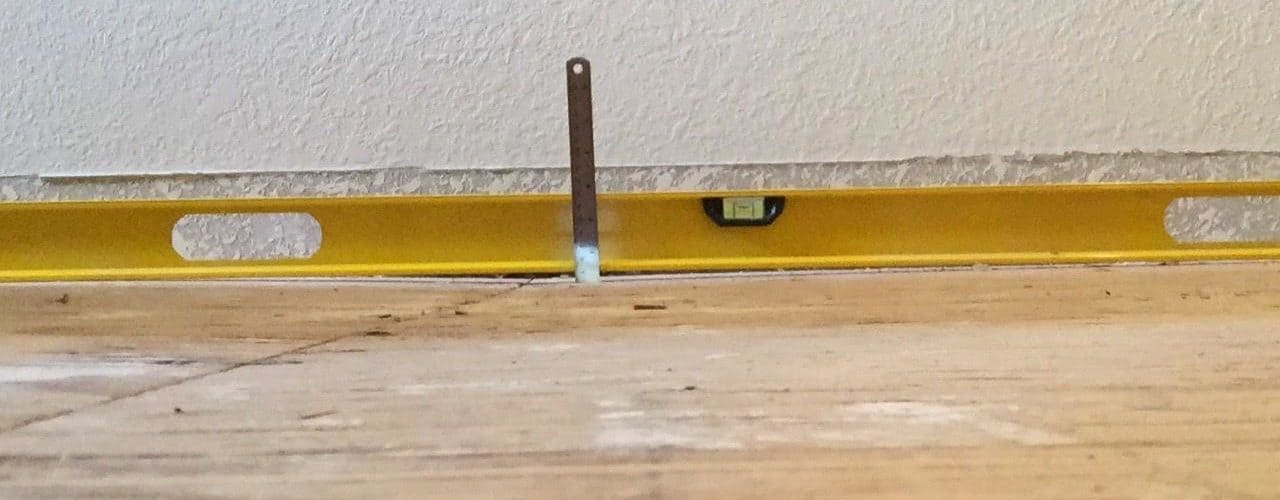
In the first order of business, set aside that fancy laser level that you have been itching to put into use. To accurately and easily check the flatness of the subfloor, get a length of timber that is six to eight feet long, flat edged, and straight. Treat this as your straight edge. Now start from the center of the room and follow these steps:
- Lay the straight edge down on the floor, centered between any two walls. You are looking for gaps beneath the board.
- Using a pen or a marker to write directly upon the existing subfloor or upon masking tape if preferred. Pinpoint and notate the specifics of any gaps that exceed 1/8” over a six foot radius. Standard specifications for subfloor flatness range from 1/8” of an inch in a six foot radius up to 3/16” of an inch in a ten foot radius. Adjust this standard so that it conforms to the manufacturer’s specifications that are included with your wood flooring material.
- Working from the center starting point, rotate the straight edge by 25 to 45 degrees in either direction.
- Mark and pinpoint gaps as they are revealed. Continue the process until you have completed a full circle.
- Now, use any of the previously marked gaps as a new center for your straight edge. Continue to work the same process in an ever increasing expansion from the original starting point.
- After reaching your first wall, go back to the main center point. Aim in a new direction and repeat the above process.
- Continue in this same pattern until the entire room has been measured and marked.
As a note of exactness: that fancy laser lever could have been used to perform the task. The complications would not have been worth the effort.
Fix the Problem Spots
Most wood subfloors are constructed from plywood or particle board. In either case, the leveling process will be similar to what herein follows.
High Spots: Use a sander to deal with high spots. If there are many high spots, or if they are extremely bad, consider renting an orbital sander. If the situation is minor, a standard palm sander may be sufficient to correct the problems.
Low spots: If you are securing the finished by use of nails or staples, fill the low spots with a self-leveling cement compound. Otherwise do the following:
1. Check the manufacturer’s requirements. If they do not agree with these instructions, stop now and proceed according to the manufacturer suggestions.
2. Layer shingles as necessary to level the dips.
3. Use felt to cover the entire area to be resurfaced.
4. Apply a layer of ½” plywood as a final overlay of the entire subfloor surface.
For some helpful hardwood questions and answers, visit Hardwood Flooring Talk.
For a quick answers to common floor problems that occur after the installation, check out Wood Floors Online.

