
Roof vents are installed in a home to provide the proper ventilation needed in both warm and cool weather. During the winter the moisture leaks from the house into the attic. Condensation occurs and drops on the insulation and wood without proper ventilation. During the summer months the roof vents provide a way for the very hot air to escape from the attic.
There are two types of roof vents that can be installed. Static vents, aka eyebrow or roof line vents, have a cylinder base with flashing collar and metal hood. They are attached on the deck of the roof. Ridge vents are placed along the peak of the roof.
Vent Determination:
Step 1 – Determine the amount of roof vents by attaining the square footage of the attic and the slope of the roof. The square footage of the attic is figured by multiplying the width times the length. The angle of the slope is figured by measuring from the floor of the attic to the peak. Multiply this figure by 24. Divide that answer by the width of the house. Put that number in front of :12. Example: The height of the roof joist is 6 1/4 feet. 6 1/4 feet times 24 equals 150. Divide 150 by 30 (width of the house). The answer is 5. The slope of the roof is approximately 5:12. This figure means the roof raise 5 inches vertically for every 12 inches horizontally.
Step 2 – Take the slope ratio of 5:12 and the square footage of the house to the local home improvement center. Look at the “free vent area” (FVA) recommendations on each vent. Purchase the required amount for the intended roof.
Materials Needed:
Ladder
Tape Measure
Roof Vents
Level
Reciprocating Saw
Drill
Drill Bits
Screws
Putty Knife
Pencil
Caulking
Black Jack
Process – How to Install Roof Vents:
Step 1 – Check the attic to make sure no electrical wires are located within 2 1/2 feet from the peak of the house. Move them before beginning to cut the holes for the roof vents.
Step 2 – Place the ladder against the soffit. Angle the ladder the distance of the soffit and 1/4 of the ladder height away from the house.
Step 3 – Place the roof vents on the roof so they are evenly spaced and approximately 2 feet down from the roof line. Level the top of the vent so it is square.
Step 4 – Measure from the top of the first roof vent to the peak. This measurement will be used to center remaining roof vents.
Step 5 – Draw a line around the inside of the vent base. Drill a hole in the approximate center of the marked area.
Step 6 – Stand so the reciprocating saw will be cutting the same direction as the roof row. Place the end of the blade into the drilled hole and begin cutting towards the outside mark of the roof vent. Stop cutting if a rafter is hit. Move the roof vent and retrace around the inside of the vent base to avoid the rafter. Continue cutting around the marked area until it can be removed.
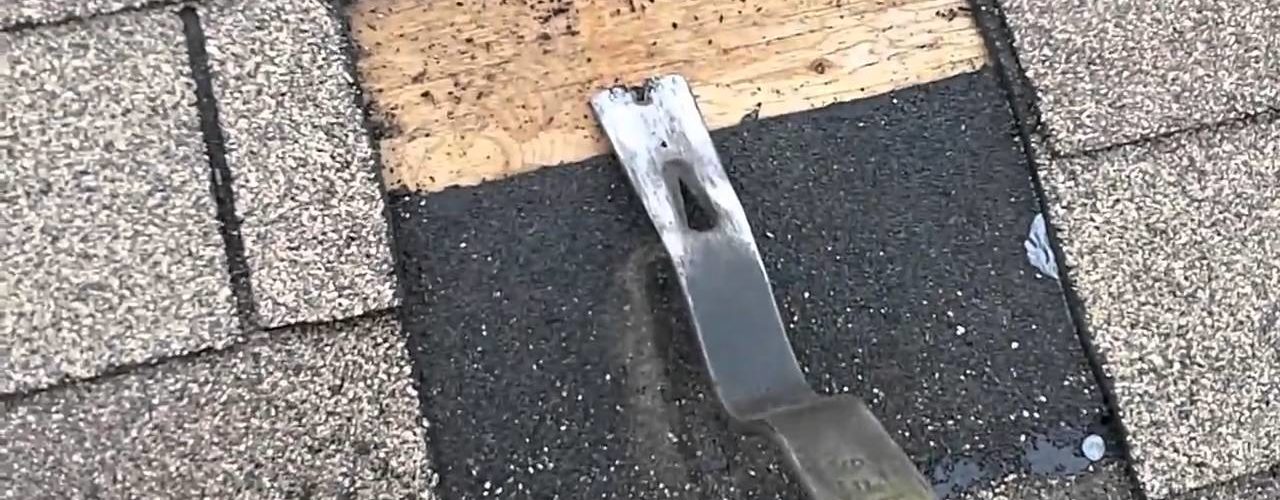
Step 7 – Pull the shingles up around the edges of the cut hole far enough to slide in the roof vent flange. Apply caulking to the side edges of the roof flange that will set against the house. Insert the roof flange under the shingles and around the roof deck. Screw into place.
Step 8 – Caulk or black jack the heads of the screws and around the edge of the roof vent.
Step 9 – Repeat the process for all vents. Pick up the area of any debris when finished.

