
These days, a great number of families have decided to upgrade their old carpet covered stairways to hardwood stairs. Such hardwood stairs prove to be simple to keep clean and maintain, they are showcased in numerous home magazines, and they also are very aesthetically appealing. Such a project can be completed by a reasonably experienced home improvement person, as it is a moderately difficult project. In this article, we discuss the steps to put in hardwood stairs yourself.
Tools and Materials Necessary for the Project:
– Fifteen gauge two inch nails
– Compound miter saw
– Circular saw
– Chalk line
– Level
– Belt sander
– Hammer
– Pry Bar
– Pliers
– Construction gloves
Prep Work
The first things that have to be done in this project involve some preparation work. You should wear a good pair of heavy duty construction gloves in order to keep tack pins from tearing up your hands. Then you are ready to tear off the old carpet. Utilize a good pair of pliers in order to grab hold of the bottom of the carpet on the stairs. Get a good hold of the carpet with your free hand. Once you have pulled up the carpet, get a pry bar and tap one end of it using your hammer in order to take off the tack strips. In order to tidy up the mess beneath the carpet, get a belt sander. Any thing that you fail to get off that was left by the carpet will assuredly make your new hardwood floors squeak when you walk up and down on them. So we suggest that you clean out the corners very well too. This may require that you clean them out by hand, unfortunately. Once this if finished, take out all of the staples that you are able to utilizing your pair of pliers.
Leveling
Employ the level to ensure that every stair is completely level. If they are not level, then they will probably squeak once they are covered in hardwood. Should you find some stairs which are not truly level, then simply sand down these places until they become level. Next, you will need to draw a chalk line on every step to remind yourself of what amount of nosing that you will have to take off. Make certain that this line is correct. Since every step will prove to be a little different, you have to perform this onerous task on every one of them.
Sawing
Utilizing the circular saw, cut carefully along the chalk line. Every side should still possess a couple of good inches afterwards. Utilizing the circular saw again, cut the extra material’s center. Get the pry bar and put it about the center of one side. Pry half of it off, then do the identical step on the other side. You must make certain that both steps and risers are truly level in advance of going on to the next steps. If you fail to do this properly, then you can be certain that they will have to be corrected later on.
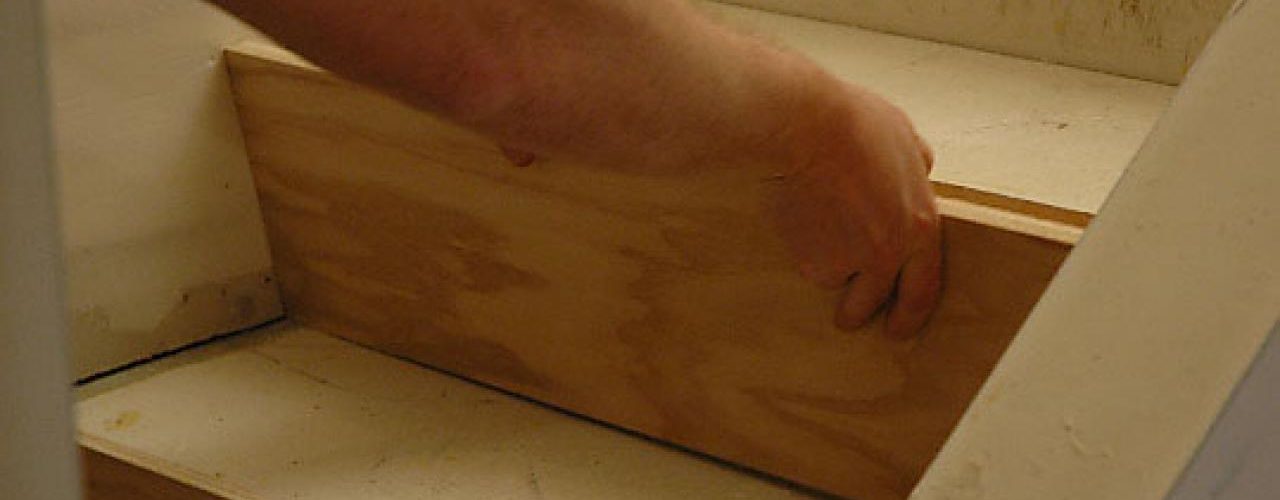
Now get the compound miter saw out and set it up at a thirty to forty-five degree angle. Bevel the back of every stair stringer. In such a way, you will be certain of a good, snug fit.
Every stringer will have to be individually nailed down using a finish nailer or a pneumatic nailer employing the fifteen gauge two inch long nails. Put down three nails length wise, which will not be visible from the next step up.
For still more information on installing hardwood on your home’s stairs, visit the following website at: Hardwood Installer.

