
Installing a new ceiling light can brighten up a room and also add flair and ambiance to your decor. There are several steps to making sure your new light is properly installed. Taking your time and doing it right will provide years of dependable service from your new light fixture.
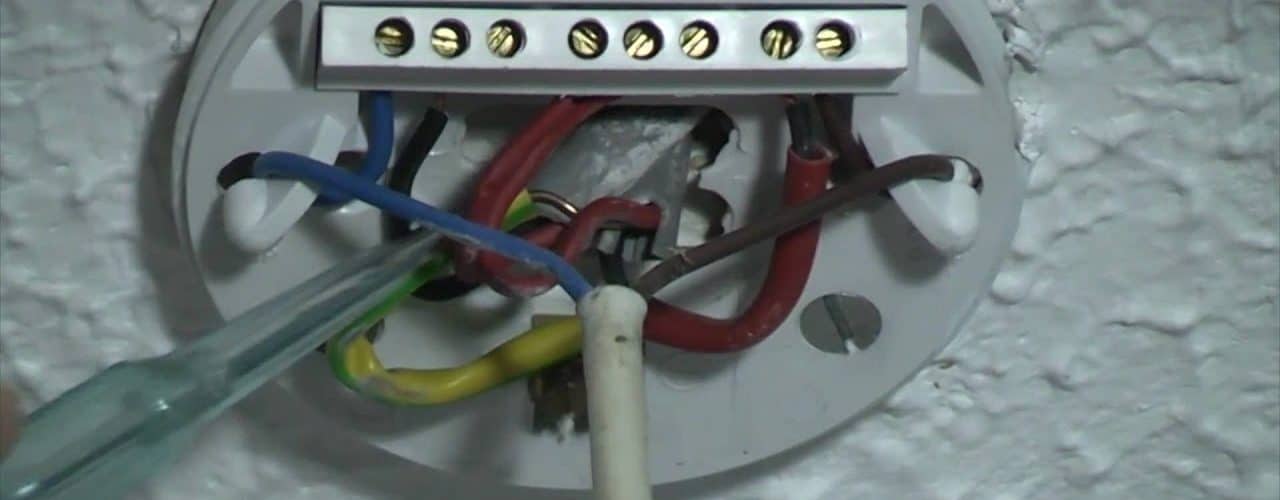
The first step in replacing a ceiling light is to remove the old fixture. To do this safely the power must first be turned off. If the existing fixture still works an easy way to see if the power is off is to check to lights. If the bulbs don’t burn when the switch is flipped the power is not going to the fixture.
As a precaution, always turn the power off at the breaker box as well. Once you have confirmed the power is off, place a ladder or other stable platform under the fixture that is high enough to allow easy access to any bolts or screws that are holding the fixture to the ceiling. Once the fixture is loose, disconnect the wires supplying power to the fixture. You are then ready to hang the new ceiling light.
Always take a moment before installing the new light to read the directions. There may be special steps or procedures with some light fixtures. Familiarizing yourself with the new fixture can avoid hassles and delays during installation.
After you are confident you know how the fixture is to be installed it’s time to begin. First, make sure you have wire nuts and electrical tape to secure the wiring connections. Once the wires are connected, fold the wires back up in the electrical box to allow the light to be mounted flush to the ceiling. Once you have the light flush to the ceiling, use the bolts or screws provided with the new fixture to secure it to the ceiling box.
A good installation tip: Before completely tightening the bolts securing the fixture, step away from the fixture and take a good look. Make sure it is hanging straight and level. See if there are any pieces that are missing or bent. This is your first look at the new ceiling light when installed. Make sure you like it, it may have looked a little different in the box or on the hanging display at the home improvement store.
Once you are satisfied that the new ceiling light is what you want and that everything looks good, climb back up on the ladder and finish tightening any bolts or fasteners. After everything is mechanically secure, install any new light bulbs. Always be sure to follow the manufacturers recommendations for bulbs. Pay special attention to the wattage of bulbs your fixture is rated to handle. Never exceed this recommendation. Putting 100 watt light bulbs in a fixture that is only rated for 40 watts can damage the ceiling fixture and may even cause a fire by overheating the fixture.
After installation is complete it is a good idea to clean the new ceiling fixture with a soft cloth and a non-abrasive cleaning agent. This will remove any debris that may have settle on the fixture from the ceiling. Cleaning will also remove any oils transferred from your fingers to the finish of the fixture. Many ceiling fixtures are constructed from brass and will tarnish if oil or other residue is not removed.
If your new ceiling fixture is installed properly it will enhance the look of any room. Many modern ceiling fixtures are available to match any decor and will brighten the look of any room from the kitchen to the bedroom.

