
There are three types of attic vents that will retrofit with most conventional roofing and construction systems. Dormer vents, turbine vents and gable end vents are all fabricated from galvanized sheet metal, and some styles have lead flashing at the base, which allows the vent to conform to tile roofing. Installing any of these is not a complicated process.
However, since the installation involves removing a section of the roofing and cutting penetrations in the roof sheathing, the main concern is for a weather-tight installation. The installation begins with determining the style of attic vent that will provide the most ventilation.
Dormer vents have a wide base that attaches to the roof sheathing, and a single, screened opening for ventilation. The vent has a solid top that is slightly peaked to ship rain water.
The size and number of vents that are necessary can be determined by consulting a calculation table that factors the cubic feet of attic space. In most instances, two or more dormer vents are needed to sufficiently vent stale attic air.
Turbine vents have a similar base that attaches to the roof sheathing, and a revolving turbine that draws attic air to the outside as the turbine rotates. These vents are available in sizes that range from 12” to 24” diameter for residential applications, and 36” to 60” diameter for warehouses and other commercial buildings. Turbine vents provide the best ventilation in situations where the attic has a working ventilation fan, since the circulating air will rotate the turbine continuously.
To install a dormer or turbine vent, select an area near the peak of the attic, but not close enough to disturb the roofing ridge. Remove enough roofing to allow 6” clear on all sides of the base flashing, and leave the underlay paper intact if possible. The size of the roof penetration will match the underside of the vent. Mark the four sides of the opening and use a circular saw or reciprocating saw to cut the roof sheathing. Remove the cut piece and caulk the edges of the opening with roof mastic or weatherproof caulking. Place the vent over the opening and secure it with wood screws. Replace the roofing to complete the installation.
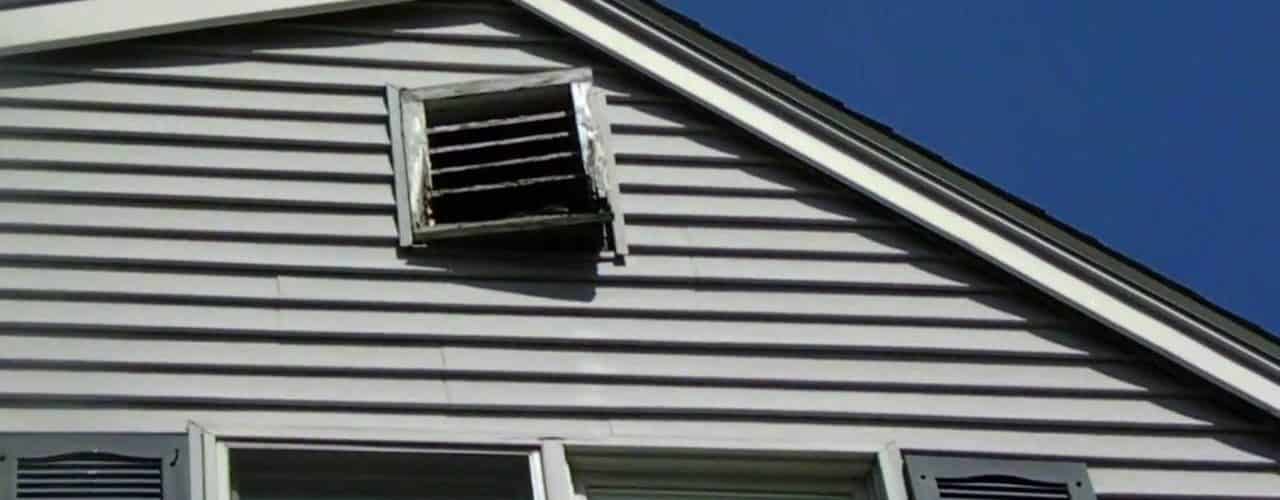
For gable end vents, it is necessary to cut an opening in the exterior siding or stucco in order to receive the vent. The vent is designed to nail in place on the face of the wall, just below the peak of the attic. The size of the gable vent will depend on the area of the attic, and in most instances a 14” wide x 24” long, screened vent will be sufficient to vent a good portion of the attic. Gable end vents can be installed at each end of the attic if desired.
Begin by marking the size of the vent, including the flashing at each side. Cut the stucco or siding on these marks and install the vent, with the vent fins pointing downward. Secure the vent to the wood framing with screws or galvanized box nails. The stucco or siding can be patched or replaced to complete the installation.
Where vents are installed on a flat roof, it is best to enlist the services of a roofing contractor in order to ensure the roofing is replaced using a hot application method, as required.

