
Whether a home is outdated and a family is just moving in or the old window treatments have simply seen better days, it may be time to consider re-glazing the windows. A more affordable alternative to purchasing new windows, glazing can be done fairly quickly and easily. Glazing is defined as creating new edging alongside the glass of the window and between the frames as well. When glazing on a window has been shot, it could diminish the look of a windows whole condition. Choosing to glaze the windows will provide a home with a little extra insulation and ensure that the windows in a home continue looking their best for as long as possible.
The first thing that needs to be done before any windows are glazed is to gather all the necessary items. There is not much equipment needed for old windows so that is a big relief to people who are on a tight budget. Window glaze can be purchased at most home improvement and tool shops for a fairly low price. When shopping for a glaze, it is important to carefully read each label thoroughly. Some of these glazes may need up to 14 days to dry, as well as others that will need to be painted beforehand or after. Learning the differences between the different glazes available is essential in choosing the best one.
The next step could be fairly difficult but does not need any intricate instructions. All of the windows that need to be glazed should now be taken down and brought into one area. Removing each window from its frame and keeping them all in one central area is important so that the homeowner will not need to continue removing windows during the process. Many people choose to paint the frames as well while the window is out of place. Doubling these two jobs instantly gives a room a whole fresh new look with a minimal amount of work.
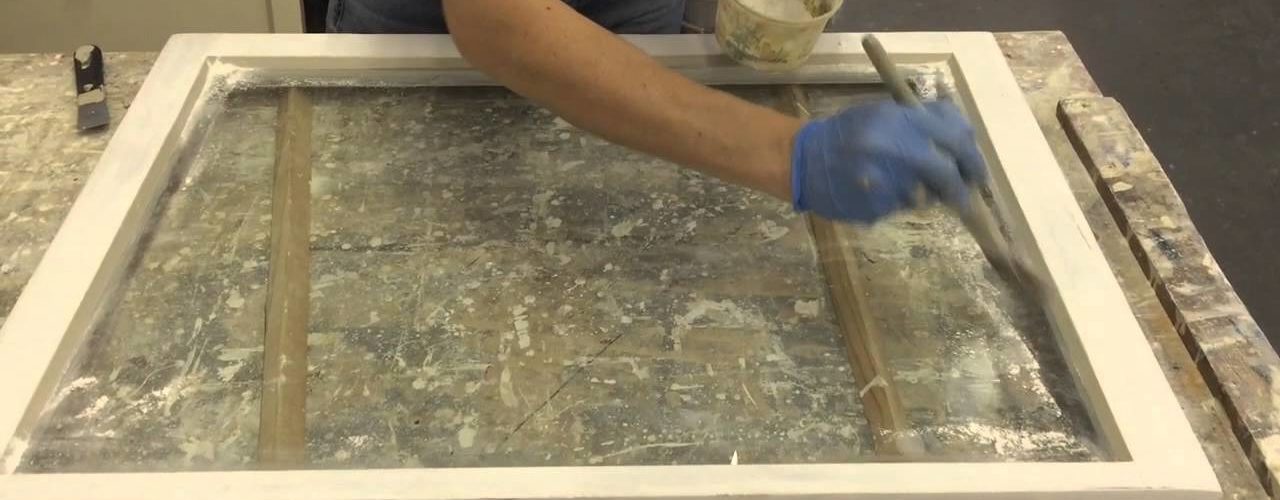
Before applying any new glazing, the homeowner will have to remove any of the old build up on the windows. The best ways to do this is through heating or scraping. Many people choose to scrape the goop off because it is easier and does not require any expensive tools. A scraper can simply be run along the edge of the windows to pop off the old glazing. When the old material is more stubborn, however, a blow torch could be a much better alternative. Using the torch on low heat is efficient for melting off the old material and creates a clean slate to work with.
Once all of the putty has been removed from the window, the points need to be taken out as well. The small pieces of metal that are lodged into the wood are fairly simple to remove. They can often be pulled out by hand, so there is no need to use expensive tools to do the job. If the metal pieces are still in good condition, they can be used for the new glazed windows. This will save money and prevent the homeowner from spending a long amount of time searching for pieces that will match old windows.
Once the windows are free of any goop or metal, they can then begin to get primed. This typically takes a short period of time since it is simply covered over the wood surrounding the glass. Primer should be left to dry for about one day. After the primer has completely dried, the glazing can begin. The glaze is usually applied by using a caulking tube or by hand. The homeowner will need to apply a thin bead around the frame and then press the glass into it so it fits snugly. The glaze will then need to set for a few days. After several days have passed, the homeowner can then paint the frame if they wish.
Re-glazing the windows could instantly breathe fresh life into a home with only a small amount of work. After years of little or no maintenance, windows can begin looking neglected and dirty. When the glazing has been done to windows, it improves the insulation and makes old windows look brand new all over again.

