
Attics are often neglected but if finished properly, these spaces serve as an excellent quiet getaway, guest room or space for work and hobbies. Here are a few simple guidelines for finishing an attic and transforming it into a magnificent space.
Contents
- 1 1. Know what to do; study ahead and become informed.
- 2 2. Plan ahead for piping, electrical outlets, lighting and switches.
- 3 3. Every inch counts so don’t waste any space.
- 4 4. Price the materials and make a budget.
- 5 5. First things first; make sure all electrical and plumbing work is done first.
- 6 6. Purchase all the necessary supplies and begin working.
- 7 7. Take the time to finish everything right and in the correct order.
1. Know what to do; study ahead and become informed.
Many attics are completely unfinished with nothing but support beams and wood floor showing. The first step is to review different types of materials needed, such as plywood, dry wall and various panels. Each of these materials vary in price and structural capabilities, with dry wall being the most popular for walls and thick wood beams for floors, if they still need finishing.
2. Plan ahead for piping, electrical outlets, lighting and switches.
The area should be examined and locations for electrical outlets, ceiling lights, light switches or any other additions should first be mapped out. If a bathroom is also on the list, it should be planned directly above another bathroom for easy access to a pipe system. Once these are mapped out, drawing a rough plan with exact measurements is very important. Always check all plans to ensure compliance with any building codes.
3. Every inch counts so don’t waste any space.
A helpful tip for utilizing space is to construct closets along the shortest parts of the sloped ceiling. About two feet should be sectioned off for insulation, but many people section off far too much, making the wall begin at standing height. By using all of the space between the first couple of feet along the length to standing height, doors may be installed easily and negative space will be used as a storage closet for many things.
4. Price the materials and make a budget.
Once the basic design draft is completed, it is important to price the materials needed for the entire project and make a budget. If the total figure of all desired items for the project exceeds what is affordable, it may be necessary to modify or cut back. Prioritizing is key; for example it would be best to put in cheap toilets and carpet because both of these could easily be replaced later unlike the construction materials.
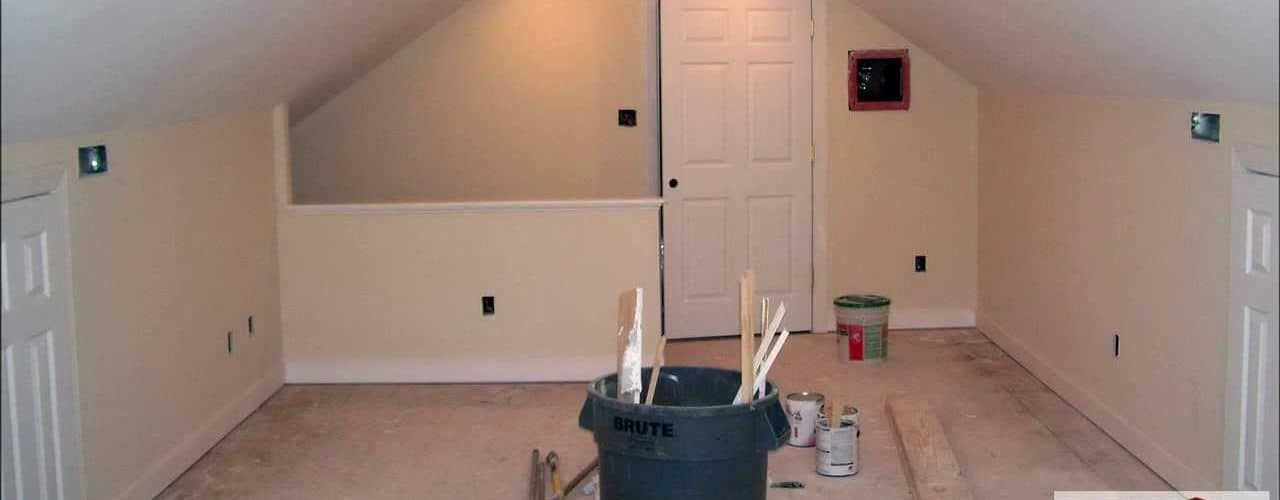
5. First things first; make sure all electrical and plumbing work is done first.
Ensuring that all electrical wiring and plumbing work is done before construction is important. Wires and pipes should be tested to make sure they are in proper working order to avoid any problems. Wiring units and outlets should be planned and measured very precisely as cutting the material used for walls and ceilings will require this.
6. Purchase all the necessary supplies and begin working.
Construction supplies may be purchased at home improvement stores or lumber yards. Those who are internet and sale savvy may prefer to run ads for discounted or used items on Craigslist. Once all supplies have been purchased, beginning work should be started. Floors, wire and pipe locations should be measured again; double-checking is very important.
7. Take the time to finish everything right and in the correct order.
Every step should be done in the correct order. For example if making long closets along the walls, installing the back wall and insulation comes first, then the installation of the front wall. Before any wall is installed it should be cut in necessary places for doors, outlets and light fixtures. Installing flooring or carpeting should be the last task. Fixtures and outlets should be tested to verify safety, also bathroom fixtures and pipes should be thoroughly checked and tested to ensure there is no leakage.

