
This is a true story about how my wife and I built a garden shed. Back in 2003, about a year after we were married, my wife decided to convert the garage into an artist’s studio. The lawn mower, wheel barrow and all the garden tools needed a new home. Being somewhat industrious, but with no formal carpentry training, we set about to build a 16 foot by 8 foot storage shed.
The first thing we did was scout out a good spot on our property where the shed would sit. A nice level piece of land on the northern edge of our property. Now it was time to do a little planning.
We sat down and made a list of all the materials we would need. Ten 60 pound bags of concrete. Eight 10′ x 4″ x 4″ posts. Fourteen full sheets of 3/4″ plywood. Four 1/2″ sheets of plywood for the roof, tar paper shingles, a bunch of 2 by 4’s in varying lengths, lots of nails, screws and metal brackets and some hinges and a handle for the eight foot wide double doors. With our list at least pretty well thought out, we set off to Home Depot and spent about $800.00 on supplies. We loaded our full-sized pickup truck to capacity and still had to make two trips to get all the supplies home. Getting everything unloaded, moving heavy bags of cement and big sheets of plywood took its toll so we called it a day and decided we would start bright and early the next morning.
Enthusiasm is a great thing. We both rose with the sun and were out in the yard by 7:00 AM ready to begin. Using a 25 foot tape measure we measured and marked a rectangle sixteen feet long and eight feet wide. With a post hole digger we dug four holes (one in each corner), set the posts in approximately two feet deep and filled them with the quikrete concrete. We proceded to measure four feet in from the two posts on the 16′ front side of the shed and sunk two more posts. We repeated the process on what would be the back wall by sinking three more posts in a line four feet apart from each other. Of course we made sure the posts were all the same height and perfectly perpendicular.
After a little break as the concrete set, we came back and put up the walls. Each 4′ x 8′ piece of 3/4″ plywood fit perfectly between the posts we had set earlier in the day. So, we nailed the plywood to the posts, stepped back and admired our work. The shed was starting to take shape.
We started the roof by adding a four foot 4″ x 4″ post to to the center post on each of the two shorter walls. Then we built a 16′ beam by doubling up some 2 x 4’s and layed it across the extended posts. It was a good day’s work.
The following day we attached the roof with a series of two by fours, covered it with the 1/2″ plywood sheets and installed the shingles. While my wife was up on the roof nailing down the shingles, I built the floor with 2 x 4’s and 3/4″ plywood. Two more pieces of 3/4″ plywood, some heavy duty hinges and a little sanding and we had the doors hung.
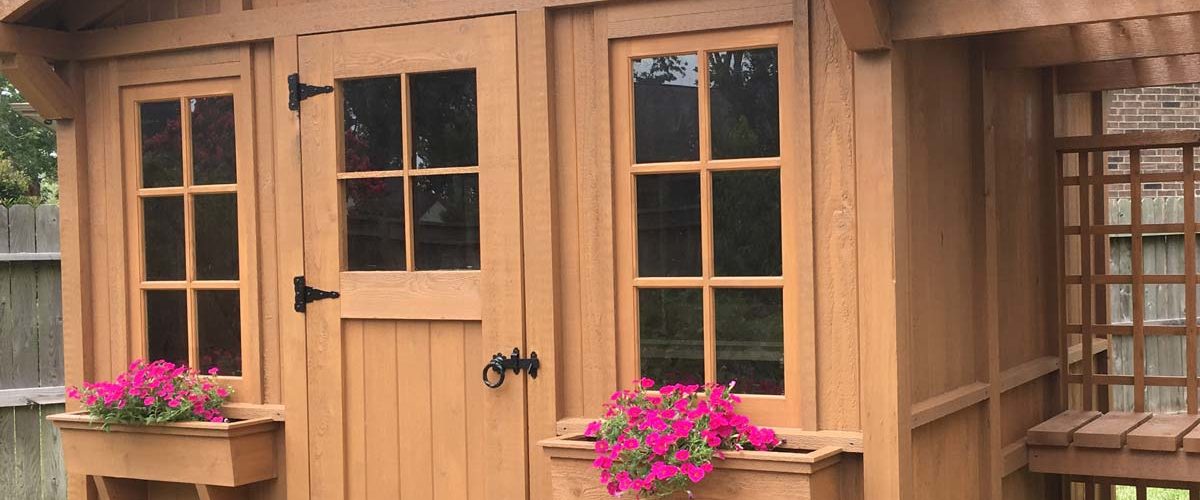
Almost done. We made one more trip back to the Home Depot, picked up some indoor outdoor carpet, pegboard for the interior wall to hang tools on and some paint to make it look pretty.
The whole project took the better part of a week from start to finish and it has stood strong through hurricanes and tropical storms for more than seven years. It just goes to show you, that two people with some common sense and the willingness to work hard, can build a solid garden shed.

