
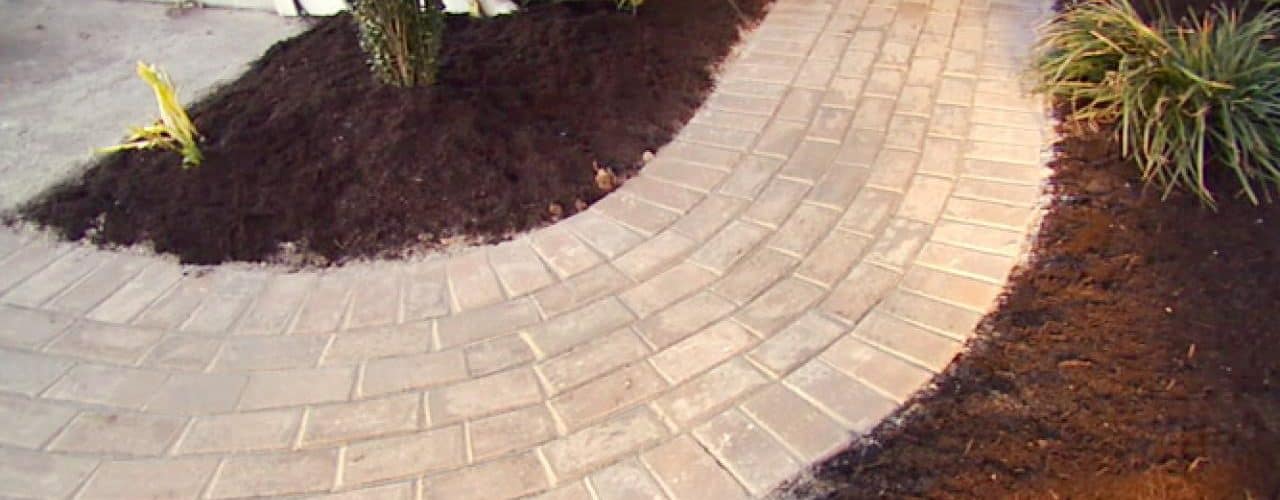
Having a brick walkway is and easy and relatively inexpensive way to create a stylish, sophisticated atmosphere, while at the same time increasing the value of your property. And while it may be a daunting task for many people to consider, making your own brick walkway is actually relatively simple, and much less expensive than professional instillation. Below is a guide to just about all the tools you’ll need and all the steps you’ll need to take to have your brick walkway up in no time.
Required Tools
- Shovel
- Tamper*
- Measuring Tape
- Safety Glasses
- Rake
- Gloves
- Rubber Mallet
- String
- Level
- Stakes
- Paver Sand
- Paver Base Material
- Paver and Patio Edging
- 1-inch Diameter Pipes
- Plate Compactor*
- Wet Saw or Circular Saw*
* Often available for rent
Preparation
1. First you will need to take note of the size of the bricks you plan to be using. (The most common bricks are called modular bricks and are 2 1/4″ x 4″ x 8″.)
2. Next, you’ll need to determine the length and the width of your planned walkway, and calculate the total area (length x width). This will determine the number of bricks you’ll need, and the amount of base material and paver sand required.
3. You will also need to calculate the perimeter of your project to determine how much edging will be needed. (For a standard rectangular pathway perimeter is equal to: 2 x length + 2 x width. For more complicated pathways a string can be secured around the entire edge of the pathway and then stretched out and measured)
4. Use the area and the dimensions of your bricks to determine the number of bricks you’ll need, as well as how much base material you’ll be using. (You’ll want a thickness of at least 4 inches over the entire area of your walkway.)
5. Calculate the amount of paver sand will be needed. ( square feet of project x .083 = cubic feet of paver sand required.)
6. Compute the required amount of edge restraint and spikes.
Note: This is also a good time if you haven’t to figure out the total cost of your project since you know exactly how much material will be required.
Installing your Walkway
1. Use the shovel to excavate the installation area, leaving about 6 more inches on each side than the actual planned size.
2. Cover this area with the paver base material and use the tamper (or possibly the plate compatctor) to compact it to a thickness of at least 4 inches. (Use a level to insure consistent thickness)
3. Lay the diameter pipe around the entire interior diameter on the newly compacted base material. Then lay 1 inch of paver sand over the compacted base, and level it by dragging a level item (preferably a 2 x 4 if one is available) across the top of the diameter pipes.
4. Surround planned walkway area with paver edging that will work to keep bricks in place over time.
5. Lay bricks in the desired pattern over the paver sand. If necessary, use an available saw (carefully) to cut bricks to desired shape and size.
6. Using the plate compactor, compact the installed bricks in both directions and with 2 or more passes. Once compacted, spread more paver sand over the entire instillation area and use a broom to sweep it into joints. Compact one more time using the plate compactor and sweep away any loose sand on the surface. (The compactor is quite loud so if you plan to do this step in the morning, know it may produce some angry neighbors.)
Here are a couple of websites that provide some picture and video in case you found anything confusing:
This Old House: How to Lay a Brick Walkway Video
Landscape management: How to Install Paver Edging
More information can also often be found at a local hardware chain store.
Congratulations, that’s all there is to it! You should hopefully now be looking at your beautiful new pathway, and although the steps in creating one aren’t all that difficult, the best work often comes not just from good bricks, but from good preparation. Remember: A shoddy pathway is sometimes paved with good bricks, but almost always paved with good intentions.
<>

