
When one is looking to make a change in their high-traffic areas of their home, such as their kitchens, bathrooms, or basements, vinyl flooring can be not only a very attractive choice, but also a durable and safe one as well. One does not have to call someone to install their new flooring, though. This material is easy to install and to take care of when the project is complete. There are a lot of things to do to prepare for the installation, however, so this project will take some patience.
Preparing for the Installation:
In order to prepare for the installation, one needs to first bring up the old floor. To do so, one needs to remove any trim around the base of the walls so that the vinyl may be pulled up in one solid sheet. Once the excess debris is removed, one can remove the old glue using a putty knife or scraper. Once all of this is prepared, one can begin their installation.
Cutting the Vinyl Flooring:
• After taking measuring the dimensions of the space, one must roll out the vinyl flooring in an open space. Once it rolled out, one can mark the dimensions on their vinyl sheet. It is suggested that one uses a felt-tip marker to do so. This allows the user to easier visualize the cuts that need to be made.
• Before cutting, double-check the dimensions to ensure that the shape and size of the flooring are correct. Once this is proven, one can carefully cut the sheeting into the shape of the floor where it will be laid. One should be using a flooring knife for this process.
• Once completed, one should wipe off the felt-tip markings with a wet sponge. This presents a flawless look in the flooring.
• The flooring is now ready for installation. Re-roll the vinyl sheeting and take it to the room of installation.
Installation:
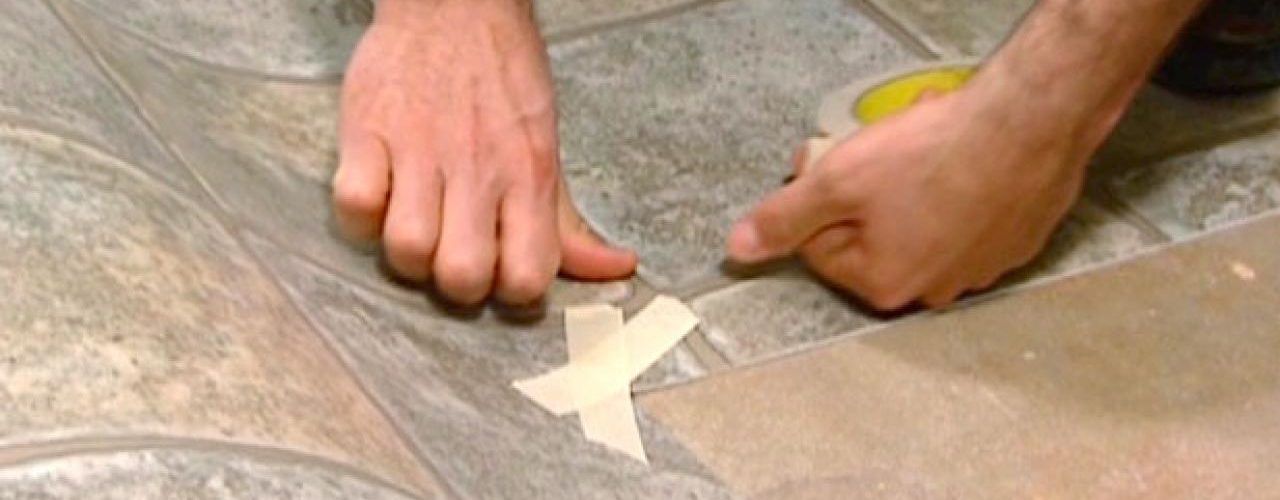
• Unroll the vinyl sheeting and place it carefully in the space. If there is any trimming that needs to be done, do so with a flooring or straightedge knife. Once the flooring fits perfectly, one can begin to glue.
• To start the gluing process, one needs to roll one side of the vinyl to center of the room. This allows easier access to the floor beneath and an easier tactical approach to the process. Leave the other half of the room flat on the ground.
• Open the 1-gallon can of floor epoxy. Using a screwdriver to pry open the top is the suggested easiest method for this. Once opened, one can use a notched trowel to spread about a foot-wide line of epoxy on the floor. One should begin from the center and work their way to the walls. After each foot-wide line of epoxy reaches the limits to the flooring, one should unroll the vinyl flooring to cover the epoxy. One this is done, press the vinyl down slightly on the epoxy, creating an adhesive. Repeat this process until coming to the edge of the wall.
• Once there is no more vinyl to unroll, wipe down any exposed epoxy with hot water for a clean and finished look.
• Repeat this entire process on the other side of the room to finish the installation. Once finished, one can begin to nail down any trim they would like to finish off the look of the room.
One can install their own vinyl flooring in their home with ease. It is important to have the correct tools, time, and patience to complete the project. The results, however, are well worth the effort.
<>

