
The correct amount of attic insulation is essential when trying to achieve the maximum value for dollars spent on energy costs. Proper installation is just as important. Many homeowners can complete an install over a weekend without hiring a professional. If the right research is done beforehand, the actual installation will be quick. You’ll see that most of the work needs to be done prior to the actual installation.
First, it’s important to understand that insulation is rated according to its R-value. Basically, the higher an R-value assigned to insulation, the more resistant the insulation is to heat flow. Live in a cold climate? You will need high R-value insulation. Next, you need to determine what your insulation needs are. The U.S. Department of Energy has an online tool that will help you find out what R-value you currently have in your attic and how much R-value you need to add.
Once you know how much R-value you need to add it’s time to decide on what type of insulation you’re going to install. Many times, a blown-in insulation is used either alone or in combination with rolled insulation, as rolled insulation alone won’t deliver enough R-value for many homes. Rolled insulation comes in a few different R-values and blow-in insulation has variable R-values; it depends on how many inches are added.
Now calculate how much insulation you need. Multiply the length times the width of your attic (in feet). This number is your square footage and can be used with each product to determine the amount you’ll need to install (many manufacturers offer their own calculators, too). You’ll figure what R-value you currently have, subtract that from what you need and then calculate how many rolls and/or inches of new insulation you need to achieve your desired R-value total.
With your insulation type and amount chosen, place your order with your supplier and plan on two days of work. Be sure to save your receipts for any returns. Tip: if you’re going to use blow-in insulation, many big-box stores will let you use the blow-in machine for free if you buy a certain amount up front. Now it’s time to prepare the attic. Prepare yourself too: get ready to be dirty, wear eye protection, work gloves and a dust mask. Because insulation works best when it does not block any soffits, now is the time to clear them out if they’re blocked. Then, staple rafter baffles in between the rafters so that the blown-in insulation does not fall into the soffits. Baffles are cheap and come in a variety of materials (foam, plastic & cardboard). A vapor barrier is also essential, as it prevents moisture from the house coming up into the insulation, which can cause mold. If one is not already in place and you’re using rolled insulation, install it with the paper side down. If you’re blowing insulation, spread a sheet of polyethylene plastic down before blowing. Lastly, place cardboard around any ceiling light fixtures or access doors to avoid piling insulation on top of them.
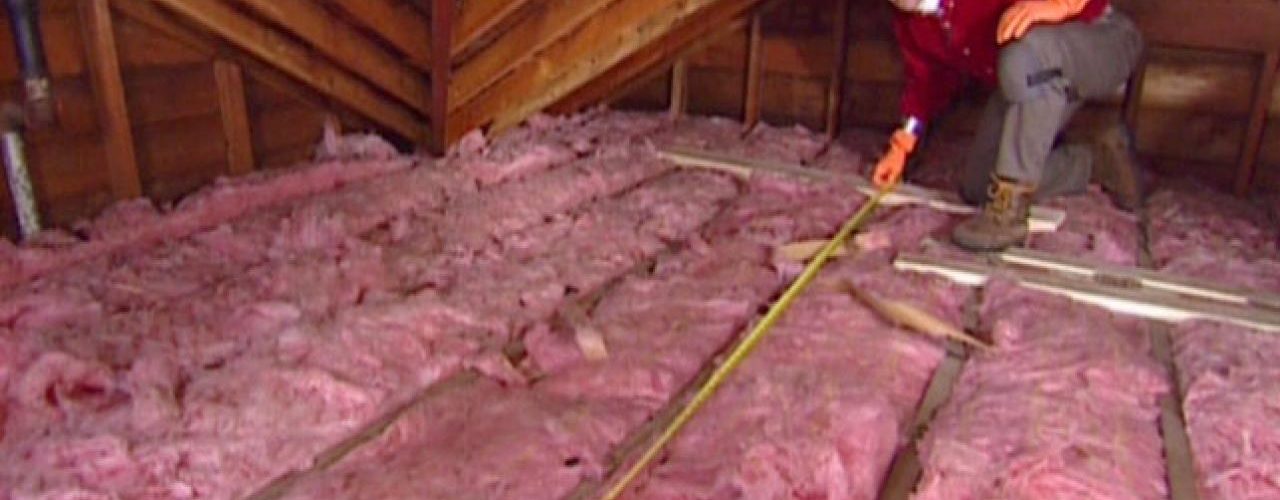
Now you’re ready to actually install the insulation. If you’re using fiberglass, be sure to avoid contact with open skin and install it paper side down, rolling out the batts. If you’re using a blower it helps to have someone positioned at the blower, feeding bags into it and turning the machine on and off as needed. Once you’ve rolled and/or blown the correct amount of insulation, clean up and you’re done. As a follow-up, compare your heating/cooling bills before and after and you should see a difference!

