Thoughts before you proceed:
- What type of mantle do you want? (Materials, design & size)
- What type of substrate do you have? (Drywall, stone, wood)
- What type of framing is in your wall? (Metal studs, wood studs, concrete)
- What size do you want the mantle to be?
- What height do you want the mantle to be?
It is a good idea before you start to use “Painters tape” to layout your mantle shape on the wall to decide what will look the best for you. Make sure you also layout the supports too as they will take up space between the fireplace top and the bottom of the mantle
Since most mantles are fairly heavy you may need help with this project, and you need to ensure that your anchors or fasteners will support the mantle and the items you want to display on them, Pictures would not be very heavy but a full display of books would be.
Typically framing in most older houses and some newer ones are wood framing or studs. And usually they are on 16” centers, meaning each upright stud is exactly 16” from the center of one to the next stud. But keep in mind they may be on 24” center or 12” center. And there may be more between them for additional support or wall connections.
You can use an electronic stud finder or tap on the wall to determine the estimated location of all studs near your fireplace. Once you think you have one located drive a small nail into the wall in that location, then use a tape measure and mark 16” and drive another small nail in that location and see if you hit another stud. If you are only going through drywall you can tell because the nail will have more resistance when taping it in.
Below is a sample of wall studs: Note the 1’ 4” mark on the wall. This is on 16” centers; Now that you have located the wall studs it is time to install the shelf/mantle supports to the studs.

The picture below would be your wall if you could see through the fireplace into the wall. Notice I put two shelf brackets on the wall in line with the wood studs. This will provide enough support for a basic mantle

Now we will change the view to better show the brackets:

After securing the brackets or supports to the wall it will look like the following:

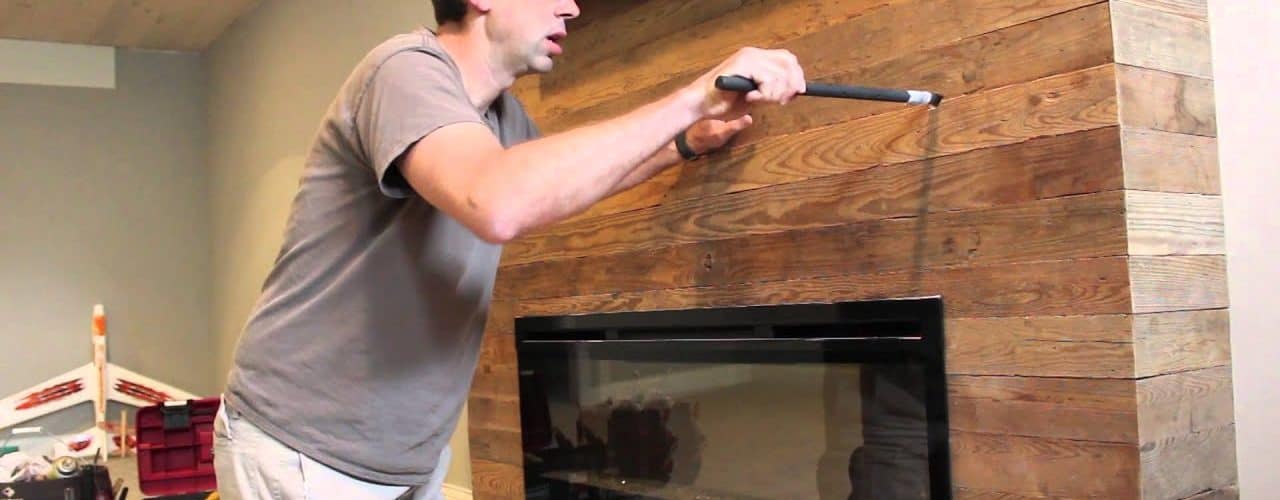
Now we are ready to install the shelf or mantle. The sample I am using is a “Rough sawn cedar board”

Make sure that you secure all support blocks, shelf brackets etc. Firmly to the wall/studs before proceeding. Next we will cover up the exposed shelf brackets with matching wood.

Now we will install the trim to the main mantle shelf, which will also help to hide the metal shelf brackets and provide a ledge that will prevent smaller display items from falling off the mantle.
The front trim piece can be store bought and cut to size if you want a very ornate face without having to do all the detail work with a saw.
Below is what my sample mantle looks like alone:


<>