
If you do a lot of yard work, then you probably have a shed close by to store various equipment. Sheds are very convenient, but many of them have one inherent flaw; they aren’t level with the ground. This can pose quite a problem when trying to get big pieces of lawn equipment in and out of the shed. Fortunately, there is a solution to this problem. Today, I am going to show you how to build a shed ramp that will dramatically increase its convenience.
The first thing that you are going to have to do is to gather together some supplies. Here is a full list of what you are going to need:
Circular saw
Tape measure
Hammer
Wrenches
Shovel
Pencil or marker
Drill
Drill bits
Through bolts
Nails
Two-by–four Board
Four-by-four Boards
Three quarter inch piece of plywood
Step One:
Take your drill and drill three holes into the shed, about one inch below the door. These three holes need to be a equal distance from each other. Drill one hole to the left, one hole to the right and one hole directly in the center. These holes should be just a little bit smaller than the through bolts that you have purchased for the job.
Step Two:
Take your two-by-four and use a circular saw to cut it to the size that you need. It should be as long as the shed’s lip is wide. After you have cut it to the proper size, line up the two-by-four with the holes that you made in step one and mark it with your pencil. Drill three holes where you placed the marks, making sure that the size of the holes are slightly smaller than your through bolts.
Step Three:
Take your two-by-four and line it up the lip of the shed, matching up the sets of holes. Push your through bolts and use your wrenches to tighten them down. Make sure that they are as tight as you can make them.
Step Four:
Determine how many four-by-fours you are going to need. A standard rule is that you use one four-by-four for every two feet in width of the shed’s lip, with the very minimum being two four-by-fours. You will also want to cut the end that touches the ground at a forty-five degree angle. Grab your saw and make the necessary cuts.
Step Five:
Take your four-by-fours, place them on the shed’s lip and mark the location of where the other end will touch the ground. Dig out a little piece of dirt at the place where the end of the four-by-fours touch the ground. This will be used to anchor the ramp once you have completed it.
Step Six:
Making sure that the diagonally cut ends are on the ground, take your tape measure and your pencil and make a mark two inches back and a half-inch down from the tip of each four-by-four. Mark these points and draw a vertical line down and a horizontal line back to the slanted end of the board. Take your circular saw and cut along these lines. These notches will slip over the top of the two-by-four that was previously anchored to the shed. Place the notched piece of wood over the two-by-four and secure it with some well placed nails. Secure the other ends of the four-by-four with the dirt you had previously dug out.
Step Seven:
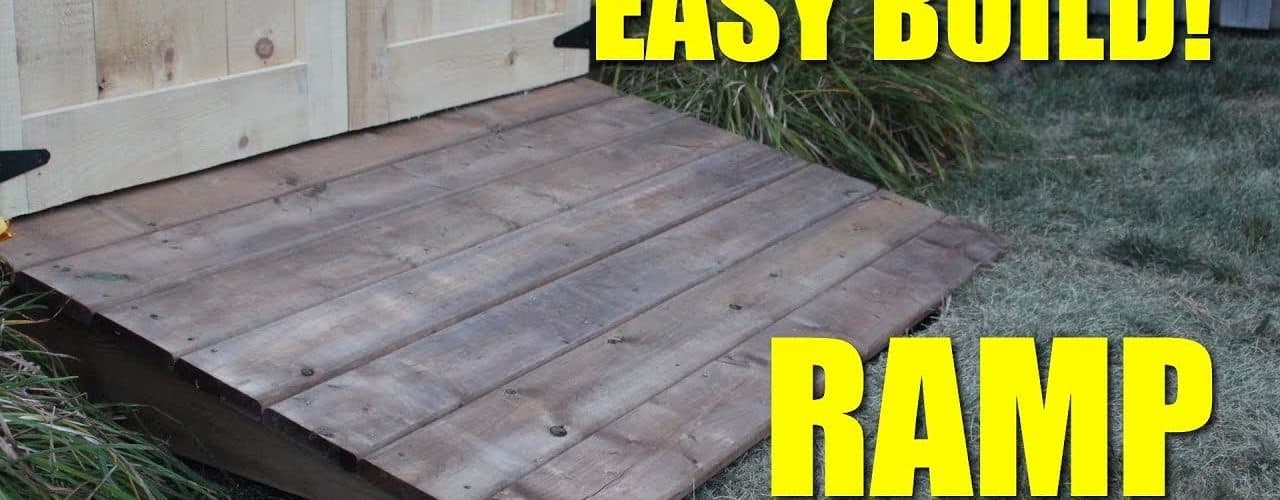
Measure the distance across the four-by-fours and down their length and cut your piece of plywood to match its dimensions. Take the freshly cut piece of plywood and put it into place. You have now successfully completed your ramp and enjoy its added convenience.

