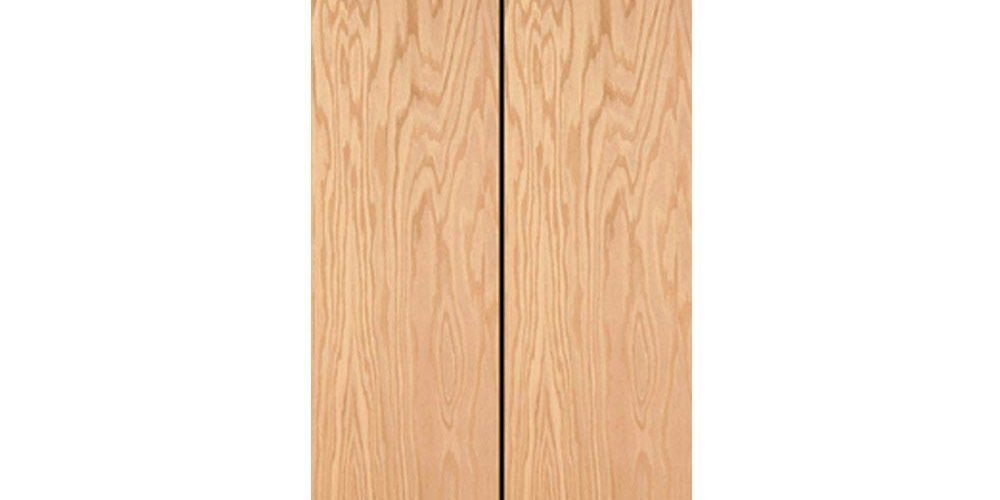
Wood bifold closet doors give a room a truly stylish and finished look. Installing bi-folding doors can be a bit of a pain for beginners, but only if you don’t have proper directions. The main benefit of bi-folding doors is that they take up minimal space, and allow for a lot of closet room. They use hardware much different than traditional doors, working on a series of springs and pivots to open outwards into a “W” shape.
Bi-folding doors can be made from different types of wood, but most are made of softwoods as opposed to hardwoods. Cedar, Douglas fir, or spruce are great choices for softwoods for your bi-folding door. Bi-folding doors can be purchased from a hardware store like Lowes or Home Depot, or they can be purchased online from specialty dealers. Most of them include kits of all of the parts that you’ll need to install, and are pre-drilled for easy application. The most complete kits include telescoping frames to fit multiple width measurements of doors; nevertheless, you’ll still need a drill to properly install any kit.
If you the width of your closet is less than 36” wide, you’ll only need two panels for your bi-folding door. If your closet is above 36” wide, you’ll need four or more panels to make your doors work properly. The largest closets could take up to six panels for a bi-folding door. Don’t worry about it, though. You’ll just need four more pivots for each (1 guide pivot, 2 top pivots for middle doors, 1 bottom pivot).
Use a hammer to gently tap the guide pivot and the top pivots into the drilled holes on the top of each bi-folding door. Repeat for each door, and hammer in the bottom pivots on each of the outermost side doors after you finish.
Drill the track into the top of the closet opening, and load the middle bumper between the two tracks. Drill and screw the track in place at either side. Apply epoxy glue to the track guide for the pivots, and glue it to the track.
The next step is to set the jamb bracket onto the floor. The goal is to line up the jamb bracket with the rail on the top of the closet, in order to allow the door’s bottom pivots to slides through the tracks on the jamb bracket. Drill and screw them in place, and apply epoxy to the lip of the bracket that meets the wall.
Lift the doors, and seat the bottom pivot into the jam bracket, and the top pivot into the rail track at the top of the closet opening. If the doors come too low, you can lift the door out of the jam bracket. Adjust the height of the bottom pivots by rotating them until you reach the desired height. When you are finished, lower the door into place, making sure that the bottom pivot slips snugly into the jamb bracket. Secure the door’s top pivots into the top rail again.
Adjust the pivot guides by unscrewing the track. Make sure there is not too much of a gap between the door panel and the wall (there should be less than 1” gap). Move the track accordingly, and screw back into place. Insert the bumper into the middle of the tracks. Drill holes in the two middle doors, and screw in the door poles. If you have a four or more panel door, screw in aligners at the opposite sides of the middle doors.
Following these instructions, your bi-folding doors should be completely finished! Check and make sure that the doors move without squeaking or creaking, and make adjustments if necessary.
Bi-folding doors are a great way to finish the rooms in your home, giving a stylish look to your closets and pantries. If you need more information on the parts you’ll need to install these sorts of doors, or you need illustrations for aides, you can head on over to allaboutdoors.com to check out pictures of bi-folding doors, and other types of closet doors. If you need a certain replacement part for future repair, they have a comprehensive guide on what sort of parts you’ll need to repair your bi-folding closet doors.
Related Posts
<>


