
Blinds make a wonderful, useful addition to just about any room in your home or office. They provide privacy yet let in light, are versatile, and stylish. Blinds are available in just about every size, style, and color, but what happens when the perfect blinds for the room are just a bit too long? Shortening blinds is not as hard as it may seem. Taking a look at how the blinds are kept together with the strings and such may make it seem like an overwhelming task, but it needn’t be. Making your blinds shorter can be a simple procedure and uses very few tools to complete.
This particular method lets you shorten the blinds while installed at your window and in the “closed” position. This way, you will not have to worry about removing the blinds, adjusting their length, and then reinstalling them again. The less hassle you have to deal with the better. Let’s get started.
Contents
Tools you may need:
- Flat head screwdriver
- Tweezers or small needle nose pliers
- Scissors
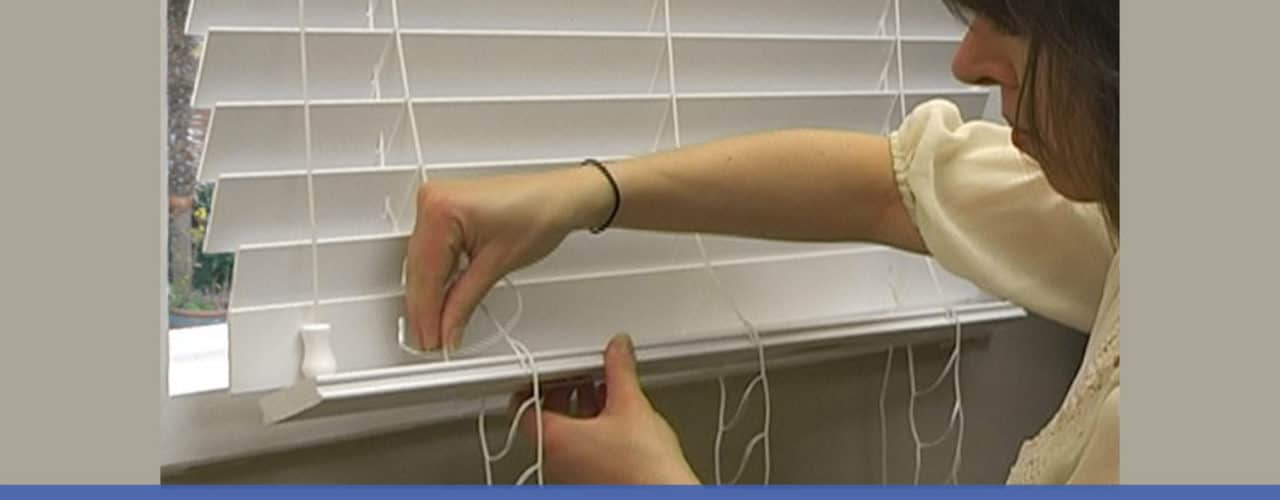
Remove the Bottom Rail
The “rail” is the thicker section at the bottom of the blind. If you look on the bottom of the rail, you will see that there are two to three plastic plugs spaced along the length. Using your flat head screwdriver, pry these plugs out of their holes. Inside you will find the excess string ladder that holds the blind slats together along with the straight strings that lower and raise the blinds (lift cords). Pull out the lift cords and untie the knots at the end or simple snip them off with your scissors. This allows you to free the bottom rail and set it aside. (On some models, the lift cords may be threaded through the plugs themselves. Just snip off the knots and remove).
Remove the Extra Slats
Carefully pull up the lift cords to the desired length of the blind, which allows you to slide out the extra slats from the string ladder holding them in place. Make sure you leave enough length to reach the bottom of the window.
Reattach the Bottom Rail
Making sure you have the bottom rail in the same position that it was remove by, slide the rail into the ladder loops just below the new bottom slat, and reposition the lift cords back into the rail by threading them through the holes. Place the rail on the sill of the window and change the position of the blinds to “open.” Snip the excess string ladder to the topmost loop, leaving enough string to tie around the blind’s bottom rail. Knot the bottom of the lift cords and raise the blinds about three inches about the sill.
Finish Tying String Ladder
Now you have enough room to tie the string ladder around the bottom rail, tie the ends together in a knot securing it, and stuff the excess back into the holes on the bottom of the rail. Replace the plugs on the bottom of the rail, completing the process. Test your blinds by lowering and raising them, and opening and closing them, to make sure everything is working correctly and remains secure.
An additional note: You may want to save at least a couple of the slats that you remove in this process in case slats become damaged or broken, offering you a more economical option to total replacement. With just a bit of time and a couple household tools, you can complete this task in no time at all.
Visual demonstration

Additional Resources: DIY – Shorten Blinds.
<>
<>
<>
<>
<>

