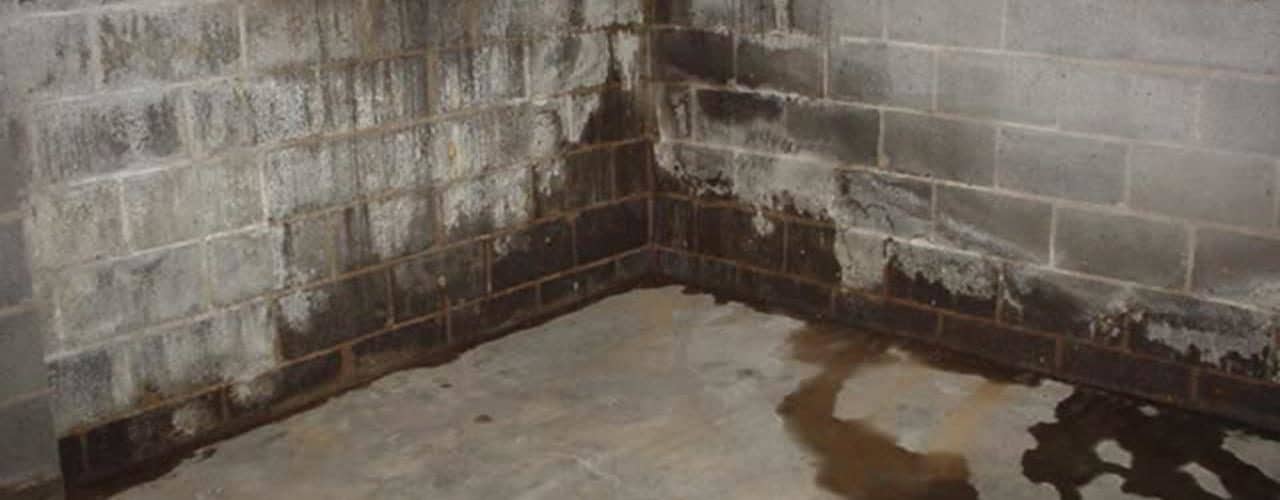
For all of our readers who possess their own basements, as do most people up North, you may wonder what care and maintenance is appropriate for the subterranean room. In sealing up your basement floor made of concrete, you stop moisture from getting in and damaging the floor, goods, or pipes. Picking out the proper sealant and correctly putting it down will ensure that the walls and floors of the basement stay dry. On top of this advantage, you could choose to improve the overall appearance of the basement by utilizing a colored sealer. For those of you who are thinking to put in a wood, carpet, or tile floor on top of your existing concrete basement floor, you will find that a sealer is required in order to properly affect a moisture barrier. Although an epoxy type of paint proves to be durable, another sealer will have to be employed if the existing basement floor is permitting moisture to get through. This article goes through the step by step directions for correctly sealing a basement.
Contents
Materials and Items Necessary for the Project
– A Roll of Duct Tape
– A Plastic Bag
– Concrete sealer
– A Concrete Patching Compound
– Paint Rollers Which Are Lint Free
– Epoxy Floor Paint
– Paint Brushes
Cleaning Up the Basement Floor
This project may surprise many readers in that it turns out to be moderately easy to complete. First, you will have to clean up the basement floor before you begin to seal it up. Scrape off any debris that you encounter on the basement floor. Sweep up and scrub away the areas very well. Then you need to affix a plastic bag to the floor using duct tape. This should sit overnight this way, with all of the four edges sealed securely around the edges of the floor. Should you discover that the bag in question is moist in the morning, then a sealer must first be applied in advance of any painting of the floor.
Patching the Basement Floor
Now it is time to patch up any holes on the basement floor. Inspect the floor carefully. If you encounter any places with either holes or cracks, then you need to patch up these areas using a concrete patching compound. Be certain that the surface of the floor remains as level as you can. Should you come across bigger holes, then employ concrete along with mesh in order to patch them up well. Finally, level it down using a compound.
Applying the Sealer to the Basement Floor
Using a roller which is free from lint, put down the sealer on to the basement floor. You should work in continuous motions in order to ensure that the floor becomes wet and shiny. These sealers are intended to penetrate the floor of the basement. A few coats will have to be put down, one following another. Utilize a big brush to get the seal into the corners. The sealer will have to be allowed to completely dry in advance of your painting it.
Applying the Epoxy-Based Paint
Once the sealer has completely dried, you are ready to continue. Utilizing your rollers which are lint free, roll on the epoxy-based paint liberally. You should brush it well into the corners, too. Allow the first coat to dry thoroughly, for a good twenty-four to forty eight hours, which will depend on the level of humidity in your particular locale. Then, you will put on the second coat. If you feel that it is necessary, you can put down a third coat afterward.
In order to create texture, you should add colored chips made from latex. Simply sprinkle them into the second coat of paint while it is still wet. You could alternatively create a mottled look by adding a third coat. This should be done using another color which you could put down using a sponge.
Additional Resources:
DIY: How To Seal A Basement Floor
Start Remodeling: Basement Sealing
<>


