
Refinishing your hardwood floors is a fantastic way to increase the beauty and value of your home. Luckily, it is a straightforward process and much of the needed equipment is available at rental centers. Let’s start at the beginning.
Check and Prepare Your Floor
Look for leftover carpet nails, scratches, stains and wear patterns. Check also for loose boards, or ones that need replacing. If you have holes that need plugging, be sure to watch the video, as it covers that job in detail. Once you have prepped your floors, it is time to move on to sanding.
Sanding
You will want to rent a drum sander to do the bulk of the sanding work. Rental centers will give you instructions or demonstrate how to use the sander. Be sure to have eye and ear protection, as well. These machines are big and noisy. Start sanding in an inconspicuous spot, if you can. This will give you the opportunity to get used to the sander. Never let the sander stay in one spot for long, it will put gouges in the floor.
The drum sander will not be able to reach into corners and up to wall edges, so switch to an edge sander for those areas. Using a semicircular motion will feather your sanding edges to match the rest of the floor.
When sanding, be sure to start with a coarse grit paper and finish with a fine grit. Hometime (www.hometime.com) suggests starting with 20 to 36 grit and finishing with 80 to 100 grit. It is also a good idea to check for nail heads between sanding passes. If you find any, simply countersink them.
Once the sanding is done, clean the area thoroughly. Do not forget the walls and ceiling, as dust will have collected there. You do not want to have any of this dust end up in your finish. Avoid using a damp rag on the floor, as it will raise the grain of the wood and affect your end finish. Once the area is clean, it is time to stain the floor.
Staining
Staining the floor enhances the natural character of the wood, as well as allowing you a color choice for room design. It is okay if you do not want to stain, just skip to the finishing step.
Regardless if you choose an oil or water-based stain, pay careful attention to directions and drying time. Also, make sure you have good ventilation. Applying stain is easy, and can be done by one person but two really make the job simpler.
Have one person apply the stain with a rag, working with the wood grain. The second person comes along behind and wipes up the excess stain, leaving an even coat. Once the floor is stained, be sure to let it dry completely and avoid walking on it. Now that the staining is done, it is time to put on the finish.
Finishing
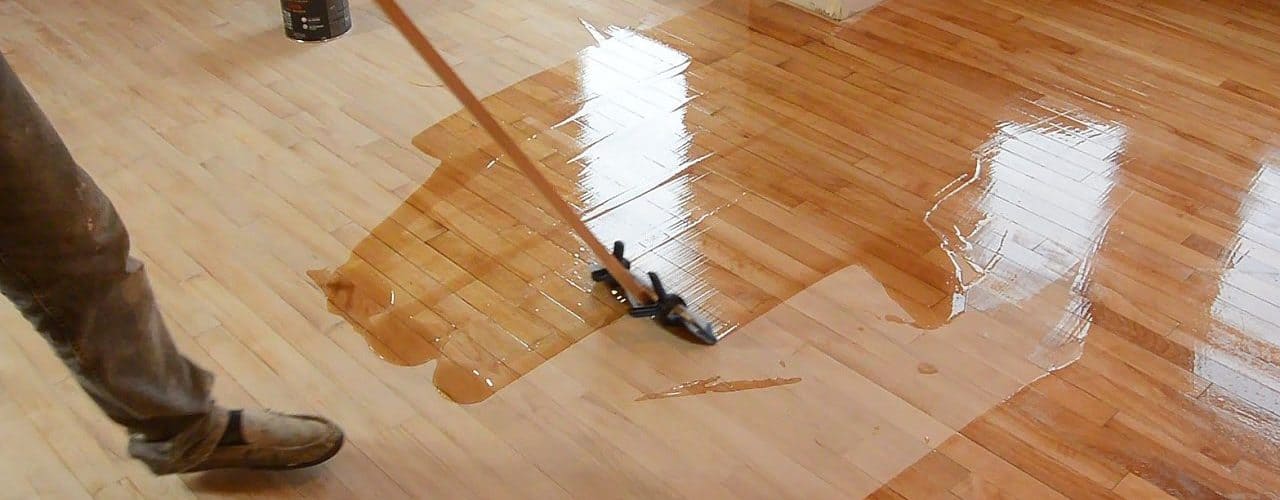
The easiest finish to use is a urethane, which penetrates down into the floor. Urethanes are either water or oil-modified and each has its benefits. The key with either finish is to apply thin, even coats and follow directions. It is important to lightly sand or buff the floor between coats, as the finish can raise the grain.
Before applying the final coat, use a damp rag to pick up any remaining dust or contaminants. After applying the final coat, stay off the floor, do not stir up any other dust, and let the floor cure completely.

