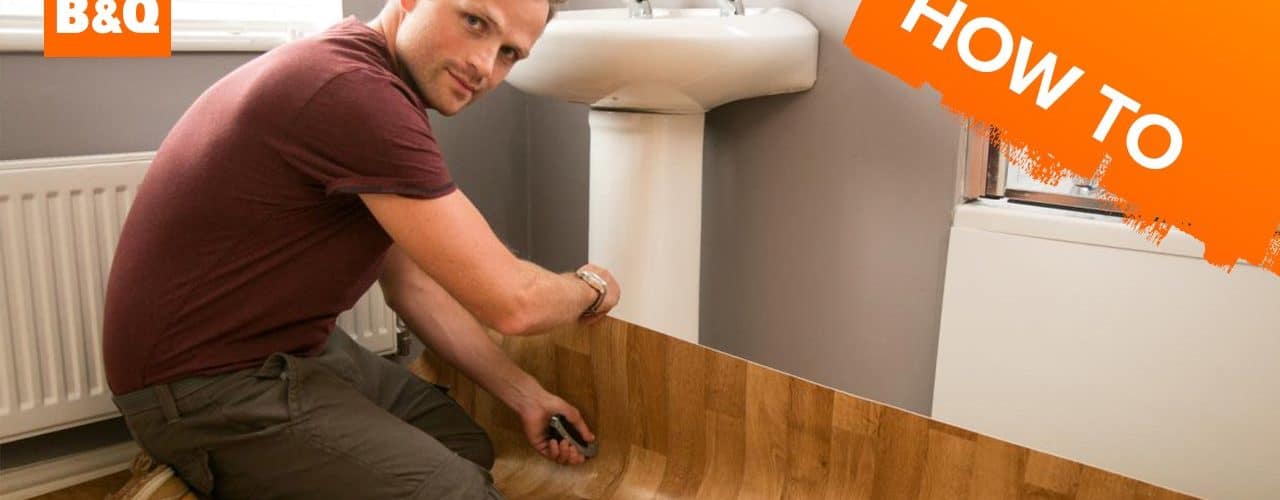
Any home restoration project involving a room in your home will always involve modifying the flooring found in the project space. Some homeowners may choose carpeting to accent the room and provide comfort while others will choose hardwood flooring to provide a shined finish to accent area rugs upon their floors.
Other homeowners, however, will choose to go down the road of linoleum flooring for their room. Linoleum flooring is quite inexpensive and provides an enhanced durability not found within other flooring options. Here are a few step by step procedures that will assist you with installing linoleum flooring within your home.
1. Remove all added materials that can be found on or around the flooring itself. This can and will include all baseboards, found at the connection of the wall and floor, as well as any vent or outlet coverings.
2. Everything on the sub floor needs to be cleaned throughout. This is an essential step to perform because any debris on the floor at the time you are putting down the linoleum will form bumps within the floor and in the longer term will possibly cause cracks that will have to repaired.
3. Once the floor has been cleaned of all debris, the next step in the process will find you making sure that the sub floor is as level as possible for the new linoleum project. Any cracks or bumps in the sub floor will have to be modified accordingly because the linoleum is very stiff with little give in its structure so it will crack over time when placed on a flooring base that is uneven.
4. Once the floor has been leveled out to standard, it will not be time to estimate how much flooring you will purchase to complete the restoration project. The length and width of the room should be measured and then multiplied to come up with a figure for the amount of tiles. As with any project involving pieces, it always is a great idea to purchase in abundance rather than falling short in order to compensate for any repairs needed during the installation or at a later time down the road.
5. Measurements must be taken once again to determine the center of the room you are working within. The linoleum will then be laid down starting within the middle of the room and working outward towards all walls accordingly. After the tiles have been cut to fit on the sides and every space has been filled, you can then use an adhesive on both the back of the linoleum and on the sub floor to secure the tiles into place.
6. A roller would have to be rented from a hardware store at this point and used on the linoleum floor to assist in the adhering process and make sure that the tiles are firmly in place without any modifications needed, such as adding more epoxy material.
7. Once the rolling is complete, the floor can be cleaned and material coated on it to provide a glossy coat that is scratch resistant.
8. The process is now complete and your restoration project regarding your new linoleum floor should be complete.


