
Laying tile in a bathroom can either be a challenging endeavor or an easy weekend project. The first thing to do is determine what type of material should be used for the tile. Ceramic is a great choice, is long lasting and inexpensive. Most home improvement stores offer tiles individually or in large squares so that there is less room for error when laying the tile. The colors and patterns of certain tiles can turn a bathroom into a paradise, so keep an open mind when searching for tile to use in this room. Also the final pattern needs to be established before purchasing tile, in order to make sure of how many tiles are needed as well as the size of each square. The size of the tiles should be in proportion to the square footage of the tile area and bathroom.
The first and most important step is removing the old tile, as well as old glue and dirt. Use a chisel to get beneath the tiles, and then clean the surface from all residue. Degrease the surface to remove anything that would prevent the new tiles from sticking.
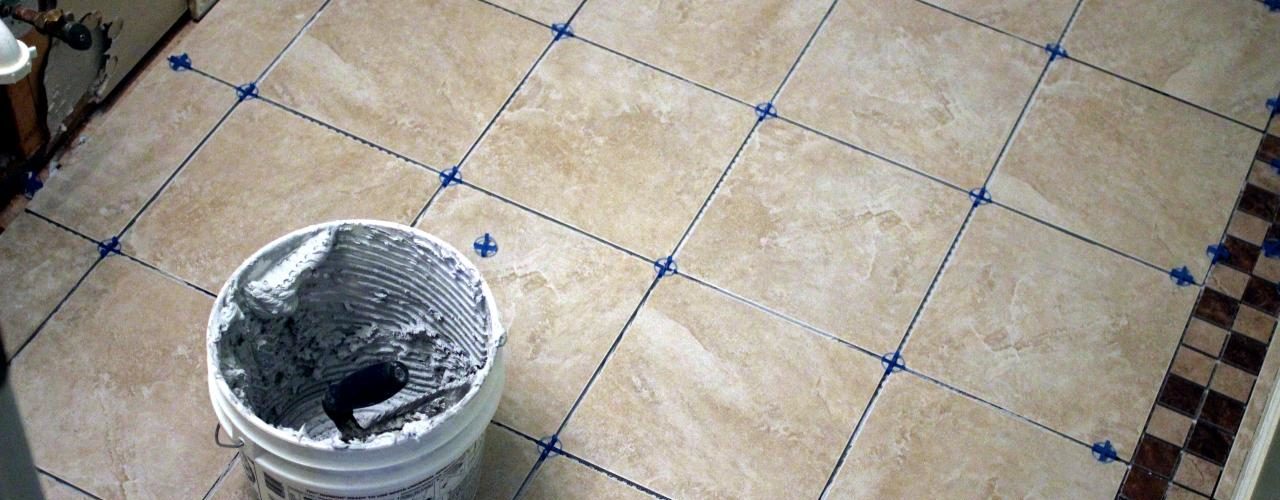
Once the floor surface is prepped and dry, make a dry run of placing the tiles. It is best to do this before affixing the tiles permanently to make sure each tile fits and there is no gaps or other discrepancies. Some tiles that are already connected work well as they take less time to install. If the tiles are individual pieces then spacers need to be used to ensure that each tile is separated equally before placing. Also the tiles may need to be cut if they are a bit too long. Saws for cutting tile depend on the size of the piece, and should be available at the same store that sold the tile. However, by measuring the site where the tile will be placed and double checking the measurements when purchasing the tile, hopefully the tile will fit without any worries.
When getting ready to permanently place the tiles, have a trowel on hand to evenly distribute the tile adhesive to the surface. Make certain this is done smoothly with great care to keep it even so the tiles fall in place with no problems. Starting at the center of the space, place the tiles using spacers, if needed, in the preferred pattern. Once all of the tiles are placed, allow at least twenty-fours hours to make sure the glue is dried before continuing on to the grout work.
If spacers were used remove these, and then mix up the grout according to the package directions. Apply the grout with a rubber float tool into the seams between the tiles at an angle so the grout goes into the seams but not on top of the tile. Remove any excess grout with a wet sponge, and check periodically on the tiles to make sure all the grout residue has been removed before it dries on the tiles.
Around the perimeter of the tile, caulk can be used to seal up the seam between the tile and a wall or tub. Mildew-resistant caulk is the best choice for bathrooms because of the high humidity and moisture.
After finishing laying the tile, it is necessary to leave the area alone for at least one week to let the tile cure, or set properly, before walking on or pouring water on the surface. Once that time is up, the tile is ready to go, and should be cleaned with a wet sponge or mop to remove any grime or dust.

