
Any repair on a home can seem like a insurmountable task, and replacing windows may seem even more of a complex home repair job. Replacing vinyl windows is not as hard as it may seem if you want to save yourself some money and do it yourself. To save yourself some worry and time follow these guidelines for replacing your vinyl windows.
First, you will need to remove the old window. You are going to need a chisel that is wide enough. Using a chisel that is not wide enough could lead to damage to the area you are working with. Now, you will have to remove any old trim or moldings from around the old window. If the trim and moldings are in good shape and you want to use them again just put them to the side for later use. If they are wood moldings and trim, then you may want to spruce up the new window just a little more by sanding it down and restaining or painting it for a renewed look.
There are some cords and springs that are going to have to be removed from the bottom sash. Simply remove these now from the frame. At the top there will be some stops. You will have to remove these in order to remove the top sash but, you will have to be careful at this point. You don’t want to damage any other remaining stops.
If there are aluminum tracks on the window you are removing, then you will have to find the fasteners that are holding them in(most likely staples) and you will have to remove them. When this part is complete, you will need to remove the sashes and then the track itself. You are now on your way to getting the area prepared for a new vinyl window.
You will want to make sure at this point that before you begin the installation of the new vinyl window you check to make sure that it fits. You will want to close all sashes to do this. Just place the new window in the opening and make sure.
Make sure that if you have any areas that are vacant, like areas where weights used to be, that you fill them with fiberglass insulation. You don’t want to have any areas of leakage where cold air could come in during the winter or hot air during the summer. It will save on you energy bill.
At the stool part, you will need to add caulk. You will need to apply the caulk on the inside and the outside for a good, weathertight seal.
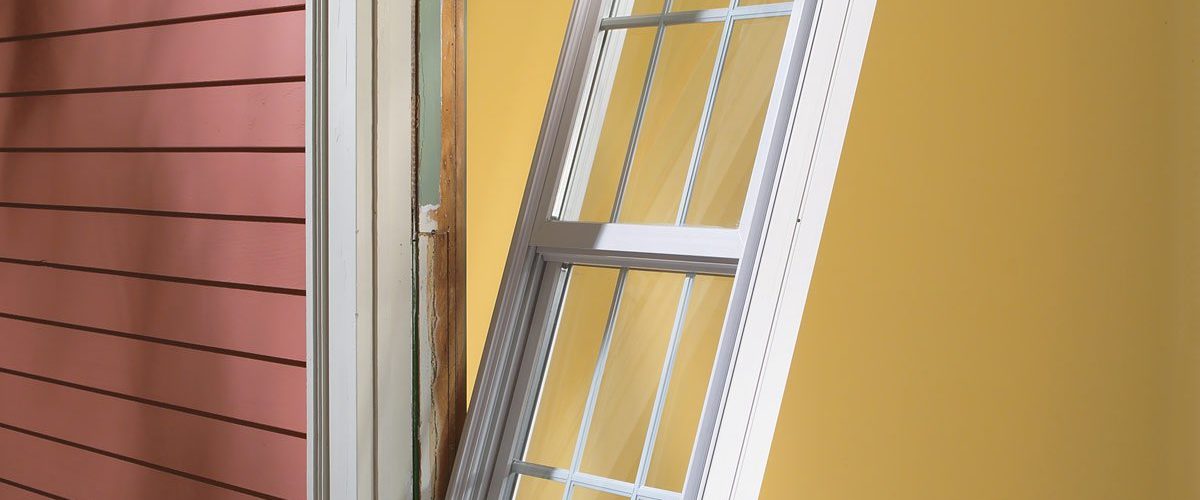
It is important to make sure that the sashes are locked because now you are going to put the new vinyl window in place. From the inside, make sure that you set the window in the opening and make sure you get the exterior part of the window frame up against the blindstop openings.
You are going to want to check now to for the window being level. This is an important step because if your window is not plump and level you are going to have functional problems down the road. If there is a need for it, you may have to add some shims to the window. Where you put them is vital. They just don’t go anywhere. To add shims, make sure they go in the middle of the side, and the middle of the top sash and the middle of the bottom sash.
You probably already have some predrilled holes in the side of the window frame. Locate those and screw your window down. Replace any moldings and your replacement vinyl is in place.

