
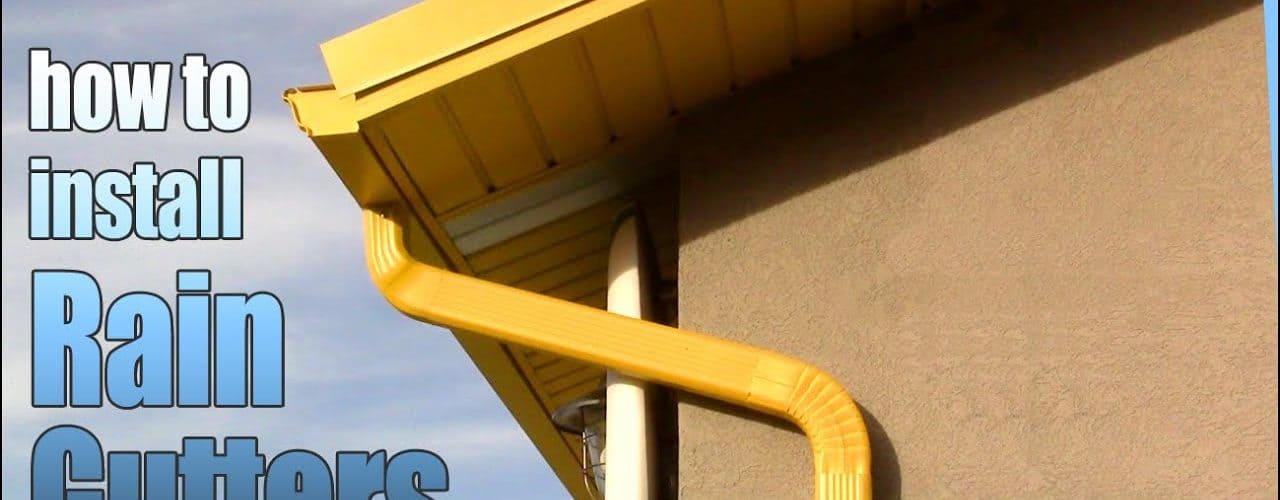
Rain gutters are a necessary part of any house. Without these gutters, rain water would drastically erode the soil around the foundation of the house, splash mud all over the walls, and probably create a nasty leak into any basements or crawlspaces.
Most of the time, rain gutters are professionally installed. However, this is really a job that anyone can do themselves if they are prepared to invest some time and effort into it. Building supply stores like Home Depot carry all the materials that are needed for the task. There are also roofing-supply firms that can have better deals. While replacing the gutters and the downspouts, it makes sense to just go ahead and both the complete look and performance of the house’s entire rainwater system. Half-round replicas of the size and style of gutters found on old houses are one of the most popular styles to install on homes. A few of the big selling points of these gutters are the cast aluminum downspouts for decoration and the corrugated downspouts.
PREPARATION
The gutters should have a slope of half an inch for every ten feet towards the downspout. This will ensure that they drain properly. For gutters that run over fifty feet, it is a very good idea to pitch the gutter to a downspout at either end. However, another option is to slope both ends down towards a downspout in the middle of the of the gutter run. Whichever option makes the most sense for the particular house, this decision must be made before purchasing the materials for the job.
INSTALLATION
Step One. Once one has all the necessary materials, the first step in the installation process is to mark the highest point of the run on the fascia one and one-fourth inches under the drip-edge flashing. Then, mark the run’s low end on the fascia’s other end. Next, a chalk line should be snapped between these two points. If the fascia is rotted, repairs should be made before continuing the installation.
Step Two. Draw a chalk mark on every other rafter tail. Rafter tails are located in back of the fascia and are generally spaced approximately sixteen inches on center. Nail heads are a tip off of their location. Next, bore a pilot hole through the fascia and the rafter tail of a half an inch in diameter at every mark. Use one-fourth of an inch stainless steel screws that can penetrate two inches into the rafters to fasten the fascia brackets. Rubbing soap on the screws makes them easier to drive into the rafter tails.
Step Three. Saw the gutter to length with aviation snips and a hack saw. For gutters that continue around corners, cut a forty-five degree angle at the end of the run to allow attachment to the other runs.
Step Four. Attach the end caps with aluminum pop rivets at the end of the gutter that is square-cut.
Step Five. Cut the downspout holes using a four-inch-diameter hole saw.
Step Six. Lay the gutter into the lag brackets on the fascia and secure it by drilling a three-sixteenths-inch diameter hole through the gutter’s front edge. Use spray paint to match or contrast the brackets and gutters with the house.
Step Seven. Cover the joints between gutter runs with three-inch-wide strips of aluminum or strip miters. Adding high-quality silicon caulk makes the joints more waterproof.
Step Eight. Connect the downspout to the gutter with four screws or pop rivets. Two downspout brackets are needed for a one-story house, while three brackets are necessary for a two-story residence.
Installing rain gutters without hiring a professional is very doable, but it does take a little time and effort to do.

