
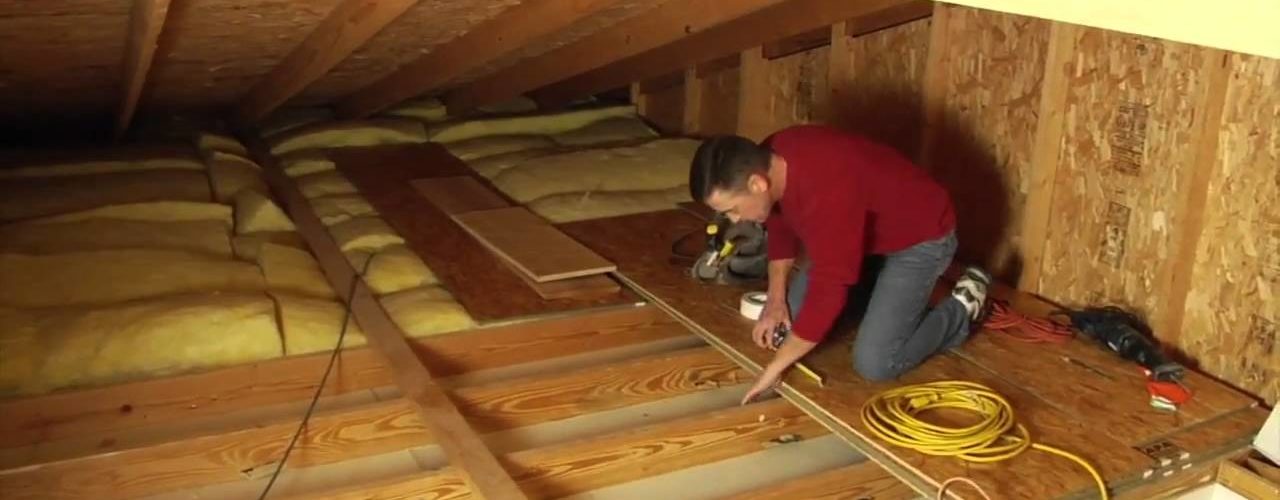
Installing attic stairs is not as daunting a task as it may first seem. For one thing, as a do-it-yourself project, you don’t have to be concerned about assembling the stairs, as that is done by the manufacturer. Your job is to cut an opening to fit the stairs. In some cases, it may be even simpler–enlarge the opening. Then, once this is done, integrate the attic stairs into the opening. On average, the entire job can be done in two hours.
Contents
Five Point Check For Easy Access To The Attic
Before beginning the installation of attic stairs, there are a few things you must first check to make sure that your attic has the right structure to support folding stairs. Check for structural features that may prevent the installation of attic stairs.
1. Make sure there are no pipes or wires in the way.
2. Make sure that there are no problems with clearance. Is there enough room to fold and unfold stairs? Sometimes in a small room attic stairs are impractical.
3. Make sure the opening is not in a bathroom.
4. Make sure the ceiling is high enough for the stairs to unfold.
5. Make sure the attic does not have trusses. If you cut trusses, you compromise the integrity of your roof, making it weaker and creating a structural problem.
If your attic passes this five-point inspection, then begin the installation.
Tools To Do The Job
You will need the following:
Plastic sheets or tarp to cover the floor or carpet before beginning any work.
Measuring tape.
Utility knife.
A hammer and nails.
A Philips screwdriver.
A bevel square saw.
Lumbar pieces.
Step-By Step Instructions
A. Creating The Opening
1. Strip the trim away.
2. Remove the trapdoor.
3. Remove the trapdoor lath.
4. Now, left with only a rafter, use a pencil to mark the opening length on the plasterboard.
5. Keep a foot and a half past the opening for the stairs to arc up as it unfolds. (Note, this distance may vary depending on the brand.)
6. Make the opening a half-inch longer than the frame of the stairs.
7. Cut the plasterboard with a utility knife, beginning on the ceiling underside.
8. Cut away the rafter.
9. Use a piece to bridge the opening, enough to fit the attic stairs.
B. Installing The Attic Stairs
1. From above, lower the stairs, fitting in the door handle first before raising the stairs into the attic.
2. From one end of the opening, screw two lumber pieces to the ceiling’s underside. Make sure that these pieces don’t protrude more than half-an-inch into opening. These boards will help you test the stairs before you finally attach it.
C. Fastening The Frame
1. You want to make sure the frame is square, not rectangular. Measure it from one corner to the next.
2. If the frame is not square, it will be too tight. So adjust accordingly, until it is square.
3. Fasten frame to joists with three inch screws as shown in the manufacturer’s attic stair instructions.
4. With the frame fastened, remove the temporary boards that you used as laths. Once this is done, fit trim, but leave a quarter inch gap between trim and trapdoor, preventing binding.
Cut To The Right Length
1. You must cut to the right length so the stairs sit properly on the floor, checking both stair sides, never assuming that you have a level floor.
2. Open the folding stairs so that the bottom rests on floor.
3. Using a straight piece of lumber on the surface of the side stringers, stretch the stairs to the floor, keeping the angle. Mark the lumber at the point it links the stairs at the hinge.
4. Check each stringer, making sure the measurements are the same. Now use the measurements on the bottom sector, marking the line.
5. Saw off excess, then begin sanding the ends. The angle of the step should be the angle of the cut.
Now saw off the excess and sand the ends. Just double check that you have the angle marked the right way around; in other words, the angle of cut will be the same as the angle of the step.
Manufacturer’s Variations
Although there are many brands of attic stairs, with some of the specific details different, the installation process is similar. Besides the information here, you should refer to the manufacturers instructions.

