
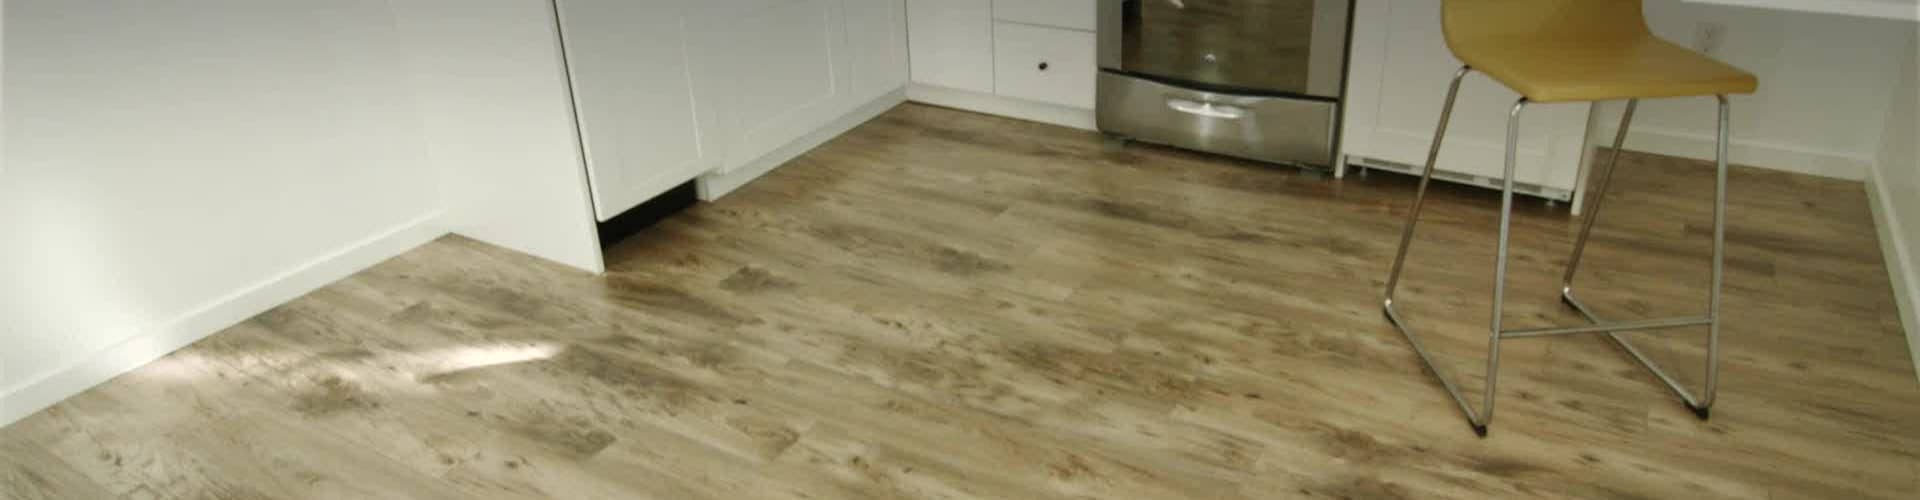
Laminate flooring is a popular choice, for a variety of reasons, including the wide variety of designs and ease of installation. Be aware that laminate flooring is not considered a good choice for rooms that experience high levels of humidity. This means bathrooms and laundry rooms are off the laminate list.
Prepping Your Space
First, figure out if you are installing your laminate floor over your existing floor. This only works on floors that are flat, such as wood, tile or vinyl. For carpeted floors, remove all of the carpeting and the pads underneath. Be sure to rip up all tack strips and any stray nails or staples. If you are laying your new floor over a concrete slab, fill low spots with a leveling compound.
Next, remove doors and baseboards, if desired. It is not strictly necessary because in some cases you will have space under current baseboards and door trim. Door trim can also be cut to the right length with a coping saw while installed.
While you are prepping your space, let your new flooring acclimate to your house. Do this by removing all plastic wrap on the boxes and make sure they are in a room where they get good airflow around the boxes.
Laying the Floor
Install your underlay first. Where there are seams, use the poly tape and tape them together. The underlay protects the underside of the laminate floor and also provides a noise barrier.
Check your room measurements against the width of the board so that you do not end up with a narrow strip on one side of the room. Try to get comparable width boards on each side of the room. It is recommended to start on the left side of the room and move to the right.
Begin with placing spacers, usually a quarter of an inch, between the wall and the first row. This is one of your expansion zones. There will be an expansion zone along each wall. Lay your first plank down and then add another plank to the right, locking them into place and making sure the ends are even. Continue on until you reach your far wall. At this point, measure for your cut and subtract a quarter-inch to allow for your expansion zone.
To keep your flooring safe while cutting, the finished or decorative side should be up to minimize any chipping. Use your pull bar to get your cut piece in place next to a wall. For the next row, start with a piece that is at least eight inches long. By doing this your ends will be staggered, which provides the look you are after.
On the second row, lock the short sides first. Then as a single unit, angle the long sides together and lock them into place. Repeat this until you reach your last row. More likely than not, you will have to cut a plank lengthwise for the last row, unless you already did this to avoid a very narrow last row. Do not forget your expansion zone.
Finishing
Trim any underlay where needed. Remove all your spacers and reinstall baseboards. If you left your baseboards up, just install the quarter round to cover your expansion zones. Install transitions and use a damp mop on the new floor. You have now completed installing your laminate floor.
Related Youtube Video:
Related Resources:
DIY Network: How To Install Laminate Flooring
<>


