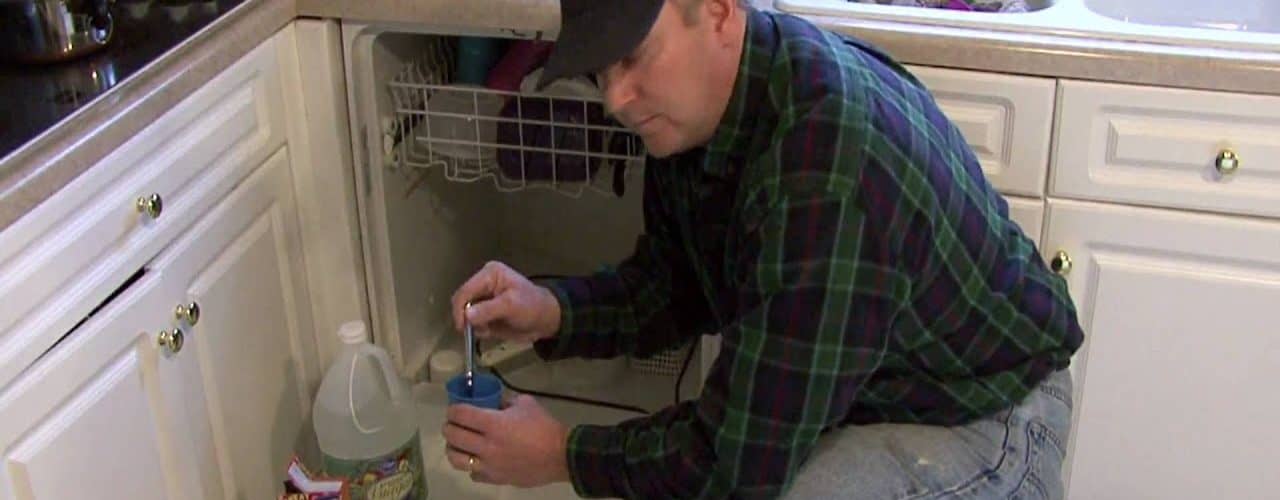
We don’t notice how much we use our dishwasher until it is no longer working. Fortunately, the internal workings of dishwashers haven’t changed that much over the last twenty years. That is good news and makes it realistic for you to do the repairs yourself.
Before doing any work on your dishwasher, you MUST make sure it is unplugged from all electrical power and the water supply is turned off.
The first step in any repair of an electrical appliance is to make sure it is receiving power. Check the plug, cord, and outlet. Also make sure there are not any blown fuses.
Next, make sure the door is able to completely and securely close. The dishwasher will not operate unless the door is closed completely. If this is the case, check to see if adjusting the latch will fix the problem. This adjustment is made by loosening the screws that hold the latch. Then slide the latch to a better position and tighten the screws. Close the door and start the dishwasher. If this adjustment does not secure the door, the latch much be replaced. Remove the old latch and install the new latch using the same screws as during the adjustment.
If your dishwasher is not heating for the drying cycle, this is an issue with the heating element. The heating element is found in the bottom of the dishwasher. It looks very similar to an electric oven heating element and can burn out.
To replace the heating element, disconnect the electrical leads from the element using the terminal screws. Remove the nuts and fasteners that secure the element to the terminal. Lift the heating element out of the dishwasher. To install the new heating element, set it in place, connect the power leads, and secure it into position.
The strainer is what catches all the food particles that didn’t get rinsed off the dishes prior to being put in the dishwasher. A clogged strainer can be the cause of flooding or the dishwasher overfilling. Clean your strainer regularly to prevent this problem.
The strainer can be made of plastic or metal; and consists of either one or two pieces. It is located under the sprayer arm. To remove the two piece strainer, it just needs to be pried up. In dishwashers with the one piece strainer, the sprayer arm needs to be removed to get to the strainer. The sprayer arm cap is removed first, then the sprayer arm, giving access to the strainer. The strainer can be washed with water and a mild detergent. The most important part is getting the tiny holes in the strainer free of all debris.
If the dishwasher is not filling with water, this can be a problem with the water inlet valve. The water inlet valve controls the amount of water that flows into the washer.
For a water inlet valve repair, make sure the water supply is turned on. If the house water heater is turned off, no water will be sent to the dishwasher.
Next, locate the inlet valve under the tub of the dishwasher. Pull out the screen using a screwdriver and rinse it out thoroughly with water. Then replace the screen.
The valve is usually controlled by a solenoid, which is connected on the side of the dishwasher. Lightly hit the solenoid and the valve to break up any obstruction. This can be done with a screwdriver handle. Start the dishwasher. If the dishwasher still does not fill appropriately, you will want to replace the solenoid.
If the dishwasher motor is not working properly, that is one part that you want to have professionally repaired. Before calling for repair service, make sure that you have checked all power and water issues first.


