
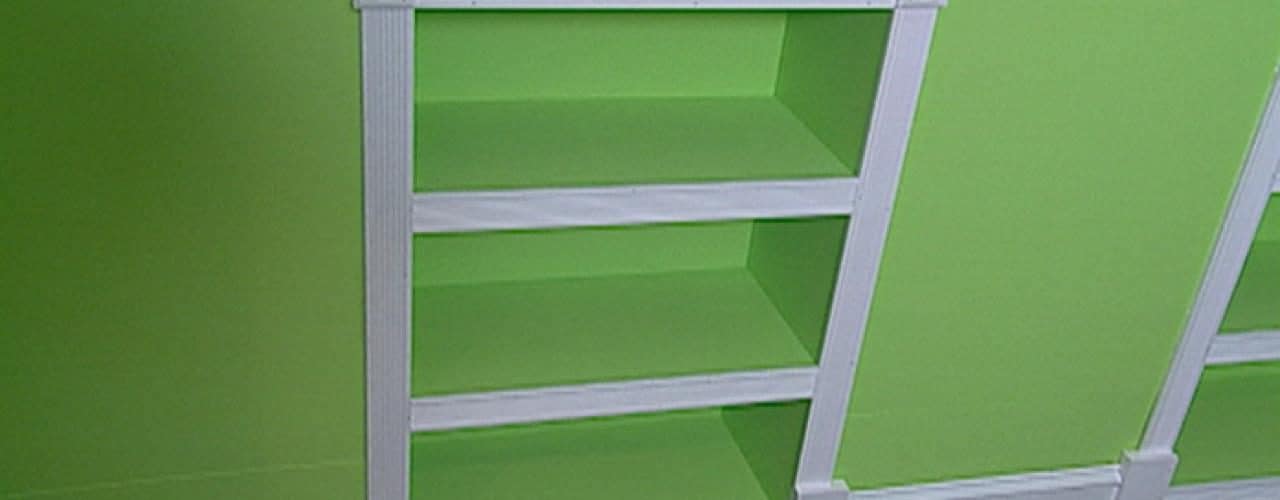
Building a book shelf is an easy do-it-yourself project that provides a lot of benefit for very little work and expense. To build a basic, medium sized bookshelf you need three 1 x 12 x 8 boards, 1 box of 2 inch screws, a power drill with a screw driver attachment, a saw, a yardstick and a pencil.
Contents
Step 1: Cut Your Boards
Note: Please remember the old carpenter’s adage, “measure twice, cut once.” It will save you time, money and aggravation.
From your first long board, cut a short board 32 inches long. Repeat with the second long board. Cut a 32 inch piece from each end of the third board. Your should now have two boards that are 64 inches long and five boards that are 32 inches long.
Step 2: Paint your boards (optional)
Now is the time to paint your boards. I promise, they are much easier to paint before you put them together. Allow two days for this job, so that you can allow each side to dry completely before you turn it over. While you do not have to paint the shelves, they do look nicer if the match they color of the room they will be in.
Step 3: Mark the sides for the shelves.
Again, please be very careful that your marks are accurate.
Place the two longer boards on top of each other, making sure that they line up perfectly. Then beginning a one end, measure and mark both boards at the 15.5 point, the 31.5 point and the 47.5 point. Make sure the you mark both boards at the same time to guarantee that you shelves will line up. Then repeat you measuring and marking on the other edge, being sure to start measuring from the same end you started from before.
Step 4: Mark the sides for the drill holes.
Using your yard stick as a guide, mark each side board, about 1 inch from each edge, at the following distances from the top: 16 inches, 32 inches, 48 inches. Repeat on other edge. These are where your drill holes will go.
Step 5: Drill the holes
Using a fine drill bit, drill holes into each of the markings you just made on the board.
Step 6: Attach the top and bottom shelves.
Note: The base and the top fit between the sides, not on top of them.
To attach your first shelf, lay it perpendicular to the side, making sure that both boards line up perfectly. Then, using the screw driver bit in you drill, screw the two boards together, being careful to drill through both holes you have already created. Repeat this process with the same side and the top shelf. Next, attach the other side to these top and bottom shelves, again being careful to match up the boards carefully and to drive the screws through the holes you have already created.
Step 7: Attach the middle shelves.
Note: It is nice to have some help with this step. If no one is available to assist you, you can stand the bookshelf up and prop the shelves on top of some of you books until you get them screwed in.
Stand you book shelf up, making sure the bottom is on the ground. Line the bottom shelf up so that the top of the shelf is even with the pencil mark on the end of each side. Then screw it in, using your pre-drilled holes as a guide. Repeat the process for all three shelves.
Related Video:
How To Build a Bookshelf


