A driveway gate adds beauty, elegance, security, and curb appeal to any house. Choose a gate style that will match the architecture of the house to maintain visual harmony. Choose materials that are suitable for the style, as well as the desired function of the gate.
1. Place the Gate Posts
Gate posts can be an ordinary fence post placed on either side of the driveway, or as elaborate as twin columns or solid brick constructions. For a basic fence post construction, measure the height of the gate. The measurement should include any clearance needed, to function properly, over an uneven surface. For the best results, use pressure treated lumber for the posts as they will bear the weight of the gates. If placing finials or other decoration on top of the post, allow enough extra length to secure the top decoration. Add an extra twelve inches to the length of the post to secure it in the ground. Using a post hole digger, create a hole fourteen inches deep and approximately 2 inches wider on all four sides than the gate post. Fill the hole with two inches of concrete. Place the post in the hole on top of the concrete. Fill the remainder of the hole with concrete, tamping it regularly to remove any air pockets. Once the hole is filled, check the post placement. It needs to be both square and level. Once the concrete dries, it will be markedly more difficult to realign the post. Secure the post in its level and square position until the concrete has thoroughly set. Repeat the process for the remaining portion of the driveway.
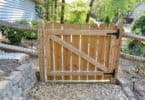
2. Place the Gates
Gates can be basic, pre-constructed gates from a hardware store. Once the gate posts are firmly in place, carefully measure the placement of the hinge attachments on both the gate and the post. Be certain to allow for adequate clearance over any uneven portions of the driveway. Attach one side of the hinge to the top and the bottom of the fence post. Attach the other side of the hinge to the top and the bottom of the gate. Brace the unattached side of the gate until both sides are attached to relieve stress on the hinges. Repeat the process for the second gate. Attach a hasp or other fastener to the two sides of the gate in the middle of the driveway to keep the gate from opening on its own.
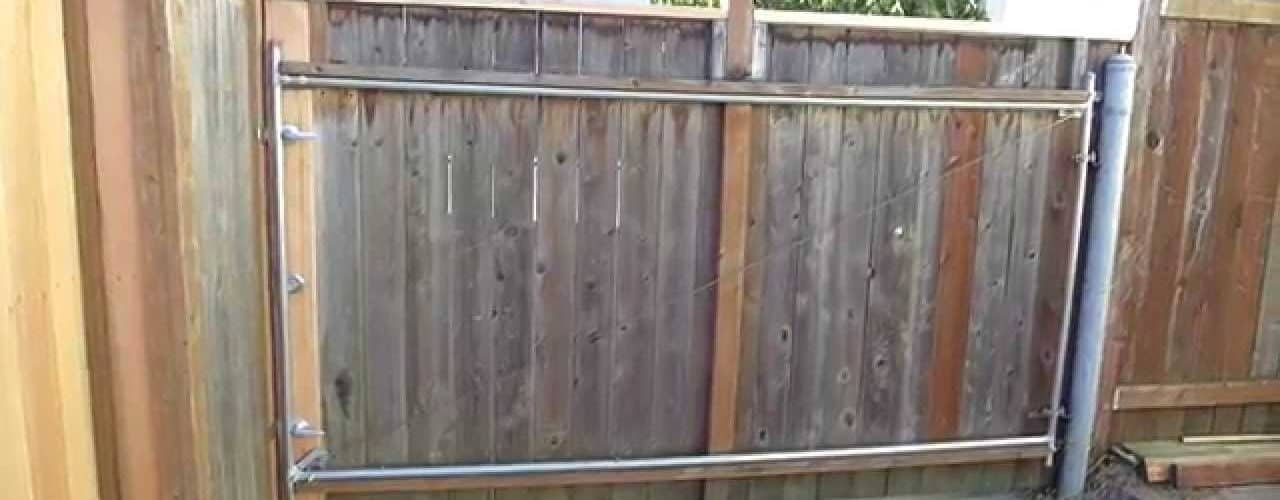
Extra Reinforcements
If the driveway is designed for a single car, the basic gate outlined above should suffice. However, if the driveway is wider, a few extras steps should be added to ensure the stability and functionality of the gate. Choose a gate that is constructed with at least three horizontal bars – one at the bottom of the gate, one near the middle, and one at the top of the gate – to provide added strength for a longer gate. Consider reinforcing each corner of the gate with metal angle brackets to bear some of the stress. Galvanized metal plates can be used to reinforce cross-joints where the horizontal bars connect to the uprights. Nail a strip of wood approximately two inches wide to the inside wall of one of the gates. The location is where the two gates meet, in the middle of the driveway, to reinforce the gates when they are closed. The strip should rest with a one-inch overhang where the two halves of the gate meet. The gate without the strip will fit snugly onto this reinforced strip, and the strip itself will be invisible when the gates are closed.
<>