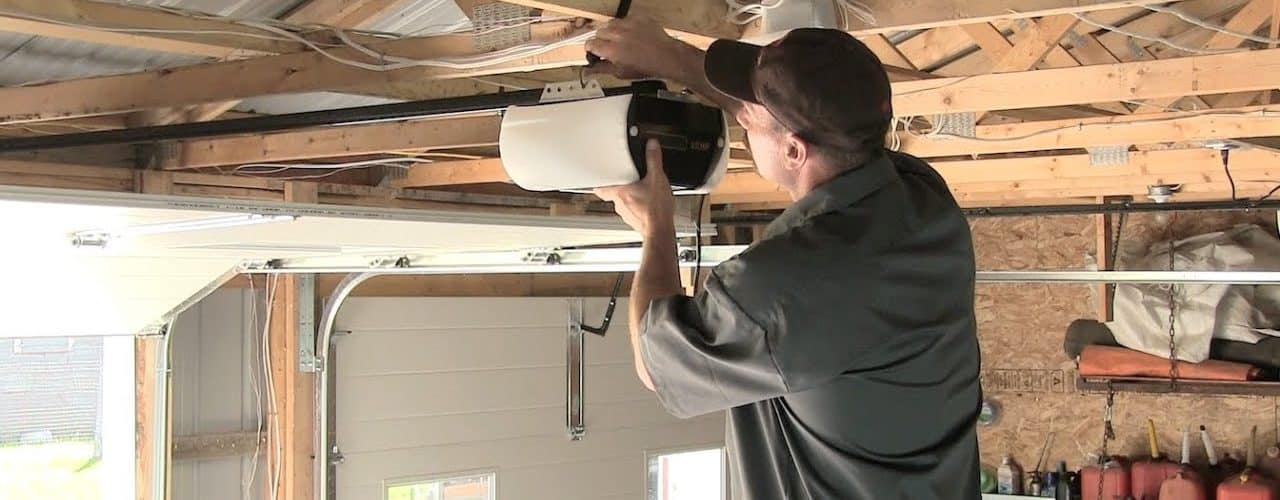
Garage door openers have become an important part of life today. Garage door opening devices offers safety and convenience for anyone. Some garage door openers have an external keypad that can help you enter you garage in the case that you do not have your remote. A garage door opener can hold a garage door shut, which can add to the overall safety of your house. In addition, all new garage door-opening devices use safety sensors to ensure that the garage door does not close on a human or animal.
The garage door opener installation steps are easy. However, installation steps vary between manufacturers. However, many steps are universal. This article aims to inform you on the steps to install a garage door opener. Keep in mind that these are general instructions. In any installation, you should follow the manufacturer’s instruction manual.
Before beginning, you should ensure that you have a power receptacle with a proper ground and GFCI. It is important to ensure that the door is functioning properly prior to installing the garage door opener. Some garage doors use springs, and should be checked for proper tension.
First, ensure that the T-rail pieces are arranged in the proper manner. Some T-rails have arrows on them. It is important to ensure that all of these arrows are pointed in the same direction. You should bolt them together securely. Next, ensure that the idler pulley is aligned and bolt it in. Next, slide the trolley into the rails, this will allow you to connect the opener unit. Next, use a screwdriver to hold the trolley in its place. After accomplishing this, you should attach the drive chain onto the provided trolley.
Next, you should open the door to find out how high the door travels over the tracks. To be safe, you should add two inches to the measurement. Mark this measurement above the door. You should then find out where the center of the door is located. Mark the center of the door with a marker. You will mount the header bracket on this point. It may be necessary to attach a few 2x4s across the studs if your location is not over a stud. After ensuring that you have a sturdy mounting location, it is safe to mount the bracket.
Now, you should close your garage door. The idler pulley should be attached to the header bracket. The assembly should now be placed on a stepladder. Next, open the door and raise the rail above the door. Then, attach the bracket to the ceiling with screws. You should make sure that the opening unit is stable by ensuring that the brackets are crossed. You may now install the controls. You should attach your opening module near the door that allows you to enter the garage. You should now install the electronic sensors. These sensors are extremely important because they can keep your child, car, or pet safe in the event of an accidental closing of the garage door. You should use staples that are insulated, and should run the wires 20” along the frame. Then, connect the proper wires to the opening unit.
The final step is to attach the bracket. You must ensure that the garage door is parallel to the rail. Then, ensure that the door is closed well. Then, attach the curved arm to the bracket.
After performing these steps, you may plug in the opening unit. Test the unit by pressing the open button. You may fine-tune your opener using the onboard controls. If everything works properly, you are finished! If you followed these steps, your installation should’ve gone great.


