
After all of the hard work it takes to stain a deck, it is important that it is done properly so that it will look great when finished and it will last. Too often, taking shortcuts when staining a deck will cause the deck to quickly succumb to weather damage, and fading. Here are some simple steps to take that will ensure that this does not happen to you when you stain your deck.
Prepare Your Deck Properly Beforehand
Of all of the steps, this is perhaps one of the most important. You must clean your deck very well before you begin the process of staining it. Naturally, if it is an older deck that you are re-staining it is obvious that it would need cleaning however even brand new decks need cleaning to remove dust and grit left over from when the wood was being milled. For ingrained stains on the wood you will need to use a stain stripper to effectively remove them all. Stain stripper can be dangerous to handle so follow the instructions included on the stripper carefully. For general cleaning you can use an oxygenated bleach wood cleaner. These are safe and easy to work with. Finally, once the deck has been thoroughly cleaned and all stains removed, you can sand off any stubborn stains that refused to come off any other way. It is important to make sure that the deck is clean and the wood grain appearance is even over the entire deck. Small imperfections or inconsistencies will show up much more once the deck is stained.
Next, spray a wood brightener over the deck. These are specifically designed to do several things. They will open up the wood surface so that any stain applied will easily and deeply penetrate down into the wood. Wood brighteners also neutralize any leftover strain stripper and they will brighten old wood and bring it back close to its appearance when it was newly finished. They are very simple to use, you simply spray it on, leave it for a few minutes, and then rinse it off.
It is important, before going ahead with the next step, that you make sure all cleaners, wood brighteners and stain strippers are thoroughly rinsed off the deck. This is best accomplished by spraying off the deck with a hose and water, thoroughly rinsing it until you are sure all of the cleaners are removed. Failure to do so can result in the stain gradually coming off over time.
Take Your Time to Stain the Deck Properly
There are two basic types of stains, both of which work equally well. Water based stains have come a long way, and they are now as good as any oil-based wood stain. They are easy to work with as you can wash them off afterward and they are known to be durable and long-lasting. They also dry much faster and are more environmentally friendly. Water based stains are also less hazardous to your health. Synthetic deck stains are also easy to use, and they are often the better choice if you live in a damp or humid area as they are resistant to algae and mold. Whichever type you decide on, buy the best stain that you can. Cheap stains will not last.
Take time to read the label and the directions included on the can of stain. They are not all the same and there are often differences in how long you need to leave between each coat and how many coats to apply. Failure to read the instructions could result in mistakes being made. Most instructions are clearly written and easy to follow. It is a mistake to apply more coats than instructed as this can result in the stain eventually peeling off.
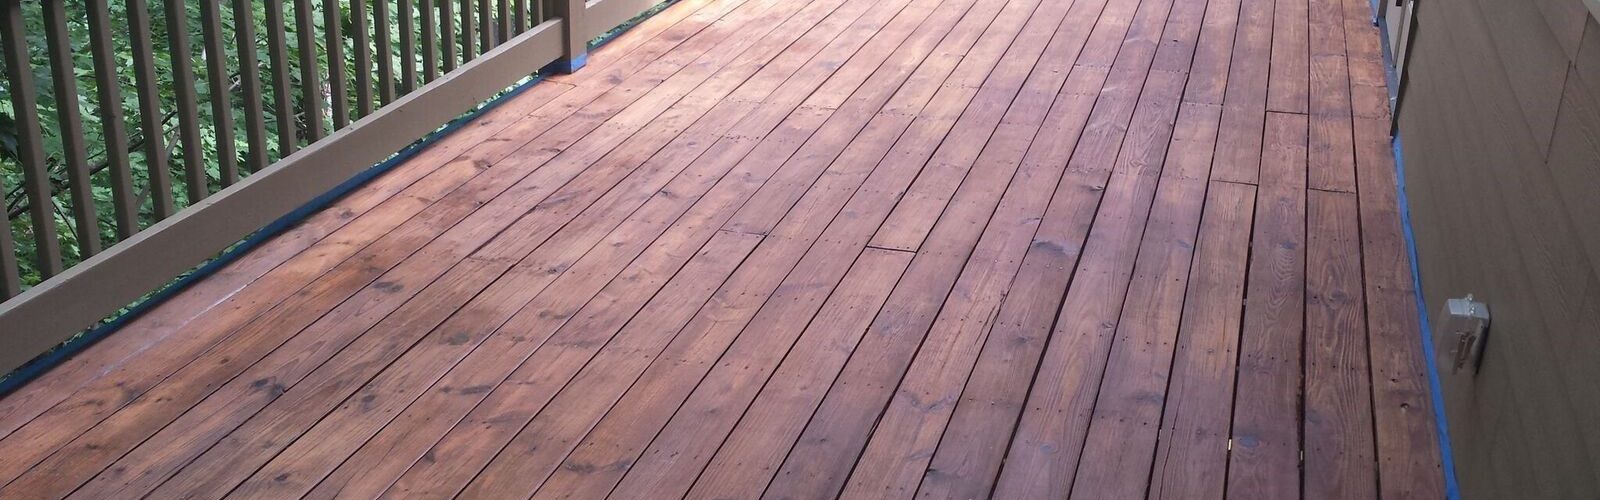
You can apply the stain with either a roller or a sprayer. Using these tools will help you to get the job done quickly and evenly. Some experts recommend that you back brush the stain with a paintbrush before the coat dries for maximum penetration of the stain into the wood. The more the stain penetrates into the wood, the longer it will last.
Finally, once you have applied all coats of the stain remember to leave plenty of time for it to dry. If you are able to allow even more time than specified on the can of stain it will be even better for the finished deck.

