Sharpening a chainsaw is something that must be done by every chainsaw owner in order to keep the saw in good, working condition and to maintain safety. You may be a new chainsaw owner, so here is a short how to guide to explain how to sharpen a chainsaw.
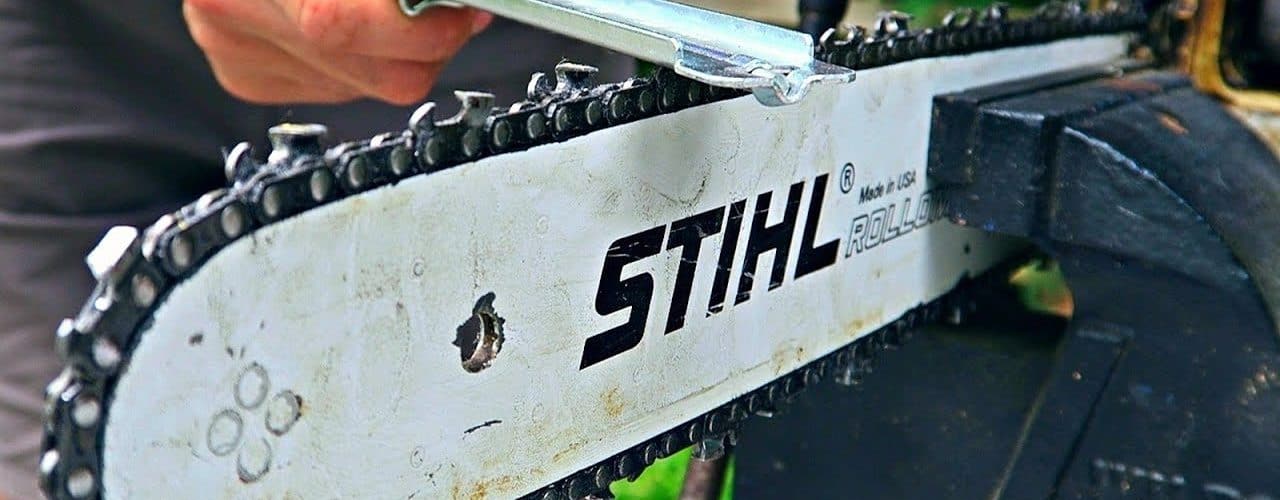
First, you need to find out what kind of chainsaw you have. Chainsaws are differentiated by either their size or their gauge. Different size and gauge chainsaws have different sized teeth. You need to know this information to buy the proper rattail file to use to sharpen the teeth properly.
The second step is to clean the chain of your chainsaw. You should either use degreaser or mineral spirits to get all the dirt and gunk off the chain. Make sure not to get any liquid near the engine, since it can damage your chainsaw.
Third, you will want to inspect your chainsaw for any broken or very worn down teeth. If you do find any broken, very worn down, or considerably damaged teeth on the chain, the chain should unfortunately be thrown away.
If your chain is not broken, the next step is to lay the saw down on a flat surface. It is suggested as an extra precaution that you to put the saw in a vice grip by clamping the vice on the bar.
Next, you will need to find the lead cutter. The lead cutter will be the shortest of all the chain’s cutters. Perhaps, mark this cutter with a bright colored marker so you remember which cutter to file first. If you can’t find a lead cutter and they all seem to be the same length, you can use any cutter.
For the next step, place your rattail file into the notch in front of the cutter you chose on the previous step. The file should be shaped so its curve fits into the curve that is on the cutting tip’s face.
Next, you should turn the file so its angle matches that of the cutter’s blade. For most saws, this angle will be twenty five degrees. However, certain chains called “ripping chains” may have blades ground in flatter angles.
Now you need to begin filing. Run the file across the cutter’s face, pushing it from angle’s short side towards its long point. While you file, twist the file slightly to get rid of any metal filings.
Continue filing. File each tooth on the same side of the saw at the exact same angle as you filed the first tooth. After you finish the teeth on to top of the chain, you will want to spin it so the rest of the un-filed teeth facing that direction are on the top so you can file them as well.
Next, simply go to the other side of the saw. File the teeth on this side that are angled in the other direction. File every tooth at the same angle as you did for the other side until you are finished.
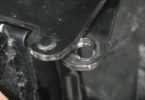
Now you’ll have to check how much clearance the rakers have. The rakers are those links that have what appears to be a hook. Each raker should have a tenth of an inch lower clearance from the cutting edge than that of the cutter. If it’s more than this, you must file the raker. You can purchase a tool at most hardware stores to assist in this filing, so you don’t damage the adjacent teeth. You will probably want to perform this filing with a flat bastard file.
The last two steps are simply to apply oil to your chain and then test its tension.
If you performed all these steps correctly, your chainsaw should be ready for sawing immediately.