
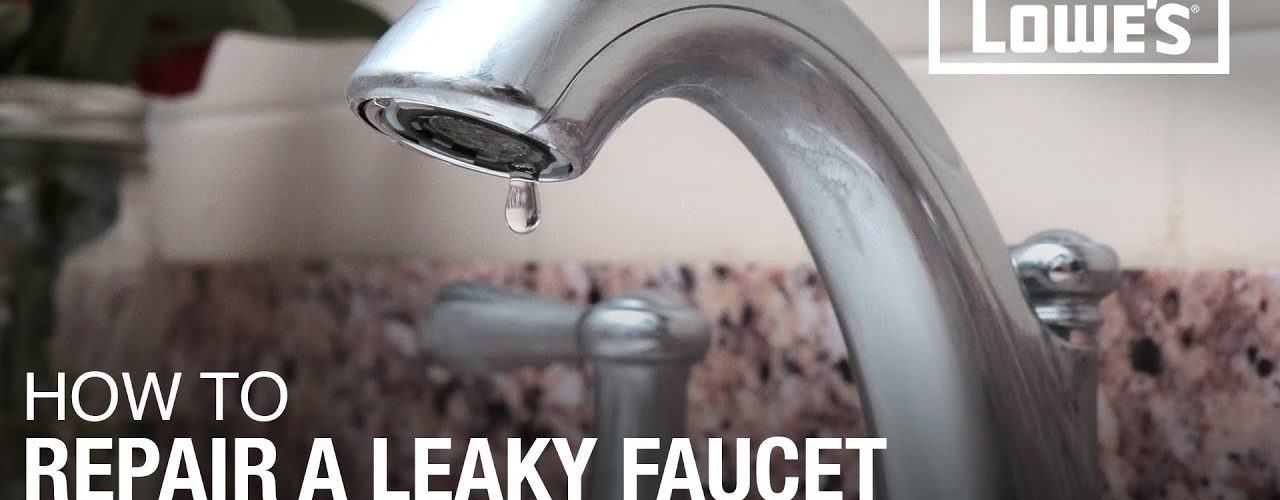
Leaky faucets can be more than just an annoying drip in the background. They can lead to a higher water bill, lead to bigger leaks and cracks, and can end-up destroying a plumbing system altogether if left alone for too long of a time. There are basically two-types of faucets, washer-type faucets and washerless faucets. Either faucet can be fixed without professional help following a few simple steps.
Contents
Turn-Off the Water
To begin your repairs make sure that the water is turned off. You don’t want water spraying all over the place when you remove the faucet. There are a couple of ways to shutoff the water.
– There may be a valve located at the bottom of the fixture, if so turn it off there.
– If there is no valve then turn the water off through the main house shutoff valve. This valve is usually located in the basement, a crawlspace or utility room.
*Turn off the hot water supply from the water heater as well.
Take the Faucet Apart
Now that the water is off you can proceed with taking the faucet apart. Some faucets – not all, will require you to remove the handle. If this is necessary then loosen the screw, usually a Phillips head screw that is located on the top area of the handle. If there is no screw then you can use a butter knife to pop off the plastic top of the handle. Be careful not to break or chip the piece.
*Remember, we are repairing the leak, not replacing the entire faucet. You want to make sure you don’t break any faucet pieces while taking it apart.
Once you have this top area off then go ahead and unscrew the packing nut beneath the handle. This will expose them stem. You can then remove them stem by turning in gently in the “on” direction. The stem should thread-out easily. If it refuses to thread-out simply clean around the corroded area with some gentle cleaner.
Examine the Stem and Washer
Examine the stem immediately. If the stem is badly worn and/or corroded, then take it to your local hardware store and get a replacement stem for your faucet. If it is just dirty, then clean it with a non-abrasive cleaner.
Now look at the washer. The washer should be located towards the lower-end of the stem and held there by a brass screw. If the washer is flat, squeezed or severely worn, then replacing it should stop any leaks you have right away. Simply take the washer to a hardware store and replace it with a matching washer.
*If the brass screw is damaged replace that as well.
Put the Faucet Back Together
Your faucet should now be running like new. Simply put all the parts back together, following all the steps in reverse order. It is very helpful to apply petroleum jelly and/or some silicone grease to the threads of the faucet to ensure an easy replacement when you are screwing the stem back on. This will lubricate the faucet and help it screw on and tighten much easier. Turn the water back on and test it out.
*If the faucet is leaking around the stem area – opposed to the spigot, you may need to install all new packaging.
You have done it. You have successfully fixed a leaky faucet. It is important that you not let any leak or drip go without work for too long. By taking some time to replace or fix these leaks, you will save yourself tons of money down the road, as well as negate the need to bring in any high-priced professional.

