
Refinishing your old weather beaten deck and making it look new again is not a particularly difficult process for any experienced do-it-yourselfer with the time available to devote to the project. The job requires several days or weekends, although in most cases, only a few days of actual physical effort is involved.
You should always use a stripper to remove old sealers and stains prior to applying any new coat of stain to your deck. The overall process involves four stages. The first stage is planning, the second is stripping and repairing, the third is sanding, and the final stage is the actual staining.
Planning
Measure the total surface for refinishing, not just the deck floor but posts and railings if included, and calculate the area in square feet. With this measurement, you will be able to buy enough stripper and stain to complete the job. Simpler to work with and usually not harmful to pets and surrounding vegetation, a water-based stripper is best. The choice of a stain may require more thought.
If happy with the stain originally put on the deck in terms of color and longevity, the same or very similar stain is probably the best choice. If this refinishing seems premature, remember that application of the original stain was to protect the wood from UV and moisture damage, the weather damage that is necessitating refinishing. A change to a darker color and a semi-solid or solid stain will extend the life of your refinishing job.
The choice of a latex or water-based stain is always a matter of debate. Latex stains have a clear advantage with their simple soap and water clean up while oil-based stains need solvent; however, some argue that the oil stain provided better sealing to moisture.
Stripping
Ideally, find a stretch of five or six days of clear weather for stripping. However, it is more probable that it will involve a good long weekend. The actual stripping will require one day but three days are necessary to dry before the wood is ready for sanding and staining. However, while waiting for your deck to dry, you have time to replace or repair any damaged boards or railings. In addition, check that nail heads are below the wood surface or, if loose, replace them with screws.
The instructions for the deck stripper usually include wetting down the deck (no puddles that dilute stripper) and applying the stripper with a mop, handled brush, roller, or sprayer. After allowing the recommended time for the stripper to work, wash away used stripper and residues with a garden hose and stiff broom. A pressure washer is a lot faster; however, improperly used they can do serious damage to soft woods or composites.
Ironically, you may have to apply a second coat of stripper where the surface was not as badly weathered.
Sanding
Assuming you have carried out any repairs, particularly re-sinking of/or replacement of nails and at least three days of dry weather have passed, sanding the deck is the final preparation for staining. Power washing or any abrasion of the surface will raise wood fibers to give a fuzzy surface. Use 80 or 100 grit sandpaper with a power sander. A random orbital sander is best but a belt sander is faster. For a large deck, you could rent a large orbital sander to spare your knees. Thoroughly sweep or use a shop vacuum to remove sanding dust and your renewed deck is ready for new stain.
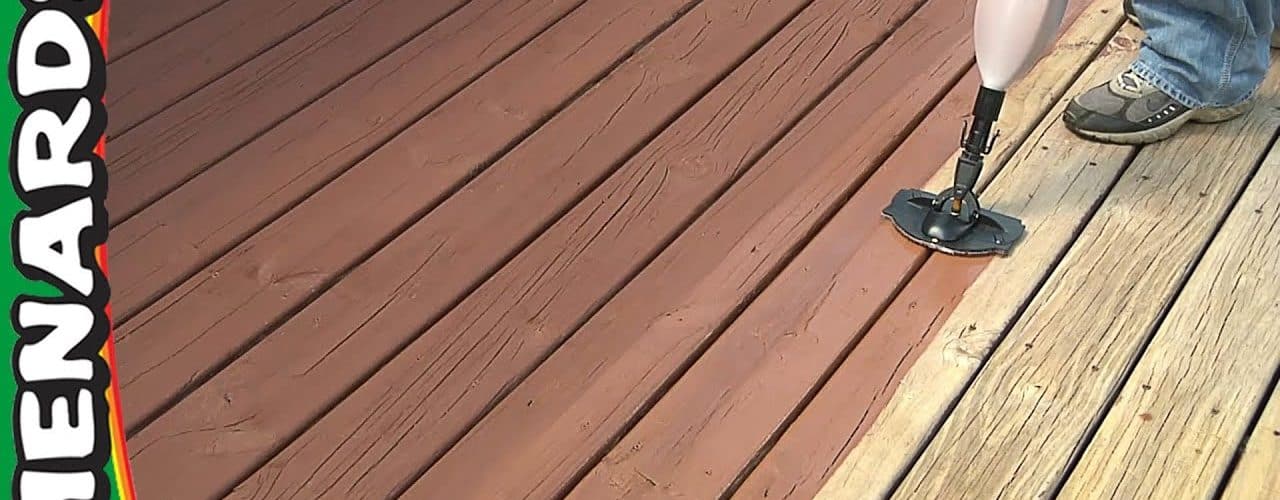
Staining
It is best to apply stain on a cloudy day to avoid staining in direct sunlight causing the stain to dry too quickly. If doing the railings, do them first while protecting the deck from spills. Then begin staining around the deck edges with a paintbrush especially anywhere the deck abuts a wall. For the rest of the deck surface, use a paint roller working slowly and applying evenly. Apply with the grain to prevent damage to the surface and ensure the adsorption of stain into the grain of the wood. After the first coat, let the stain dry thoroughly before applying the second coat. The second coat will help improve the life of your new finish and justify the effort and expense.

