
Walking down to your basement to play cards or just to work on a project, you notice that your cement floor is bland and unappealing. The gray glow coming from the floor does nothing for the room and makes it seem as if your house has a warehouse component to it. Carpeting is an option but yet the cost to carpet a room in today’s economy is out of this world. The next logical option would be to paint the concrete and this information will walk you through the steps to make that happen.
1) CLEAN
Cleaning is the essential first step before taking on this project. Depending on the amount of traffic that ventures across the concrete on a daily basis, a constant mess could be making its home on that surface in the form of dirt or dust. Using an industrial cleaner and a bristled brush, scrubbing the floor completely is a necessity to avoid any cracking or smearing of the paint.
2) FIX BREAKS
After thoroughly cleaning the surface, you are going to begin to notice cracks and blemishes in the concrete that need to be cleared up. This part is not just for painting purposes but to also to strengthen the integrity of your floor so bigger cracks do not appear later down the road. The local hardware store should have different forms of instant cement mixtures used for such situations. Once determined which would be the best option for your project, apply the concoction to any seams or cracks in the cement and level out as best you can for a smooth surface.
3) SEALING
Once the cement for the repairs has hardened, sealing is the next step to having a freshly painted concrete surface. Seal coating the concrete is a protective shield over the elements of time and wear and tear. The entire area of concrete that you are looking to paint must be covered with a seal coating and allowed to dry for about two days.
4) PRIMER
As with any painting job, a good coat of primer needs to find its way to a painting surface. This is a two step process that needs to be repeated for a great paint job on the concrete. A fresh coat of primer would need to be generously put on the concrete surface, allowed to dry and then another coat placed on top of that.
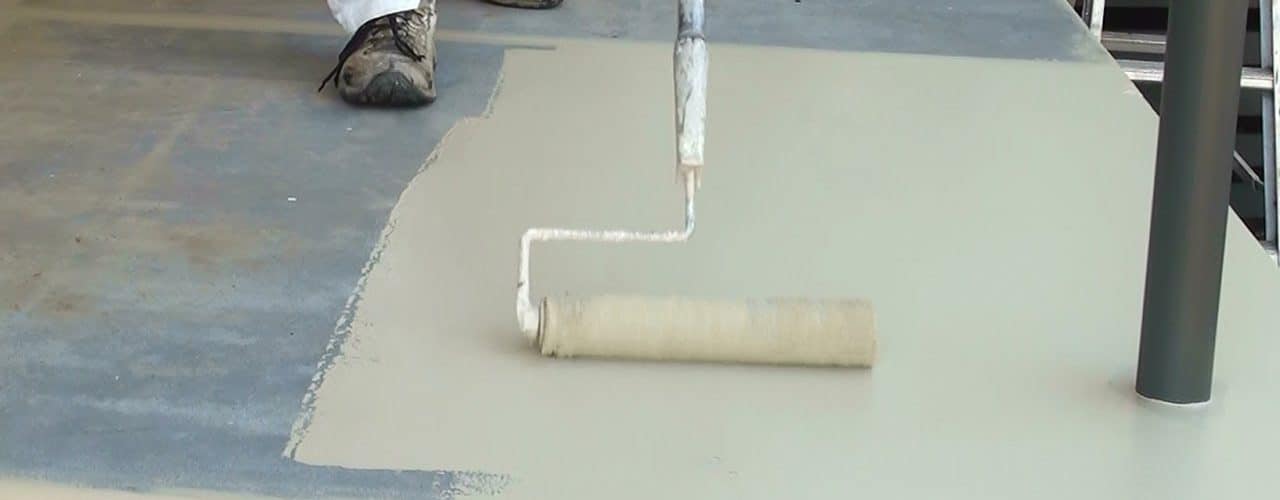
5) PAINT
Now comes the fun part of choosing a color and painting the surface. Once the color has been chosen, apply a fresh coat and allow this to dry completely. A preference of most painters is to utilize a sprayer rather than a roller or brush. A spray attachment allow for an even spread of the paint without smearing or streaks appearing in the finished product. Once the paint is dry, determine if another coat or two would be needed to make the finished outcome acceptable to your interests.
6) SEALER
The last step in the process would be a nice coat of paint sealer to provide the glossy finish to your work. The amount of coats you use is based upon your preference but normally I would suggest two coats with a drying period after each. The two coats allow for any missed areas that need to be attended to.
Other Resources: DIY, Home Improvement Superpages

