
Hardwood floor is elegant and looks spectacular. Whether you want to lay new floor for a dining room or recreation hall, or just want to replace the old wood flooring, nothing beats the look of real hardwood. First of all, you need to measure the total square footage of the room before you begin. This way, you will know how many wood planks you will need before you start. Choose the style and design of wood that appeals to you. You can purchase finished wood of your choice, or you can buy unfinished wood which you can sand and finish yourself later. Be exact in your measurements.
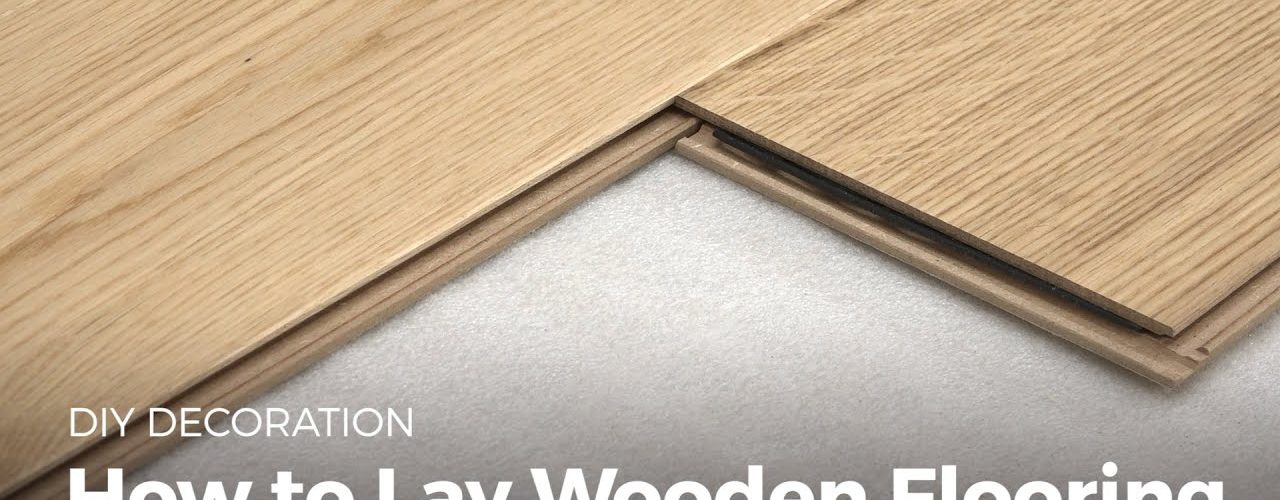
Thoroughly clean and sweep the subfloor before you lay down the new hardwood flooring, and check for loose nails. If any are found, remove them carefully, along with any debris. Leave a space of three fourths of an inch between the subfloor and the wall, and angle the new flooring along the floor joists at right angles. Mark the three fourths inch line and the width of the floor on the subfloor. Do the same at the opposite end of the room. If you are using hardwood strips, you will want to first lay a strip tongue edge out a little ways from the wall.
Lay the first wood piece one inch from the grooved edge of the strip tongue. Next, you need to nail it to the floor. The type of nails best suited to this job are galvanized or screw shank nails made for flooring projects. You want to drive the nails straight into the tops of the wood planks until they are flush with the top. Place each nail at the end of the wood strips or planks. It is often helpful to pre drill the holes to prevent cracking or splitting the wood. You should have made a line of chalk at the three quarter inch mark. Keep the first piece of hardwood aligned with this marking.
The first strip or plank of wood should also be nailed to the strip tongue. This needs to be done by hand for the first two or three pieces. From thereon after, a power nail gun can be used for the rest of the floor. You can rent one of these from the Home Depot or any good hardware store. Before laying the rest of your floor, lay out seven or eight pieces in a staggered pattern at six inches each apart. You will have to cut pieces of hardwood to fit into the gap left by the starting pieces. You will have varied lengths of plank wood, and you want to be sure that your pattern is consistent with long and short pieces. Otherwise, you will have too many long pieces on one side of the room, and too many short pieces elsewhere.
Keep your pattern consistent. Fit the pieces together on the floor before nailing them to see if the pattern works well for you. This is called dry fitting. If you don’t like the way it looks, rearrange the planks, and cut pieces if necessary. This type of flooring can be laid over an existing floor surface, whether vinyl, linoleum or tile. However, concrete should be overlaid with a plywood subfloor before nailing the new hardwood. If you are nailing over a plywood subfloor, avoid nailing the new pieces over the subfloor joints. This is what causes that unwanted “squeaky floor” sound. The end result will be a floor that can be used and reused for years. Careful polishing and cleaning will ensure that it stays looking like new throughout the years.

