
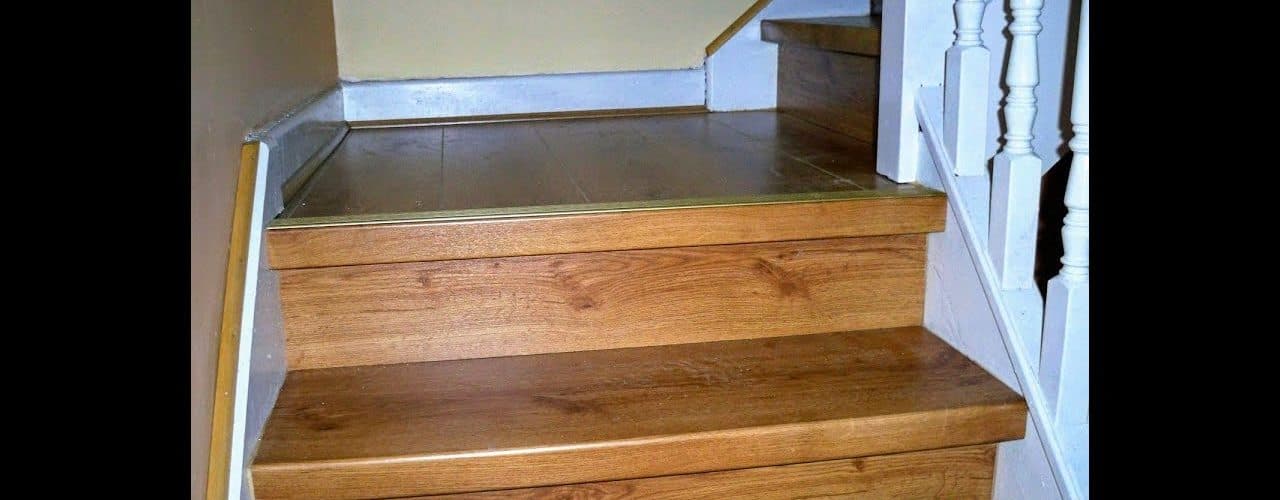
It will likely come as a shock to many individuals reading that laminated flooring is actually able to be utilized on stairs. A reliable and practical selection for stairs going to a work room or basement, laminate flooring works well, since it is able to capture grime, grease, dirt, and soil in advance of it getting tracked over all other parts of the home. Laminated floors are simpler to keep clean and maintain than are carpet floors. Another advantage to laminated flooring is that it does not demonstrate traffic wear so fast as does a carpet. This article goes through the relatively simple installation of self adhering, single tiles for putting in laminate flooring on stairs.
Prep Work for the Project
Completely clean the surfaces of the stairs. Perhaps they were carpeted stairs. If so, be certain that you got off ALL tape and carpet adhesive before advancing to the next steps. Also, you should smooth down rougher surfaces. Ensure that neither wood screws nor nails’ heads are sticking up above the surrounding surface level. Now, utilizing the measuring tape, find the middle of the surface of the stairs on the highest stair. Using the pencil or a pen, notate this place. You should also do this for the front, or riser, of the highest stair.
Putting Down the Stairs
Take off the adhesive and then proceed to put down the first piece of laminate tile on the stairs’ surface. Be certain that the middle of the tile is located right over the mark that you made in the middle of the surface of the stair. Now push the self adhering tile firmly into its slot.
Put down other sections of the laminate flooring tile. You should work off of the middle tile to the left, and next from the middle piece towards the right. Take regular breaks to work with your measuring tape. Take your time to ensure that each piece of laminate flooring tile is both straight and level with the adjoining ones.
Now repeat these last two steps for the front, or riser, of the highest stair. Heading down to the descending next stair, repeat these above two steps again. Keep working in this manner until you reach the point where all of the various stair surfaces are covered with the laminate flooring.
Suggestions and Cautions
We close with a few helpful suggestions and cautions. Standard measurement stairs each have the configurations of thirty-six inches long on the actual stair surface, by twelve inches wide, by six inches high at the front, or riser, of the stair. The beauty of laminate flooring tiles is that they come standard in twelve inches by six inches measurements. This means that you might not even have to cut the tiles down to size.
You ought to take great care when you are attaching the laminated tile flooring pieces to the front, or riser, of each stair. Since you will have to twist or bend over every time in order to reach this part, you might become off balanced and possibly even fall. You ought to be very careful that the laminated tile flooring surfaces are not such that they could get slick when a person’s shoes or feet are wet. Slipping, leading to a potentially disastrous fall down the stairs, can result. Finally, you must be certain that all of these laminated flooring tiles are well secured and pressed carefully into their places. Such tiles, if they are loose, might trip a person going down the stairs, leading them to fall and suffer a potentially catastrophic injury.
Related Posts
- How To Install Flooring?
- How To Lay Carpet On Stairs?
- How to Build a Stair Railing?
- How To Carpet Stairs?

