
The flooring options that are chosen for the various rooms throughout a home are very important to the overall look and feel of the area. That is why correctly choosing and installing the flooring is necessary.
Preparing Your Floor For Flooring Installation
Whether you are installing new flooring in various areas throughout your home to replace existing flooring or you are making the first installation to a new home it is important to make sure that your floors are prepared properly. This will give the best results for your new floorings overall appearance and purpose.
1. If your are replacing an existing flooring you will first need to remove the old floor covering. If you are working with tiles or laminate flooring you will need to scrape this up using a large putty knife. Make sure that you can get up as much of the old glue or adhesive as possible. When taking out a carpeting style flooring and replacing it with tile, laminate or hardwood flooring you will need to remove all of the carpeting, padding and tack boards that may have been placed to hold the carpet in place. Make sure that you careful as the tacks in these boards can cause severe injuries if not removed properly. The best way to remove the tack boards is to pry a screwdriver under them if possible and pull upward. When you have enough lifted you can use a hammer claw to remove the nails holding the boards in place.
2. When you have the old flooring removed you must sand or cover over any remaining glue or adhesive that cannot be stripped. There are a few options you can do for this. To sand the glue or adhesive you will need to use a handheld sander and work in a circular motion using a medium grit paper option. Make sure that you do not sand into the wood of the sub floor as this can cause pitting to show through on your new flooring. To cover over the glue or adhesive you will need to skim coat your floor. This is also a good option when you are working with concrete or do not wish to remove the old flooring from your working area. To skim coat your floor you will need to apply floor leveling compound to your floor and spread it around with a trowel that is held at a 90 degree angle from the floor surface. Using an S-pattern and working from side to side you will need to work this in over the entire surface. It is important to make sure that the floor is level after doing this.
3. You must make sure that your floor surface is level before applying your new flooring option. Use a level and check in various areas of your floor working from one end to the other. If you find an area that is not level you can apply a floor leveling compound to the area until it is level with the rest of the floor. For areas that are uneven in areas where two boards that are used for the sub floor do not line up correctly you will need to sand the higher board down until it is flush with the rest of the sub flooring.
4. Inspect your floor for squeaks or noises that can occur from walking over the surface. When you find an area of the floor that squeaks you can mark it with a pencils or marker. When you have completed the inspection for the entire floor you can go back and either screw or nail these areas to eliminate this problem. Make sure that you use nails or screws that are long enough to go through the entire sub floor and connect into the floor joists.
Installing Tile Flooring
Installing various tile flooring options can give your home a very clean and bright appearance. However, tiled floors do require some special care and maintenance. Dirt can get trapped in the grouting areas and give your entire floor a negative appearance just as easily. You will need to make sure that you have the time to commit to the care necessary before selecting this option and getting the best results.
1. You will need to begin in one corner of the room and place your first tile. Do not adhere the tiles in place until you complete the dry layout. Using a level draw an even line to use as your starter row. You can purchase tile spacers at your local home improvement store or flooring retailer to help keep an even spacing between tiles. You just place the spacers at the corners of the tile and then position your next tile in place.
2. When you have all of your tiles in place you will need to begin at your starting corner and apply you adhesive to the back of the tile. Make sure that you do not apply too much adhesive as this can cause your tile to stick up over the level of the other tiles. Hold the tile firmly in place to your floor for an approximately 30 seconds to make sure that it will stay in place. Work in a patterned fashion to make sure that you do not miss any tiles.
3. When your tiles are properly placed and adhered to the floor you will need to fill in the space between the tiles with your desired grout. Make sure that after applying the grout you use either a popsicle stick or your finger to push the grout down into place and remove excessive grout from tiles immediately. You will need to allow your flooring to set for two or three days before having too much traffic go over the area.
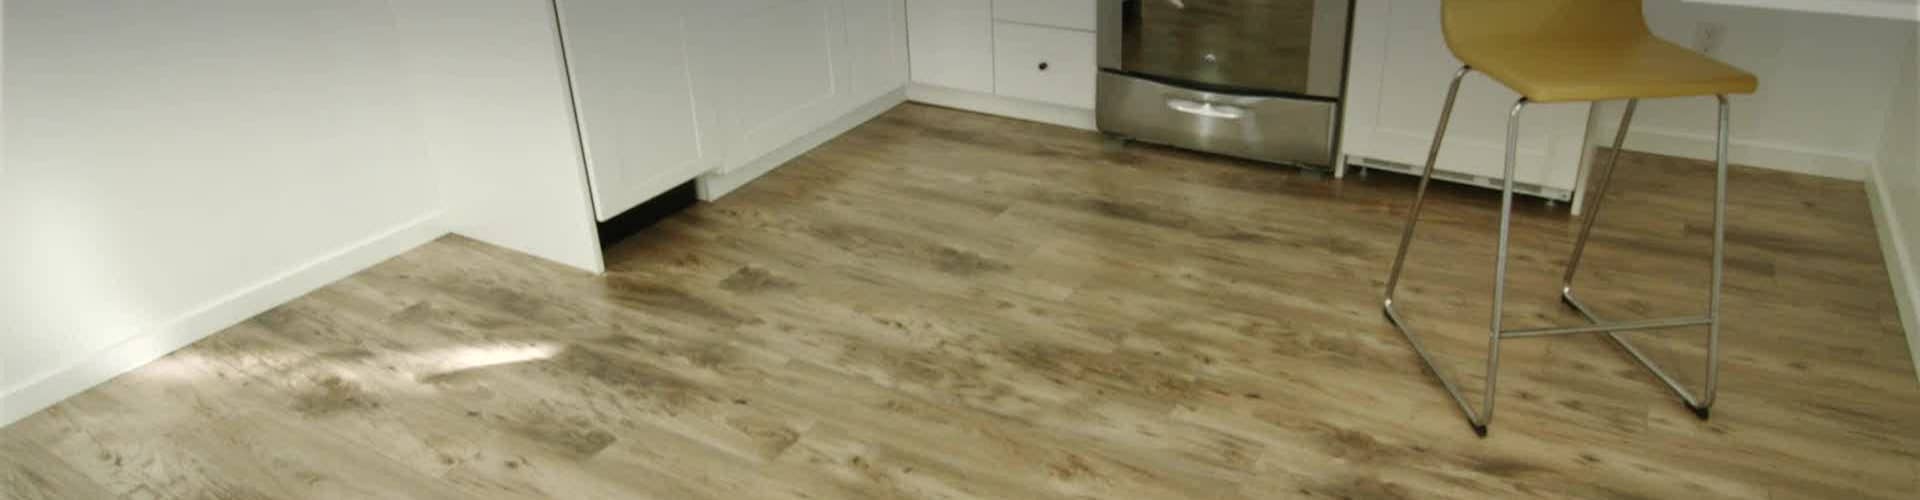
Installing Laminate Flooring
Laminate flooring can be purchased in either a tile form or as a roll. This is one of the easiest styles of flooring to maintain and clean however, if used in high traffic areas it can wear out quite quickly.
1. To install tile style laminate flooring you will begin working in one corner of your room. Make sure that you have removed all appliances and other items from the floor to make it easier to work on. You can remove moldings and trim to help make it easier for placing the flooring in.
2. When using tile style laminate flooring you will need to work in one corner and work in rows to maintain a pattern. If possible, lay out your entire flooring before adhering it in place.
3. When you get to areas that are odd shaped you can use a utility knife to cut the proper dimensions for that area. Some areas such as around pipes may require some ingenuity but because the laminate option is easy to work with this is not difficult.
4. When your entire floor is in place you can begin adhering the flooring to the sub floor. Some tiles have an adhesive already on them which requires you just to peel the backing off and place in the tile in the correct placement you laid out. If you need to apply your own adhesive it is important to make sure it is applied to the entire back of the tile before placing it in place. Do not use excessive adhesive as this can cause bumps and unleveled flooring areas that are not appealing and can cause tripping hazards.
5. Press the tiles in place for 30 seconds to one minute. This will help to start set up the flooring so it doesn’t float or move around while installing the remaining tiles. Allow twenty four hours for this to dry before allowing a great deal of traffic to use this area.
6. For rolled remnant cut your remnant to fit your intended room by unrolling and trimming out the areas that are necessary to place around corners and pipes. You will then re-roll your remnant so that the down side is facing up. Apply adhesive to the back side of your rolled remnant as you need. You will place your laminate roll into place and press firmly. Work facing the direction you are working to and unroll as you go. Once your laminate remnant is in place allow 24 hours for this to dry.


